Authentic Dhalpuri Roti the Ultimate Stuffed Trinidadian Flatbread
The Culinary Masterpiece: Understanding Authentic Dhalpuri Roti
More Than Flatbread: The Heart of Indo Trinidadian Cuisine
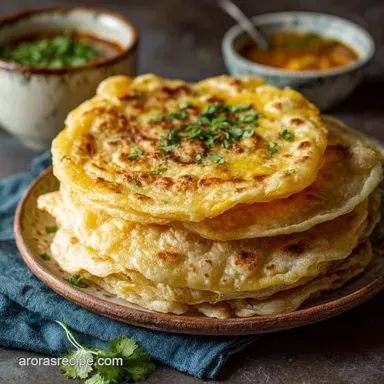
Dhalpuri roti is the definitive culinary symbol of Indo Trinidadian heritage, representing generations of sophisticated flavor refinement and technique. This delicate, soft flatbread serves as the essential, pliable vehicle for enjoying rich Caribbean curries across the region.
Mastering the fundamental dhalpuri roti recipe means understanding the delicate balance required between the pliable dough skin and the deeply savory, spiced split pea interior.
Why Dhalpuri Stands Apart from Other Roti Styles
Unlike its flaky relative, Paratha Roti, or the highly shredded texture of Buss Up Shot, Dhalpuri is fundamentally a stuffed bread. The central goal of Dhalpuri production is to produce a fully sealed, ultra thin wrapper designed specifically to hold the filling intact until the moment of serving.
This structural difference makes the completed dhalpuri roti wrap the ideal choice for portability and street food vendors in Dhalpuri Roti Trinidad.
The Essential Characteristics of a Perfect Foldable Shell
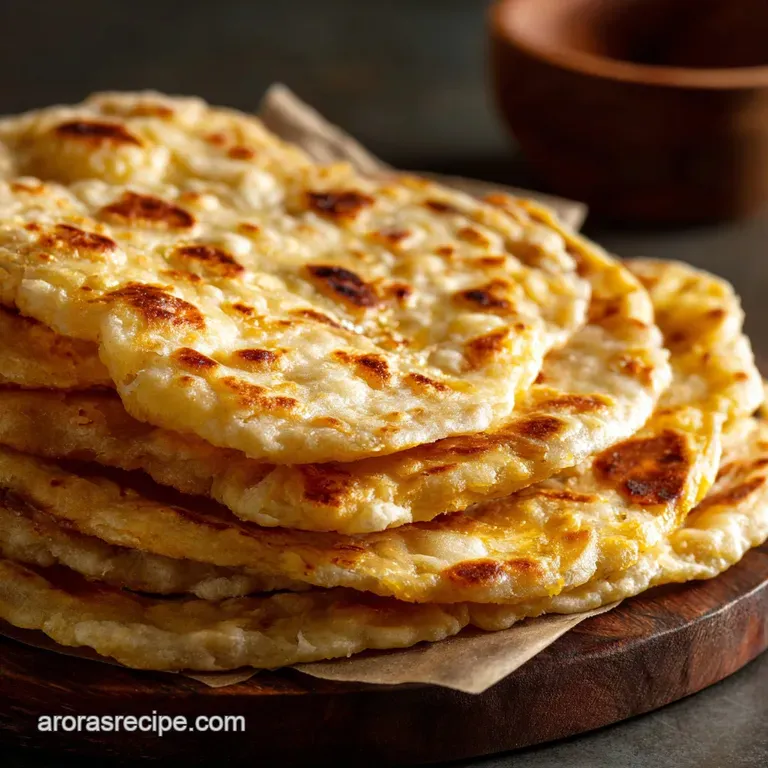
A truly successful Dhalpuri should be incredibly soft, highly pliable, and capable of being effortlessly folded without any tearing or cracking. The interior must present a light, sandy texture derived from finely ground channa dhal, heavily seasoned with toasted cumin (geera) and garlic.
These perfect characteristics ensure the roti serves as the perfect, flavorful, self contained shell for dishes like dhalpuri roti with curry chicken.
Sourcing Your Success: Essential Supplies for Dhalpuri
The Dough Hydration Formula: Flour, Water, and Oil Ratios
The foundation of a soft, workable roti is precise dough hydration, which starts by combining three cups of sifted all-purpose flour with baking powder and salt. We incorporate two tablespoons of vegetable oil or melted ghee to add richness, followed by gradually adding lukewarm water.
Starting with one cup of water and adding small increments prevents creating a stiff, unworkable dough that would ultimately resist the essential stretching required during rolling.
The Core Filling: Preparing the Channa (Split Peas) Mixture
The signature filling requires one cup of channa dhal (split yellow peas) that must be thoroughly soaked for at least four hours, or ideally overnight, for proper tenderness. After boiling the peas until soft, the critical subsequent step is draining and steaming them dry to ensure zero moisture content before seasoning with turmeric and two teaspoons of potent cumin powder.
Grinding the dried dhal into a very fine, sandy powder is essential for preventing the filling from clumping and tearing the dough when you roll it thin.
Specialized Equipment for Seamless Roti Production (Tawa and Rolling Pin)
While standard kitchen gear can certainly work, specialized tools drastically improve the final result and ease of making the Dhalpuri roti recipe at home. A heavy, flat tawa (or a cast iron griddle) is absolutely crucial for maintaining consistent, high heat, which encourages the bread to puff beautifully.
On top of that,, a long, thin Caribbean style rolling pin allows the cook to apply even, gentle pressure across the surface, helping distribute the delicate filling without causing the thin skin to burst.
We rely on a few specific tools to achieve that perfect flatbread texture:
| Equipment | Why It's Essential |
|---|---|
| Heavy Tawa | Ensures even heat distribution and encourages maximum puffing. |
| Spice Grinder/Processor | Necessary for achieving the non-clumping, sandy texture of the dhal filling. |
| Thin Rolling Pin | Allows delicate, wide rolling without excessive pressure or tearing. |
Edible Engineering: step-by-step Mastery of the Dhalpuri Roti Process
Achieving the Ideal Soft Dough Consistency (Pehra Preparation)
After combining the ingredients, the dough should be kneaded gently for about five to seven minutes until it achieves a smooth, elastic surface that is soft to the touch. This light kneading develops just enough gluten for necessary structure without resulting in a rubbery or tough final product.
The resulting dough ball, which is divided into individual portions known as pehra s, must rest for a minimum of sixty minutes under a damp cloth to fully relax the gluten, ensuring maximum stretchiness during the rolling process.
Sealing the Deal: The Technique for Stuffing the Split Peas
To prepare the dough for stuffing, take one portioned ball and use your thumb to create a deep depression in the center, carefully stretching the dough edges upwards to form a small cup shape.
Spoon one of the eight pre-measured portions of the sandy, dry dhal mixture into this well, aiming to be generous while ensuring it does not overflow the lip. The final step involves meticulously pinching and sealing the edges completely together over the filling, forming a perfectly tight, smooth "mother ball" ready for immediate rolling.
The Zero Tear Roll: Flattening the Stuffed Roti
The art of rolling is perhaps the most challenging stage of the dhalpuri roti recipe, requiring delicate handling to distribute the dry filling evenly across the entire thin shell.
Start with the sealed ball seam side up and gently pat it flat before using the rolling pin to push lightly and evenly from the center outward in smooth, rotating movements. This critical technique expands the dough to its final 10 12 inch diameter without allowing localized pressure to force the dhal filling through the delicate skin.
Patience and Heat: Cooking the Dhalpuri on the Tawa
The tawa must be preheated to medium high hot enough that the roti cooks quickly but not so hot that it scorches before developing the internal steam necessary to achieve a good puff.
Place the rolled roti on the dry tawa for the initial minute, flipping immediately once small bubbles begin to appear on the surface, and then cook the second side briefly before brushing on oil or ghee.
Applying fat and pressing gently encourages the entire shell to inflate like a balloon, which is the signature indicator that the dough structure and internal temperature are perfectly balanced.
Troubleshooting and Enjoyment: Optimizing Your Dhalpuri Roti Experience
Common Pitfalls and How to Fix Them (Tough Dough, Bursting Shells)
Two primary issues often challenge new dhalpuri cooks: tough dough and bursting, ragged skins. Tough dough usually results from using cold water or failing to rest the dough long enough, which can be remedied next time by incorporating a small amount of oil into the dough structure before the resting period.
Bursting shells almost always indicate that the dhal filling mixture was too wet or that the rolling pressure applied was too heavy and uneven, thus emphasizing the absolute necessity of using perfectly dry channa.
Expert Insight: For a superior texture when making Dhalpuri Roti, remember to "clap" the cooked flatbread immediately upon removing it from the tawa. This involves holding the hot roti between your hands and gently patting it rapidly, which loosens the cooked dhal filling inside and guarantees a soft, pliable, and easily foldable shell.
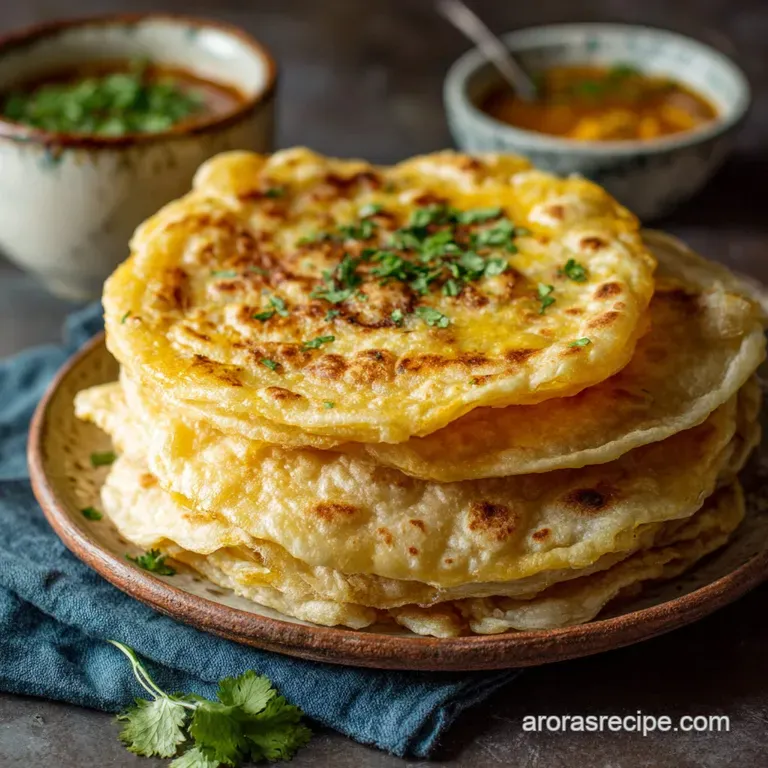
Serving Suggestions: Pairing Dhalpuri with Traditional Curries
Dhalpuri roti is traditionally served hot, immediately after cooking, making it an excellent accompaniment for rich and robust Caribbean stews. The most classic pairing is undoubtedly dhalpuri roti with curry chicken or tender goat curry, both of which benefit tremendously from the roti's ability to seamlessly absorb the rich, spiced sauces.
The robust yet flexible structure is perfect for folding and enclosing the filling, making the finished dish the ideal dhalpuri roti wrap.
Storing and Reheating Techniques for Maximum Freshness
To successfully maintain the desirable signature soft texture, you must stack the finished rotis and wrap them tightly while they are still warm in a clean, slightly damp kitchen towel, then store them in a sealed container.
Stored properly using this method at room temperature, they will remain wonderfully soft and usable for up to two days. To effectively reheat, simply sprinkle a few drops of water on the roti surface and warm briefly in a microwave, or alternatively, warm them for thirty seconds per side on a dry, medium hot tawa.
Nutritional Snapshot and Dietary Adaptations
While detailed nutritional counts vary based on oil and flour selection, the typical dhalpuri roti calories estimate falls between 280 and 320 kcal per serving, assuming eight total rotis are produced.
This value is slightly higher than a plain flour roti because of the significant protein and fiber contributed by the dense split pea filling, offering a satisfying and filling meal.
Understanding this nutritional breakdown highlights the value of the channa dhal when comparing dhalpuri roti vs buss up shot, as the Dhalpuri offers substantial, wholesome plant based protein content.
Recipe FAQs
Oh crumbs, my roti turned out tough and stiff! What went wrong?
This usually means the dough’s gluten was too tight, so ensure you let it rest for the full hour patience is a virtue here. Crucially, never skip the "clapping" step right after cooking; this distributes the filling and guarantees a beautifully soft, foldable texture.
How do I stop the Dhalpuri roti filling from tearing the dough when I roll it out ultra thin?
The absolute critical point is moisture control: the cooked dhal must be perfectly dry and sandy before grinding; if it's sticky or wet, it will clump and tear the delicate skin when you apply the rolling pin.
Can I make a huge batch of these ahead of time, or are they best fresh?
They freeze brilliantly! Stack cooked rotis separated by parchment paper, wrap them tightly in foil or plastic, and they’ll keep for up to three months; reheat gently wrapped in a slightly damp kitchen towel.
Crikey, what is the best thing to serve with these?
While Dhalpuri is traditionally designed to scoop up hearty Trinidadian curried chicken, goat, or vegetables, they are also smashing served simply with fiery pepper sauce and fresh mango chow.
What’s the difference between this and a plain old roti (like a chapati)?
The unique feature of Dhalpuri roti is that it is stuffed with a highly seasoned, finely ground split pea mixture, transforming it from a simple flatbread into a richly flavoured, complex component of the main meal.
I’m a beginner; is there a simpler variation I should try first?
If the stuffing seems a bit much right now, try making Sada Roti first; it uses a similar dough but eliminates the complex stuffing and rolling technique, allowing you to focus purely on the dough work and cooking.
Soft And Flavourful Trinidadian Stuffed Flatbrea