Easy Fudge Recipe with Condensed Milk
- Time: Active 5 minutes, Passive 2 hours, Total 2 hours 5 mins
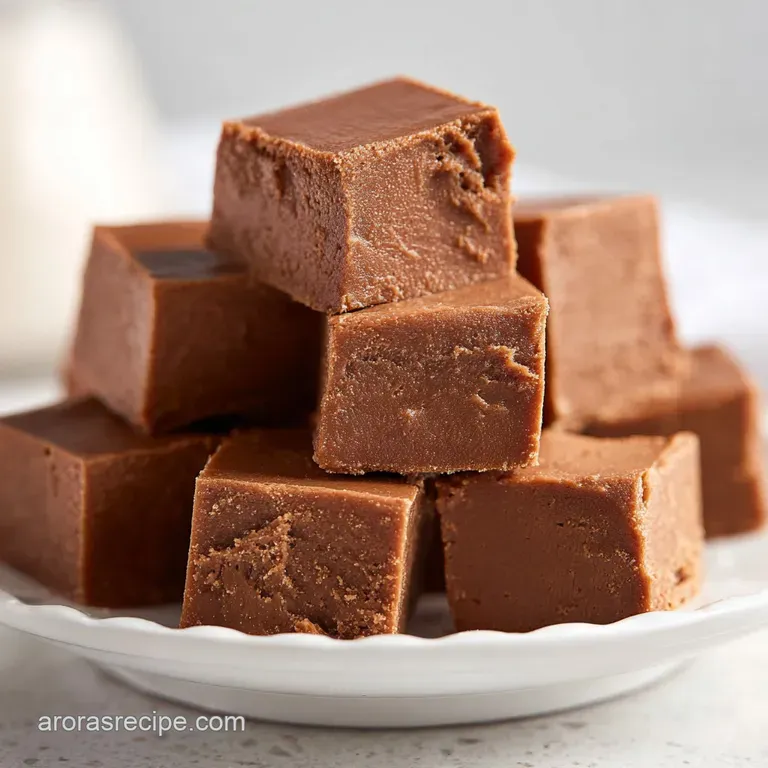
- Flavor/Texture Hook: Deeply chocolaty with a velvety, melt in-your mouth finish and a salty walnut crunch.
- Perfect for: Holiday gifting, last minute potlucks, or a rainy day kitchen project with kids.
- Master the Ultimate Easy Fudge Recipe with Condensed Milk
- The Molecular Magic Behind This Silky No Bake Treat
- Key Numeric Checkpoints for Success
- The Simple Pantry Staples for Velvety Chocolate Squares
- Essential Tools for a Smooth and Glossy Finish
- A Step-by-Step Timeline for Fudge Perfection
- Solving Common Texture Issues and Greasy Surfaces
- Adjusting the Batch Size and Flavor Profiles
- Keeping Your Fudge Fresh and Freezer Friendly
- Cutting and Serving for a Stunning Platter
- Recipe FAQs
- 📝 Recipe Card
Master the Ultimate Easy Fudge Recipe with Condensed Milk
There is a specific, heady aroma that fills my Nashville kitchen whenever a batch of this fudge is on the stove. It is a thick, rich scent of melting semi sweet chocolate mingling with the sweet, caramelized notes of condensed milk. I remember the first time I tried this.
I was living in a tiny apartment with a stove that had two settings: "off" and "surface of the sun." I had tried making old-fashioned fudge that required boiling sugar to the "soft ball stage," and I ended up with a grainy, rock hard mess that nearly broke a tooth.
I was ready to give up on homemade candy forever until a neighbor brought over a tin of the most velvety chocolate I had ever tasted.
She told me the secret wasn't a fancy thermometer or years of pastry school training. It was simply the magic of the "blue can." Using an easy fudge recipe with condensed milk takes all the guesswork out of the equation because the milk is already reduced and the sugar is perfectly dissolved.
You get that professional, glossy sheen every single time without the stress. Since then, I’ve made hundreds of batches. I’ve learned exactly when to pull it off the heat and why adding a tiny bit of butter makes it slice like a dream.
The joy of this recipe is how it brings people together. Whether it's for a holiday platter or just a little something sweet to have with coffee on a Sunday afternoon, this fudge never fails. It’s comforting, reliable, and honestly, a little bit addictive.
We’re going to walk through exactly how to get that signature "snap" followed by a silky melt, ensuring your kitchen smells just as heavenly as mine does right now.
The Molecular Magic Behind This Silky No Bake Treat
Traditional fudge is essentially a controlled crystal growth experiment, which is why it is so difficult to get right. This easy fudge recipe with condensed milk works because it uses a shortcut that side steps the crystallization phase entirely.
- Glucose Inhibition: The high sugar concentration in condensed milk prevents large, grainy crystals from forming as the chocolate cools.
- Pre Reduced Solids: Since the milk is already cooked down, you aren't fighting to evaporate water, which leads to a more stable, dense structure.
- Fat in-Sugar Emulsion: The butter and milk fats wrap around the cocoa solids, creating a velvety mouthfeel that stays soft at room temperature.
The Science of the Gloss
The secret to the mirror like shine on this fudge is the low and slow melting process which keeps the cocoa butter in the chocolate chips from "breaking" or separating. If you heat it too fast, the fats leak out and you get a dull, greasy finish instead of a silky one.
| Method | Total Time | Texture | Difficulty |
|---|---|---|---|
| Condensed Milk (This Recipe) | 10 minutes | Velvety and smooth | Beginner |
| Classic Stovetop (Boiled) | 45 minutes | Slightly crumbly/crystalline | Expert |
| Microwave Version | 5 minutes | Soft and gooey | Beginner |
It is worth noting that while the microwave is fast, the stovetop method listed here gives you much better control over the final texture. If you are looking for more comfort food projects, this fudge pairs perfectly with a cozy afternoon, much like the process of making a Classic Sweet Noodle recipe for a family gathering.
Key Numeric Checkpoints for Success
To ensure your easy fudge recipe with condensed milk turns out right every time, keep these three specific numbers in mind as you work through the steps.
- 60% Cacao: Use chocolate chips with at least 60% cacao. This provides enough bitterness to balance the extreme sweetness of the milk.
- 38°C (100°F): If you use a thermometer, don't let the mixture exceed this temperature. You want the chips just melted, not cooked.
- 2 Hours: This is the minimum chill time. Cutting too early results in "slumped" squares rather than sharp, clean cubes.
The Simple Pantry Staples for Velvety Chocolate Squares
| Component | Role in Recipe | Pro Secret |
|---|---|---|
| Chocolate Chips | Structural base | Use high-quality chips (like Ghirardelli) for a better melt. |
| Condensed Milk | Sweetener and Binder | Never use "evaporated" milk; it lacks the sugar density needed to set. |
| Unsalted Butter | Smoothness and Shine | Grate the butter while cold so it melts instantly into the chocolate. |
Ingredients & Substitutes
- 3 cups (510g) semi sweet chocolate chips: You can use milk chocolate, but it will be much sweeter. Why this? 60% cacao provides the perfect structural "snap" and balanced flavor profile.
- 1 can (14 oz / 397g) sweetened condensed milk: This is the engine of the recipe. Why this? It provides a pre stabilized sugar base that prevents graininess.
- 1/4 cup (56g) unsalted butter, cubed: Helps with the glossy finish.
- 1 tsp (5ml) pure vanilla extract: Adds depth to the chocolate.
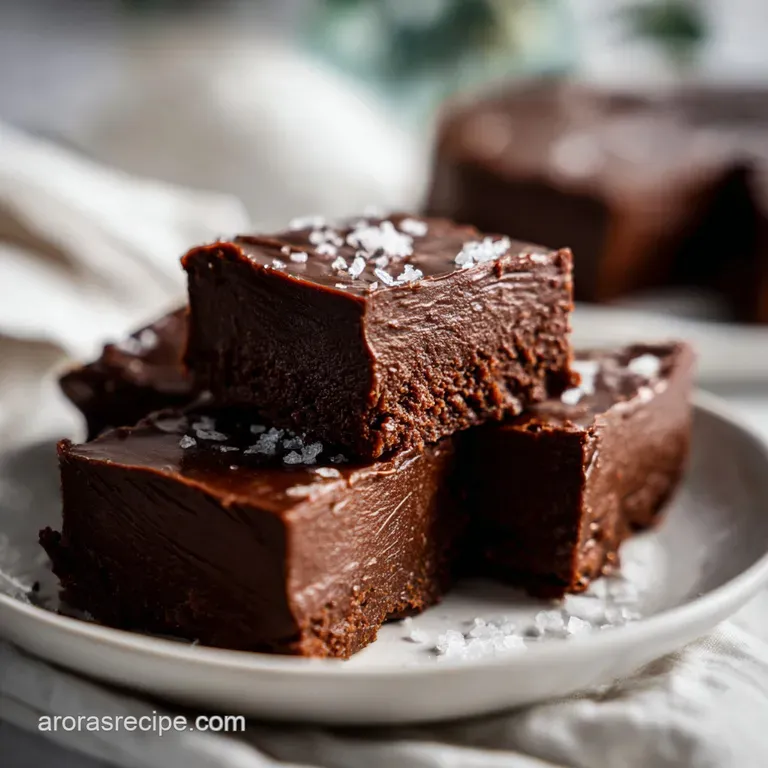
- 1/2 tsp flaky sea salt: Cuts through the sugar.
- 1/2 cup (60g) chopped walnuts: Adds a necessary textural contrast.
Chef's Tip: Freeze your butter for 10 minutes before dicing it. Cold butter emulsifies more slowly into the warm chocolate, creating a more stable "velvety" texture that won't separate on a hot day.
Essential Tools for a Smooth and Glossy Finish
You don't need much for this easy fudge recipe with condensed milk, but having the right basics makes the flow much smoother.
- A Heavy Bottomed Saucepan: This is non negotiable. Thin pans have hot spots that will scorch the condensed milk in seconds. A Dutch oven or a heavy stainless steel pot is best.
- Silicone Spatula: This allows you to scrape the bottom and corners of the pan effectively, ensuring no chocolate is left behind to burn.
- 8x8 inch (20x20 cm) Baking Pan: This size creates the ideal thickness. If you go larger, the fudge will be thin and lose its satisfying bite.
- Parchment Paper: Leave an overhang on two sides (a "sling") so you can lift the entire block out once it’s set.
A step-by-step Timeline for Fudge Perfection
Phase 1: The Foundation (5 Minutes)
1. Prep the pan. Line your 8x8 inch pan with parchment paper, ensuring there is a 2 inch overhang on the sides. Note: This prevents the fudge from sticking and makes it easy to remove.
2. Combine the base. Place the 3 cups (510g) chocolate chips, the full can of condensed milk, and the 1/4 cup (56g) cubed butter into your heavy saucepan.
3. Gentle heat. Turn the burner to the lowest possible setting. Wait for the chocolate to start softening before you begin stirring.
Phase 2: The Emulsion (3 Minutes)
4. Stir constantly. Use your spatula to move the mixture in a figure eight motion. Stir until the mixture is glossy and smooth.
5. Off the heat. As soon as the last tiny lump of chocolate disappears, remove the pan from the burner. Note: Overheating at this stage will cause the fat to separate.
6. Add aromatics. Stir in the 1 tsp vanilla extract and the 1/2 tsp sea salt. Stir until the vanilla is fully incorporated.
Phase 3: The Texture and Set (2 Hours)
7. Fold in nuts. Gently fold in the 1/2 cup (60g) chopped walnuts. Distribute them evenly so every bite has a crunch.
8. Pour and level. Transfer the mixture into your prepared pan. Smooth the top with an offset spatula for a professional look.
9. The final touch. Sprinkle a tiny bit of extra flaky salt on top if you like that sweet salty combo.
10. Chill time. Place the pan in the fridge for at least 2 hours until the fudge is firm to the touch.
Solving Common Texture Issues and Greasy Surfaces
Making fudge is usually straightforward, but sometimes things go sideways. Most issues with an easy fudge recipe with condensed milk come down to temperature control.
Why Your Fudge is Greasy
If you see a yellow film of oil on top of your fudge, the mixture got too hot. When chocolate exceeds its stable temperature, the cocoa butter separates from the solids. You can sometimes save this by vigorously whisking in a teaspoon of room temperature condensed milk while the mixture is still warm to re emulsify the fats.
Signs of Over Cooking
If the fudge looks "matte" or dull and feels stiff while you are stirring, you've cooked it too long. Condensed milk can turn into a thick caramel if left on the heat. If this happens, it will still taste good, but it will have a "chewy" rather than "velvety" texture.
| Problem | Root Cause | Solution |
|---|---|---|
| Grainy Texture | Scraped dried bits from the side of the pan into the mix. | Use a damp pastry brush to clean the sides of the pan during melting. |
| Fudge Won't Set | Used evaporated milk instead of condensed milk. | You'll have to use it as an ice cream topping; there is no way to make it firm up. |
| Chocolate Seized | A drop of water got into the melting chocolate. | Add a teaspoon of neutral oil and stir rapidly to smooth it out. |
Just like when you are mastering a Chicken and Sausage Pasta recipe, the key is watching the pan, not the clock.
Common Mistakes Checklist
- ✓ Never use a wet spatula; even a drop of water can cause the chocolate to "seize" into a clump.
- ✓ Do not substitute margarine for butter; the water content in margarine will ruin the set.
- ✓ Avoid high heat; low and slow is the only way to keep the fats emulsified.
- ✓ Don't skip the parchment paper, or you'll be digging fudge out with a spoon.
- ✓ Ensure the nuts are toasted before adding for the "shatter" effect.
Adjusting the Batch Size and Flavor Profiles
If you need to change the scale of this recipe, keep in mind that chocolate and sugar behave differently when doubled.
Scaling Down (1/2 Batch): Use a 14 oz can of condensed milk but only half of the chocolate and butter? No condensed milk comes in a standard size, so it's best to make a full batch and freeze half.
If you must scale down, you'll need to weigh out exactly 198g of condensed milk and use a very small loaf pan.
Scaling Up (2x Batch): Use a 9x13 inch pan. Do not simply double the time; use a wider pot to ensure even heating. Increase the vanilla to only 1.5 tsp to avoid making the mixture too liquid.
Variations to Try
- Peanut Butter Fudge Condensed Milk Twist: Swirl in 1/2 cup of creamy peanut butter right before pouring into the pan. This creates a beautiful marbled effect and a rich, salty flavor.
- The Cookies and Cream Alternative: Use white chocolate chips instead of semi sweet and fold in crushed Oreo cookies instead of walnuts.
- dairy-free Adaptation: Use "Condensed Coconut Milk" and dairy-free chocolate chips. The texture will be slightly softer, but the tropical notes are incredible.
Keeping Your Fudge Fresh and Freezer Friendly
Proper storage is the difference between a week of treats and a wasted batch. Because of the milk content, this fudge behaves differently than pure chocolate bars.
- Fridge
- Keep in an airtight container for up to 2 weeks. Use parchment paper between layers to prevent sticking.
- Room Temp
- This fudge is stable at room temperature (around 20°C) for 3-4 days, but it will become very soft if your kitchen is warm.
- Freezer
- This recipe freezes beautifully. Wrap the entire block or individual squares in plastic wrap, then place them in a freezer bag. It stays perfect for up to 3 months. To eat, thaw in the fridge overnight.
Zero Waste Tip: If you have leftover scraps or crumbs from cutting the fudge, don't throw them away! Melt them down with a splash of heavy cream to make an incredible ganache for cakes, or chop them finely to use as a "velvety" topping for morning oatmeal.
Cutting and Serving for a Stunning Platter
To get those sharp, professional edges you see in candy shops, do not cut the fudge while it is cold. Let the pan sit at room temperature for 15 minutes before slicing. Use a long, thin knife (not serrated) and dip it in hot water, then wipe it completely dry between every single cut.
This "hot knife" technique allows the blade to glide through the chocolate without dragging, leaving a perfectly smooth surface.
For a beautiful presentation, try cutting the fudge into small 1 inch (2.5 cm) cubes rather than large blocks. Since this easy fudge recipe with condensed milk is quite rich, smaller portions are usually more appreciated.
Arrange them on a wooden board with some fresh raspberries or a few sprigs of mint to contrast the deep brown of the chocolate. Trust me, once you see that glossy finish and taste the velvety texture, you'll never go back to the complicated boiled versions again. Enjoy the process and the sweet rewards!

Recipe FAQs
How to turn condensed milk into fudge?
Melt chocolate, butter, and condensed milk together gently. Stir constantly over low heat until completely smooth, remove from the heat, and immediately pour into a lined pan to cool.
What is the secret to perfect fudge?
Avoid overheating the mixture past 100°C (212°F). The secret is using the pre-reduced sugar in the condensed milk and removing the mixture from the heat as soon as the chocolate is just melted to ensure a stable, glossy emulsion.
How to make really easy fudge?
Combine high-quality chocolate chips, butter, and sweetened condensed milk in a heavy saucepan. Heat very slowly on low until fully incorporated, then pour into a prepared pan and chill for two hours.
What are the common mistakes when making fudge?
Using evaporated milk instead of sweetened condensed milk is the biggest error. Also, too high a heat will cause the fats to separate, resulting in a greasy surface rather than a velvety texture; if you master temperature control here, you'll succeed.
Can I use milk chocolate instead of semi sweet?
Yes, but reduce the portion size you serve. Milk chocolate is significantly sweeter because it contains added milk solids, so you need less of it to achieve the desired rich taste; you might consider pairing it with a tart side dish like our Sweet Potato Casserole recipe to balance the sweetness.
What temperature should the fudge mixture reach?
Do not exceed 38°C (100°F) if you are using a candy thermometer. The goal is to just barely melt the chocolate chips while the condensed milk is warming, not to cook the mixture down further.
How long does the fudge need to chill before cutting?
Chill for a minimum of two hours until firm. For the cleanest, sharpest cuts that look professional, allow the fudge to sit at room temperature for 15 minutes after chilling, and use a hot, dry knife between each slice.
Easy Condensed Milk Fudge

Ingredients:
Instructions:
Nutrition Facts:
| Calories | 128 kcal |
|---|---|
| Protein | 1.7 g |
| Fat | 7.3 g |
| Carbs | 15.1 g |
| Fiber | 0.9 g |
| Sugar | 13.0 g |
| Sodium | 45 mg |
