Best Fudge Recipe: Velvety Chocolate Treat
- Time: Active 10 minutes, Passive 3 hours, Total 3 hours 10 minutes
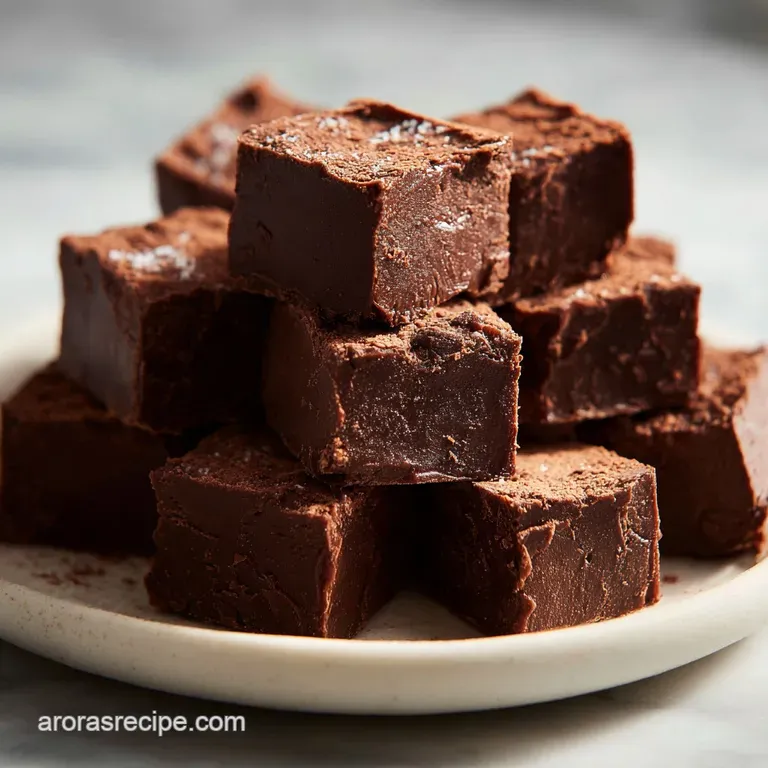
- Flavor/Texture Hook: Velvety dark chocolate with a buttery, smooth finish
- Perfect for: Holiday gift tins, quick dessert cravings, or beginner friendly kitchen wins
- Discover Why This Is The Best Fudge Recipe
- Critical Recipe Timing And Yield Stats
- Essential Components For Silky Chocolate Success
- Detailed Shopping List And Substitutes
- Simple Tools For A Stress Free Bake
- Step By Step Guide To Velvety Fudge
- Fix Common Texture And Setting Issues
- Proper Scaling For Large Or Small Batches
- Creative Variations For Every Chocolate Lover
- Debunking Common Fudge Myths
- Proper Storage To Maintain Creamy Texture
- Perfect Presentation For Homemade Gift Giving
- Recipe FAQs
- 📝 Recipe Card
Discover Why This Is The Best Fudge Recipe
The kitchen smells like a Nashville candy shop right now, and honestly, there is nothing quite like the aroma of melting chocolate swirling into creamy milk. I remember the first time I tried making an old fashioned fudge recipe back in my early twenties.
It was a disaster, grainy enough to be used as sandpaper and hard enough to break a tooth. I nearly gave up on homemade candy altogether until I realized that the secret isn't in a fancy thermometer, but in the science of the ingredients you choose.
This specific method is what I call the "Nashville Safety Net." We are using high-quality semi sweet chips and sweetened condensed milk to ensure every single bite is as smooth as velvet. You won't find any gritty sugar crystals here, just a deep, dark chocolate flavor that feels like a warm hug.
It's the kind of recipe you'll find yourself making every December, but trust me, it's just as good for a random Tuesday when the chocolate cravings hit hard. We've all been there, and this is the fastest way to fix that.
What makes this the best fudge recipe ever is the simplicity of the steps paired with the sophistication of the result. We are going for a texture that has a slight snap when you bite into it but immediately dissolves into a rich, buttery cream on your tongue.
It's approachable enough for kids to help with, but the flavor is mature enough to impress even the toughest food critics at your next office party. Let's get into the details so you can start snacking.
Critical Recipe Timing And Yield Stats
Before we start melting things, we need to talk about the "how" behind the magic. Most people think fudge is just melted chocolate, but it’s actually a delicate balance of fats and sugars. When we use this chocolate fudge recipe, we are bypassing the difficult stage of boiling sugar to a "soft ball" state.
The Physics of the Set: The sweetened condensed milk acts as a pre dissolved sugar base, which prevents large crystals from forming as the chocolate cools. The added butter ensures a high fat to moisture ratio, which creates that characteristic velvety mouthfeel instead of a gummy texture.
| Method | Time | Texture | Best For |
|---|---|---|---|
| Stovetop (Recommended) | 10 minutes | Perfectly glossy and even | Ultimate control and flavor |
| Microwave | 3 minutes | Slightly less shiny | Extreme time saving |
| Slow Cooker | 2 hours | Very thick and dense | Large batches for parties |
Whether you use the stovetop or the microwave, the key is gentle heat. If you rush the process, you risk scorching the milk or seizing the chocolate, which is a tragedy we want to avoid. If you're looking for other comforting treats to round out your dessert table, this pairs beautifully with a Classic Sweet Noodle recipe for a full Southern style spread.
Essential Components For Silky Chocolate Success
Selecting your chocolate is the most important decision you'll make today. Since we aren't adding a lot of extra sugar beyond the milk, the flavor of your semi sweet chips will be front and center. I usually go for a brand with at least 60% cacao for a deeper profile.
| Ingredient | Science Role | Pro Secret |
|---|---|---|
| Semi sweet Chocolate | Structural Base | Use high-quality chips for a better "shatter" when bitten. |
| Sweetened Condensed Milk | Sugar & Liquid | Never use evaporated milk; it lacks the sugar density to set. |
| Unsalted Butter | Emulsifier | Grate cold butter into the mix for faster, even melting. |
The marshmallows might seem like an odd addition to some, but they are my secret weapon. They contain gelatin and corn syrup, which act as extra insurance against graininess. They don't make it taste like a campfire treat; they just add a microscopic layer of fluffiness to the structure that makes it feel lighter than traditional bricks of fudge.
Detailed Shopping List And Substitutes
Here is everything you need to grab from the store. This fudge recipe condensed milk version is very forgiving, but try to stick to the measurements for the best results.
- 18 oz semi sweet chocolate chips: Why this? Provides the backbone and perfect level of sweetness.
- Substitute: 18 oz of chopped dark chocolate bars (70% cacao) for a more intense, less sweet version.
- 14 oz sweetened condensed milk: Why this? Provides the creamy texture and necessary sugar levels.
- Substitute: Creamed coconut and sugar (vegan alternative), though it will change the flavor profile.
- 2 tbsp unsalted butter: Why this? Adds fat for a glossy finish and rich mouthfeel.
- Substitute: 2 tbsp of refined coconut oil. Note: Adds a very subtle tropical note.
- 1 cup mini marshmallows: Why this? Improves texture and prevents the fudge from becoming too brittle.
- Substitute: 2 tbsp of light corn syrup if you want to skip the marshmallow flavor entirely.
- 1.5 tsp pure vanilla extract: Why this? Rounds out the chocolate and adds aromatic depth.
- Substitute: 1 tsp of almond extract or 1 tbsp of bourbon for a "grown up" twist.
- 0.25 tsp fine sea salt: Why this? Cuts through the sugar and makes the chocolate "pop".
- Substitute: Flaky salt sprinkled on top after the fudge has partially set.
Chef's Tip: To take the flavor even further, add half a teaspoon of espresso powder. It doesn't make it taste like coffee, it just makes the chocolate taste "more like chocolate." It's a trick I learned from a baker in East Nashville and I've never looked back.
Simple Tools For A Stress Free Bake
You don't need a lot of gear for this homemade fudge recipe, but a few specific items make the cleanup and the cutting much easier. First, grab an 8x8 inch square baking pan. If you use a 9x9, your fudge will be thinner, which is fine, but the thick, chunky squares are part of the charm.
You will also need parchment paper. Don't just grease the pan; that's a mistake I made once and ended up having to eat the fudge out of the pan with a spoon. You want to line the pan so that the paper hangs over the edges like "wings." This allows you to lift the entire block out once it's set.
A heavy bottomed saucepan is also vital to prevent the milk from burning on the bottom of the pot.
Finally, a sturdy silicone spatula is better than a wooden spoon here. The chocolate is thick and sticky, and you want to be able to scrape every last bit of that velvety goodness out of the pot and into the pan. If you're into baking larger batches of things, you might find this process as satisfying as preparing the dough for a Sourdough Sandwich Rolls recipe, though much faster!
step-by-step Guide To Velvety Fudge
Let's get cooking. This process moves quickly once the chocolate starts to melt, so have all your ingredients measured and ready to go.
- Prep the pan. Line an 8x8 inch pan with parchment paper, leaving an inch of overhang on all sides. Note: This ensures you can lift the fudge out for clean cuts later.
- Combine the basics. Place the 18 oz chocolate chips, 14 oz sweetened condensed milk, and 2 tbsp unsalted butter in a heavy saucepan.
- Apply gentle heat. Set the burner to low and stir constantly. Cook 5 minutes until the chips are almost entirely melted.
- Add the fluff. Toss in the 1 cup of mini marshmallows. Note: These will melt slowly and help stabilize the mixture.
- Finish the melt. Continue stirring until the mixture is completely smooth and glossy. No lumps should remain.
- Remove from heat. Take the pan off the stove immediately to prevent the chocolate from overheating and becoming chalky.
- Season the mix. Fold in the 1.5 tsp vanilla extract and 0.25 tsp sea salt. Stir briskly to incorporate.
- Transfer to pan. Pour the warm mixture into your prepared baking dish. Spread with a spatula until the surface is level and even.
- The patient set. Let the pan sit on the counter for 30 minutes, then move it to the fridge. Chill at least 3 hours until firm to the touch.
- The final slice. Lift the fudge out using the parchment "wings." Slice into 36 squares using a sharp, warm knife.
Fix Common Texture And Setting Issues
Even with an easy fudge recipe, things can occasionally go sideways. Usually, it's a matter of temperature or moisture. If your fudge feels like it’s struggling, don't panic. Most issues are fixable before the final set.
Why Your Fudge Feels Grainy
If the texture is gritty rather than smooth, the sugar in the condensed milk likely crystallized because the heat was too high. Next time, keep the flame as low as possible. To fix a grainy batch that's still warm, you can try adding a tablespoon of heavy cream and stirring vigorously over very low heat to re dissolve the crystals.
If Your Fudge Won't Set
This usually happens if you used evaporated milk by mistake or didn't use enough chocolate chips. If it's been in the fridge for 6 hours and it's still "spoonable," you can actually scrape it back into the pot, add another 1/2 cup of chocolate chips, and remelt it.
It’s not ideal, but it saves the batch!
| Problem | Root Cause | Solution |
|---|---|---|
| Seized Chocolate | Water touched the chocolate | Add 1 tsp of boiling water and stir fast to loosen. |
| Dull Appearance | Overheated chocolate | Stir in a teaspoon of room temp butter at the end. |
| Too Soft | High humidity or low cocoa fat | Increase chilling time to 24 hours in the fridge. |
Common Mistakes Checklist:
- ✓ Using a wet spatula (even a drop of water can make chocolate "seize" into a clump).
- ✓ Boiling the mixture (we only want to melt, not boil).
- ✓ Using "imitation" vanilla (the flavor won't be nearly as deep).
- ✓ Skipping the salt (the fudge will taste one dimensionally sweet).
- ✓ Cutting it too early (patience is the hardest ingredient here).
Proper Scaling For Large Or Small Batches
If you want to double this Christmas fudge recipe for a large holiday party, it's quite simple, but you'll need to adjust your equipment. For a double batch, use a 9x13 inch pan to keep the thickness consistent.
When scaling up, you don't need to double the butter exactly; 3 tablespoons is usually enough for a double batch to keep it from getting too greasy. The salt and vanilla should be doubled to maintain the flavor balance.
If you are scaling down to a half batch, use a loaf pan or a small glass storage container to ensure the fudge is still thick enough to be satisfying. Just be sure to reduce the melting time by about 30%, as a smaller volume of chocolate melts much faster.
If you find yourself making a massive dessert spread, this fudge is a great companion to other starchy, comforting sides like a Sourdough Stuffing Recipe if you're doing a full holiday meal. The contrast between the savory herbs and the rich chocolate is surprisingly addictive.
Creative Variations For Every Chocolate Lover
Once you've mastered the base 3 ingredient fudge recipe (plus the flavorings), you can start playing with textures and add ins. This is where you can really make it your own.
- The Southern Crunch: Fold in 1 cup of toasted chopped pecans and a swirl of caramel sauce for a "turtle" style fudge.
- The Midnight Special: Use extra dark chocolate chips (72% cacao) and top with a heavy dusting of flaky Maldon sea salt.
- Peppermint Bark Twist: Stir in 1/2 tsp of peppermint extract instead of vanilla and top with crushed candy canes.
- Nutty Butter Swirl: Drop spoonfuls of creamy peanut butter onto the fudge once it's in the pan and use a knife to swirl it through for a marbled look.
Quick Decision Guide: If you want a crunchier texture, add 1 cup of toasted walnuts. If you want a tangier flavor, add 1/2 cup of dried cranberries or cherries. If you want a lighter feel, double the mini marshmallows in the mix.
Debunking Common Fudge Myths
One of the biggest myths is that you absolutely need a candy thermometer to make "real" fudge. While that's true for the old school sugar and water method, this condensed milk version relies on the pre stabilized fats in the milk. You get the same result with 90% less stress.
Another misconception is that you have to stir the chocolate constantly while it's in the fridge to keep it smooth. In reality, you want to leave it completely alone while it sets. Agitating the chocolate as it cools can actually encourage the very crystals we are trying to avoid.
Just smooth the top, put it in the fridge, and walk away!
Proper Storage To Maintain Creamy Texture
Storing your fudge correctly is the difference between a treat that lasts two weeks and one that dries out in two days. Because of the high sugar and fat content, fudge is naturally shelf stable for a few days, but the fridge is its best friend.
Fridge Storage: Keep the squares in an airtight container with sheets of parchment paper between the layers. This prevents them from sticking together. It will stay fresh and velvety for up to 3 weeks.
Freezer Storage: You can freeze this fudge for up to 3 months! Wrap the entire block (or individual squares) tightly in plastic wrap, then place in a freezer bag. When the craving hits, thaw a piece in the fridge overnight.
Don't thaw at room temperature, or condensation will form on the surface, making it sticky.
Zero Waste Tip: If you have small scraps or "crumbs" left over from cutting the squares, don't toss them! Toss them into a blender with some vanilla ice cream for the most incredible chocolate fudge milkshake you've ever had. Or, melt the scraps down and drizzle them over your morning pancakes.
No chocolate left behind!
Perfect Presentation For Homemade Gift Giving
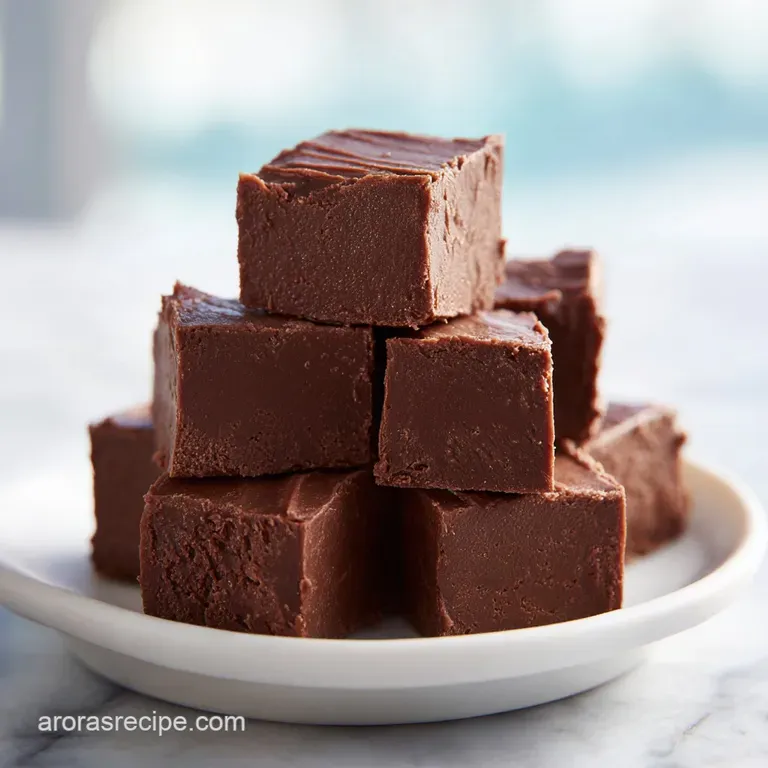
Since this is the best fudge recipe for sharing, let's talk about how to make it look as good as it tastes. For clean cut squares, the "hot knife" trick is essential. Run a long, sharp knife under hot water, wipe it dry, and make one clean slice. Repeat the heating and wiping for every single cut.
This prevents the fudge from dragging and creates those perfectly sharp, professional edges.
For gifting, I love using small decorative tins or even brown parchment paper tied with baker's twine. If you're putting together a gift basket, include a little card that mentions it's a homemade chocolate fudge recipe people always appreciate the extra effort. You could even pair it with some savory Sausage Stuffing Classic recipe leftovers or a jar of homemade spice mix for a thoughtful Southern inspired package.
Whether you're making this for a holiday party or just to have something sweet in the fridge for after supper, I hope this recipe brings a little bit of Nashville comfort to your kitchen. Happy melting!

Recipe FAQs
What is the secret to perfect fudge?
Using sweetened condensed milk is the primary secret. This ingredient provides pre-dissolved sugar, which bypasses the complicated candy thermometer stage and prevents the formation of large, gritty sugar crystals.
What are the common mistakes when making fudge?
The most common mistake is overheating the chocolate mixture. This causes the milk sugars to scorch, resulting in a grainy texture or seized chocolate, so keep your heat very low and stir gently.
Where is the best fudge in the world made?
There is no single agreed upon location, as quality is subjective. While specific US cities like Mackinac Island, Michigan, are famous, the "best" fudge often comes from recipes that master temperature control and quality ingredients.
How do you make Paula Deen fudge?
Follow the condensed milk method used in this recipe, as her popular versions rely on similar pantry staples. Ensure you are using high-quality semi sweet chips and incorporate butter for that essential, glossy finish.
Is it true I must use a candy thermometer for this fudge recipe?
No, this is a common misconception for condensed milk fudge. Because the sugar is already incorporated into the milk, you only need to stir until everything is melted and smooth, making the texture control much simpler.
How do I prevent my fudge from becoming brittle and hard?
Add fat and use marshmallows or corn syrup for insurance against hardness. The fat from the butter keeps the structure pliable, and mastering the right ratio of fat to sugar prevents that hard, brittle snap characteristic of overcooked candy.
How should I cut the fudge for the cleanest, professional look?
Dip a long, sharp knife into hot water, wipe it dry, and make one clean slice. Repeat this hot-and-wipe process for every cut to ensure the thick, cooled chocolate doesn't drag or crack the edges of your squares.
Easy Condensed Milk Fudge 2
Ingredients:
Instructions:
Nutrition Facts:
| Calories | 113 kcal |
|---|---|
| Protein | 1.5 g |
| Fat | 5.6 g |
| Carbs | 16.3 g |
| Fiber | 1.0 g |
| Sugar | 13.8 g |
| Sodium | 21 mg |
