The Ultimate Non-Soggy Riced Cauliflower
- Time: Active 10 minutes, Passive 8 minutes, Total 18 minutes
- Flavor/Texture Hook: Toasty, nutty, and vibrant with a distinct grain like "pop"
- Perfect for: Holiday side dishes, meal prep, or light plant based dinners
- The Secret to Vibrant and Crisp Riced Cauliflower
- Essential Specs for Every Festive Occasion
- Plant Based Elements for Maximum Flavor Impact
- The Necessary Tools for Grain Sized Perfection
- Mastering the Heat for Golden Textures
- Practical Solutions for Sogginess and Flavor
- Creative Twists for Your Holiday Spread
- Preservation Methods for Freshness and Quality
- Vibrant Pairings to Complete Your Menu
- Recipe FAQs
- 📝 Recipe Card
The Secret to Vibrant and Crisp Riced Cauliflower
Have you ever sat down to a bowl of what was supposed to be a healthy alternative, only to find a puddle of sulfuric smelling water at the bottom of your plate? It’s disappointing. I remember the first time I tried making this. I followed a generic recipe that said to steam it with a lid on.
Within five minutes, my kitchen smelled like a compost bin, and the texture was closer to mashed potatoes than rice. It was a complete disaster that almost turned me off the vegetable forever.
The problem isn't the cauliflower itself, but how we handle its massive water content. Cauliflower is roughly 92 percent water. When you trap that water in a pan with a lid or crowd it with oil too early, you aren't sautéing; you're boiling.
To get that distinct, individual grain texture that actually mimics long grain rice, we have to change the physics of the pan. We need to let that steam escape into the air, not back into the food.
This recipe is my personal fix for every soggy bowl I’ve ever endured. By using a dry pan start, we allow the moisture to evacuate quickly, which concentrates the natural sugars and creates a beautiful, matte finish. Then, and only then, do we introduce the high-quality fats and aromatics to coat the grains.
You’ll end up with a vibrant, plant based base that looks stunning on the table and feels light in the body. It’s about eating with your eyes first and finishing with a satisfied, clean feeling.
Essential Specs for Every Festive Occasion
When you're planning a gathering, timing and quantity are everything. This dish is remarkably fast, but it requires your full attention for those few minutes at the stove. Because it cooks in under ten minutes, I always suggest having all your other sides ready to go first.
The cauliflower waits for no one; it's best served the moment the lemon juice hits the pan and the aromas are at their peak.
- Weight
- Start with a 2 lb (900g) head to yield exactly 4 servings.
- Time
- 3 minutes of dry sautéing is the sweet spot for moisture removal.
- Temp
- Medium high heat is non negotiable for the "shatter" texture.
The Surface Area Science
The way we break down the cauliflower dictates how it interacts with the heat. Smaller grains mean more surface area, which leads to faster moisture loss but also a higher risk of turning into a puree. I aim for "long grain" size.
The Dry Sear Technique
Starting with a dry, hot skillet is the secret. It mimics the "toasting" phase used in traditional risotto. By heating the grains without oil initially, we create a barrier that prevents the grains from absorbing fat and becoming greasy.
The Acidity Balance
Cauliflower has a natural bitterness and a heavy sulfur scent when heated. Lemon juice and zest act as a chemical neutralizer. The citric acid cuts through the earthy notes, while the oils in the zest provide a visual and olfactory "pop" that signals freshness.
| Method | Time | Texture | Best For |
|---|---|---|---|
| Dry Sauté | 8 minutes | Toasty, firm, distinct grains | Serving as a direct rice replacement |
| Steaming | 6 minutes | Soft, wet, clumped | Adding to smoothies or making mash |
| Roasting | 20 minutes | Caramelized, slightly chewy | Bowls where you want deep nuttiness |
There is a massive difference between these methods. If you choose to roast it, you’ll get a deeper color, but you lose that "fluffy" rice quality. Steaming is the enemy of texture in this specific application. The dry sauté is the only way to maintain the integrity of each grain while ensuring it’s cooked through. If you’re leaning into the cruciferous life and want something even heartier, you might also love this creamy cauliflower soup as a companion piece for a full tasting menu.
Plant Based Elements for Maximum Flavor Impact
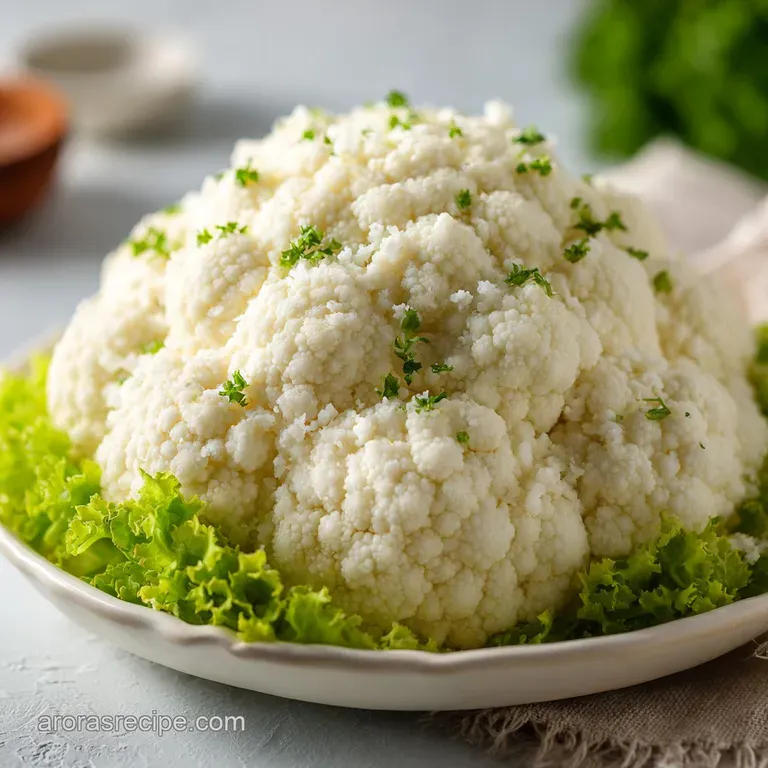
Selection is the first step toward a vibrant dish. When you're at the market, look for a head of cauliflower that feels heavy for its size and has tightly packed florets. Any dark spots or "fuzz" are signs of oxidation and age, which will lead to a more intense, unpleasant smell when cooked.
The leaves should be crisp and green, not wilted or yellow.
| Ingredient | Science Role | Pro Secret |
|---|---|---|
| Cauliflower | Structural Base | Use the core! It has the most "crunch" and holds its shape better than the delicate tips. |
| Extra Virgin Olive Oil | Heat Conductor | Add it after the dry sear to coat the grains rather than soaking into them. |
| Fresh Lemon | Sulfur Neutralizer | The zest provides the aroma; the juice provides the chemical balance. Always use both. |
- 1 large head of cauliflower (2 lbs / 900g):Why this? Provides the volume and structure needed for a satisfying, grain free base.
- Substitute: 2 lbs of frozen riced cauliflower (thaw and squeeze dry first).
- 2 tbsp extra virgin olive oil:Why this? Adds a velvety mouthfeel and helps the garlic bloom without burning.
- Substitute: Avocado oil or melted vegan butter for a richer, savory note.
- 3 cloves garlic, minced (15g):Why this? Provides the aromatic backbone that masks the "cabbage" scent.
- Substitute: 1 tsp garlic powder, though it lacks the visual "bits" of fresh garlic.
- 0.5 tsp sea salt:Why this? Draws out internal moisture during the final stages of cooking.
- Substitute: Himalayan pink salt for a more subtle mineral finish.
- 0.25 tsp cracked black pepper:Why this? Adds a tiny bit of heat and visual contrast against the white grains.
- Substitute: White pepper if you want a cleaner, monochromatic appearance.
- 1 tbsp fresh lemon juice:Why this? The acid brightens the entire flavor profile instantly.
- Substitute: Apple cider vinegar, though it’s much more pungent.
- 1 tsp lemon zest:Why this? Contains essential oils that provide a lingering citrus perfume.
- Substitute: Lime zest for a more tropical or Mexican inspired twist.
- 2 tbsp flat leaf parsley:Why this? The vibrant green color makes the dish look restaurant quality.
- Substitute: Fresh cilantro or chives depending on your main course.
The Necessary Tools for Grain Sized Perfection
To get the right texture, you need a way to fragment the vegetable without pulverizing it. A food processor is the fastest route, but a box grater actually produces a more consistent "rice" shape.
If you use a processor, the "S" blade is your best friend, but the pulsing technique is what prevents it from becoming a liquid mess.
The Fragmentation Tool
If using a food processor, work in batches. If you fill the bowl to the top, the bottom will be flour and the top will be whole chunks. Filling it only halfway allows the pieces to jump around and hit the blade evenly. If you're using a box grater, use the side with the largest holes.
It takes a bit more elbow grease, but the results are incredibly uniform.
The over High heat Vessel
You want a wide pan. A 12 inch skillet is the minimum for one head of cauliflower. If the pan is too small, the riced bits pile on top of each other, trapping steam in the lower layers.
A cast iron pan is excellent because it holds heat so well, ensuring that the temperature doesn't drop when you add the cold cauliflower. A non stick skillet is also a great choice if you're worried about the garlic sticking.
Mastering the Heat for Golden Textures
- Break down the cauliflower. Cut the head into manageable chunks, roughly 2 inches wide.
- Pulse or grate the pieces. Use your food processor or box grater to create grains the size of long grain rice. Note: Don't over process; stop when it looks like grains, not snow.
- Heat the dry pan. Place your skillet over medium high heat for 2 minutes until a drop of water sizzles and vanishes.
- Add the cauliflower to the dry pan. Sauté for 2 to 3 minutes, stirring constantly. Note: You'll see steam rising; this is exactly what we want.
- Observe the texture. Continue until the cauliflower appears matte and slightly toasted rather than shiny or translucent.
- Clear the center. Push the grains to the outer edges of the pan to create a "well" in the middle.
- Infuse the fat and aromatics. Add the 2 tbsp of olive oil and 3 cloves of minced garlic to the center.
- Sauté the garlic. Cook for 30 to 60 seconds until the garlic is fragrant and pale gold.
- Incorporate and season. Stir the garlic oil into the cauliflower and add 0.5 tsp sea salt and 0.25 tsp black pepper.
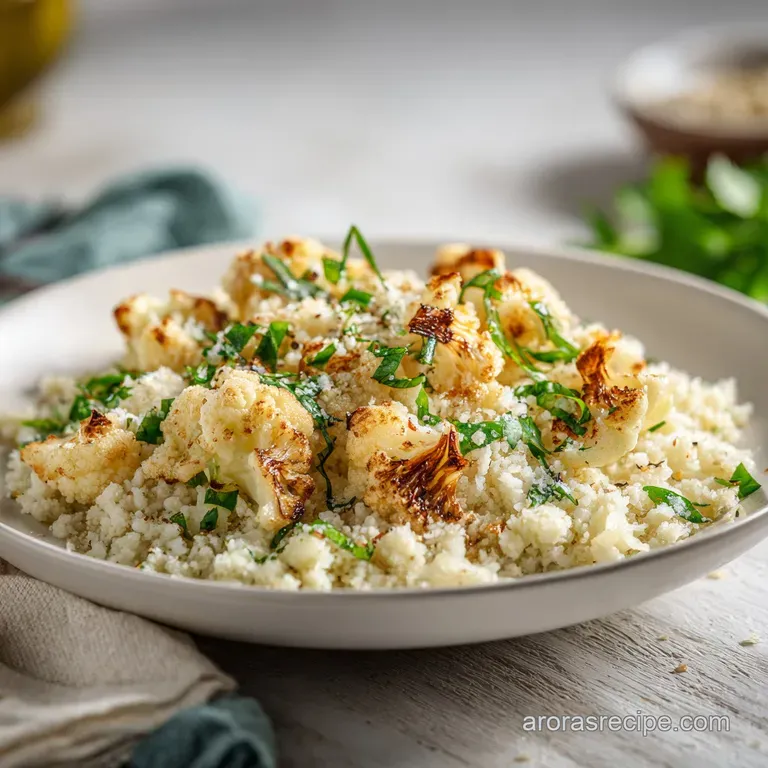
- Finish with brightness. Remove from heat and stir in 1 tbsp lemon juice, 1 tsp zest, and 2 tbsp parsley until the green flecks are evenly distributed.
Practical Solutions for Sogginess and Flavor
If you've followed the steps and things still aren't quite right, don't panic. Most issues with Riced Cauliflower come down to heat management or the age of the vegetable. The most common mistake is people trying to "save time" by putting a lid on the pan to make it cook faster. This is a recipe for disaster.
The lid traps the very moisture we worked so hard to evacuate.
Why Your "Rice" is Turning Mushy
This usually happens because the pan wasn't hot enough or you crowded too much cauliflower into a small space. When the grains sit in a thick layer, the bottom layer cooks while the top layer steams. The result is a soft, wet texture. To fix this next time, use a larger pan or cook in two separate batches.
If it's already mushy, you can spread it on a baking sheet and pop it under the broiler for 2 minutes to dry it out.
It Tastes Bland and "Earthy"
Cauliflower is a blank canvas, but it can sometimes have a very "dirt like" aftertaste. This is often because it wasn't seasoned early enough or the lemon was skipped. Salt needs to penetrate the grains, and the acid from the lemon juice is essential for "waking up" the flavors.
If it's finished and still tastes dull, add an extra pinch of salt and a dash more lemon.
| Problem | Root Cause | Solution |
|---|---|---|
| Soggy/Watery | Trapped steam or too much oil early on. | Sauté in a dry pan first; never use a lid. |
| Strong Sulfur Odor | Overcooking or lack of acidity. | Reduce cook time and increase lemon juice. |
| Uneven Grains | Over processing in the food processor. | Pulse in short bursts and work in small batches. |
Common Mistakes Checklist:
- ✓ Never cover the pan with a lid (it traps moisture).
- ✓ Don't add the oil until the cauliflower has dry seared for 3 minutes.
- ✓ Use medium high heat; low heat will just "sweat" the vegetable.
- ✓ Ensure your garlic is fresh; jarred garlic can add a metallic taste.
- ✓ Don't skip the lemon zest; it provides more flavor than the juice alone.
Creative Twists for Your Holiday Spread
Once you have the base technique down, you can adapt this to almost any cuisine. Because this fits so well into a rotation of healthy dinner recipes, I like to keep a few variations in my back pocket for busy weeknights.
Mediterranean Style
Add 1/4 cup of toasted pine nuts, a handful of sun dried tomatoes, and a sprinkle of dried oregano. This version is incredible alongside grilled skewers or roasted eggplant. The pine nuts add a much needed fatty crunch that contrasts the soft grains.
Loaded Cauliflower "Rice"
Think of this like a loaded baked potato but much lighter. Stir in some vegan coconut bacon bits, chopped chives, and a dollop of dairy-free sour cream or Greek yogurt right before serving.
It’s comforting and feels much "heavier" than it actually is, making it a great transition dish for people who are new to plant based eating.
Scaling for Large Crowds
When you're doubling or tripling this for a party, the biggest challenge is pan space. If you're making 8 to 12 servings, do not try to do it in one pan. Scaling Up: Cook in batches. Keep the finished batches in a warm oven (200°F) on a large baking sheet spread out thin.
Only add the lemon and parsley at the very end before serving to keep the color vibrant. Scaling Down: If you're just cooking for one, you can use a smaller 8 inch skillet, but keep the cook time roughly the same.
Since you're using half an egg in some recipes, for this one, just use a smaller head of cauliflower and keep the seasoning ratios the same.
Preservation Methods for Freshness and Quality
This dish is best eaten fresh, but it does hold up surprisingly well if you know the tricks. Raw riced cauliflower is actually much more stable than cooked riced cauliflower.
Storage Guidelines:Fridge: Store cooked leftovers in an airtight container for up to 3 days. Note that the sulfur smell will become more pronounced as it sits, so a quick squeeze of fresh lemon during reheating helps.
Freezer: You can freeze raw riced cauliflower for up to 3 months. Spread it on a baking sheet to freeze individually first, then bag it. This prevents it from turning into a solid block of ice.
I don't recommend freezing it once it's been cooked with the oil and lemon, as it becomes quite mushy upon thawing.
Zero Waste Tips: Don't throw away the leaves or the thick stalks! The stalks can be riced just like the florets (they actually have a better "crunch"). The leaves can be tossed in olive oil and salt and roasted like kale chips for a crispy garnish.
It’s a great way to use the whole plant and add different textures to your plate.
Vibrant Pairings to Complete Your Menu
Because Riced Cauliflower is light and slightly nutty, it needs a partner that has a bit of "weight" or a strong sauce. It’s the perfect sponge for flavors.
The Ultimate Holiday Side
If you're building a festive table, this dish provides a much needed break from the heavier, starch laden sides. It pairs beautifully with a bourbon sweet potato casserole. The sweetness of the potatoes and the crunch of the pecans are balanced by the bright, acidic notes of the cauliflower.
Daily Meal Prep
For a standard Tuesday night, I love serving this under a big pile of stir fried ginger tofu or roasted chickpeas. The lemon and garlic in the cauliflower act as a bridge between the earthy vegetables and whatever sauce you’re using.
It also works as a great base for a "power bowl" just add some sliced avocado, pickled red onions, and a drizzle of tahini.
Dispelling the Moisture Myth
One common misconception is that you need to salt the cauliflower before cooking to "draw out water." In my experience, this is a mistake. Salting too early breaks down the cell walls before they hit the heat, leading to a limp, soggy result.
By salting only at the very end, we keep the internal structure of the grain intact, giving you that satisfying "pop" when you bite into it. Searing does not "seal in" anything; it simply uses high heat to evaporate surface moisture before it can pool. Trust the dry pan it's the only way to go.

Recipe FAQs
Is cauliflower rice actually healthy?
Yes, it is a nutrient dense, low-calorie vegetable base. At only 126 calories per serving, it provides a fiber rich alternative to grain based starches while maintaining a satisfying, rice like texture.
Is it true that cauliflower rice is just shredded cauliflower?
No, this is a common misconception. While it starts as shredded or pulsed raw cauliflower, the technique of moisture evacuation in a dry pan is essential to transform the raw vegetable into a palatable, grain like dish.
How to make riced cauliflower taste good?
Sauté the cauliflower in a dry pan first, then add aromatics. Evacuating the moisture for 2 3 minutes prevents a mushy, sulfurous result, while finishing with olive oil, garlic, lemon juice, and parsley ensures a vibrant, bright flavor profile.
Why does my stomach hurt after eating cauliflower rice?
The sulfur content in cruciferous vegetables can cause digestive discomfort. Cooking the cauliflower thoroughly and adding lemon juice helps neutralize these compounds, making it easier on your stomach than eating it raw.
How to process the cauliflower without it turning into mush?
Pulse the raw cauliflower in small batches using a food processor 'S' blade or a box grater. Stop as soon as the pieces reach the size of long grain rice to ensure you maintain a light, separate texture rather than a puree.
How to prevent the cauliflower from becoming soggy?
Avoid using a lid and cook in a dry skillet over medium high heat. Sautéing without oil for the first 2 3 minutes allows steam to escape, which is the only way to achieve a matte, toasted finish instead of a waterlogged mess.
How to store leftover cauliflower rice?
Keep the riced cauliflower in an airtight container in the refrigerator. You can prep the raw cauliflower up to 3 days in advance before cooking it in your skillet for the best results.
Non Soggy Riced Cauliflower

Ingredients:
Instructions:
Nutrition Facts:
| Calories | 126 kcal |
|---|---|
| Protein | 4.5 g |
| Fat | 7.7 g |
| Carbs | 12.8 g |
| Fiber | 4.6 g |
| Sugar | 4.3 g |
| Sodium | 358 mg |
