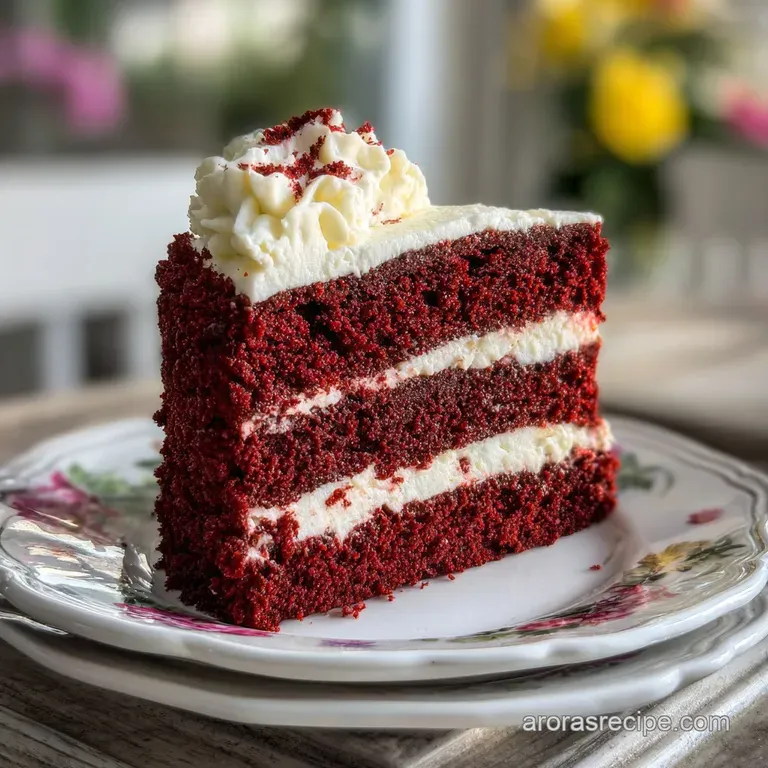
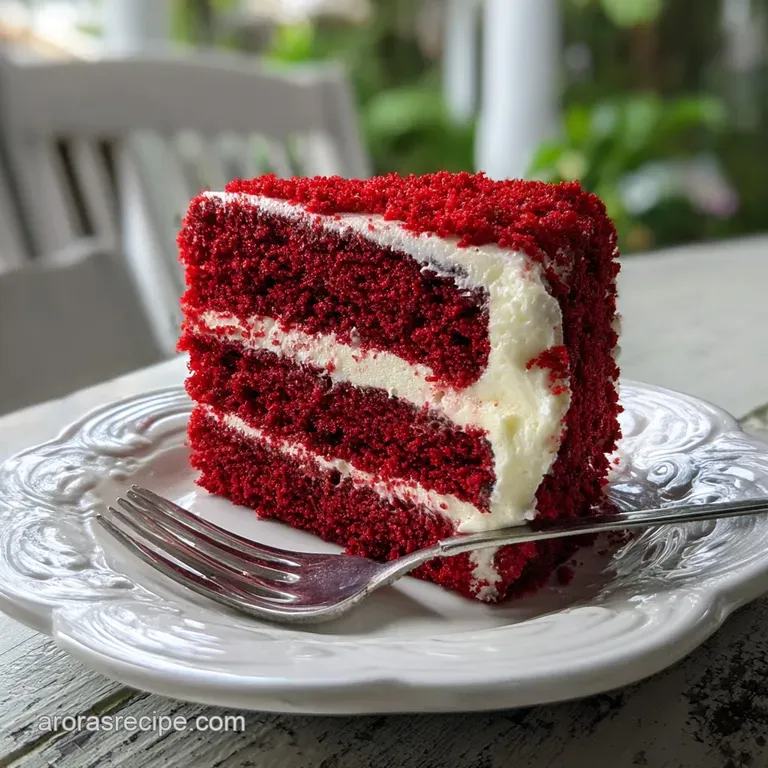
Red Velvet Cake: Tangy & Pillowy
- Time: Active 30 minutes, Passive 35 minutes, Total 1 hours 5 mins
- Flavor/Texture Hook: Tangy, pillowy, and buttery
- Perfect for: Anniversary celebrations or a comforting Sunday dessert
- The Science of Why it Works
- Essential Specs For Successful Baking
- Understanding Every Crucial Ingredient
- Tools To Keep Baking Simple
- Step By Step To Silky Layers
- Fixing Common Sinking And Cracking
- Simple Swaps For Different Diets
- Keeping Your Cake Moist Longer
- Best Ways To Serve Dessert
- Debunking Baking Myths
- Recipe FAQs
- 📝 Recipe Card
Right then, let's talk about the one cake that causes more kitchen heartbreak than almost any other. We've all been there: you're expecting a vibrant, velvety masterpiece, but you end up with a dry, brown ish sponge that just tastes like a confused chocolate cake. It’s frustrating, isn't it?
I remember my first attempt years ago, I used way too much cocoa and it looked more like a bruised plum than a Red Velvet Cake.
But here is the thing, this isn't just a chocolate cake with red dye. It’s a chemical reaction in a tin. We’re looking for that specific tang from the buttermilk and that tight, fine crumb that defines the "velvet" part of the name.
If you’ve struggled with dry layers or frosting that slides right off the side, I’ve got you covered. We're going to use some simple Southern tricks to make sure this turns out right every single time.
Trust me, once you see those bright red crumbs against the stark white frosting, you'll see why it's such a classic. We are focusing on a method that uses both oil and butter because, honestly, why choose between flavor and moisture when you can have both?
Let's crack on and get those ovens preheated because this is going to be brilliant.
The Science of Why it Works
- Acidic Tenderization: The distilled white vinegar and buttermilk break down gluten strands, ensuring the crumb stays "velvety" rather than chewy or bread like.
- Anthocyanin Reaction: A tiny amount of cocoa powder reacts with the acids to create a natural reddish hue, which the gel coloring then intensifies.
- Hybrid Fat Satiety: Using both vegetable oil and softened butter provides the structural richness of a butter cake with the long lasting moisture of an oil based sponge.
| Baking Method | Cook Time | Texture Outcome | Best For |
|---|---|---|---|
| Standard Round Pans | 35 minutes | Tall, pillowy layers | Traditional celebrations |
| Sheet Cake Pan | 25 minutes | Dense, easy to slice | Large potlucks |
| Cupcake Tins | 18 minutes | Airy and light | Individual servings |
Choosing the right pan is the first step in ensuring your bake is consistent. I personally love the round pans for the drama of the layers, but a sheet cake is a lifesaver when you're short on time. Speaking of shortcuts, this tangy profile reminds me of the balance found in my Moist Pumpkin Bread recipe, which also leans heavily on that beautiful cream cheese contrast.
Essential Specs For Successful Baking
Component Analysis
| Ingredient | Science Role | Pro Secret |
|---|---|---|
| Buttermilk (240ml) | Acidic tenderizer | Use full fat for a richer, more stable crumb structure. |
| Distilled Vinegar (5ml) | Leavening activator | Reacts with baking soda for an immediate, airy lift. |
| Red Gel Color (2 tsp) | Pigment stability | Gel prevents thinning the batter unlike liquid dyes. |
| Vegetable Oil (240ml) | Moisture retention | Keeps the cake soft even after 3 days in the fridge. |
Understanding these components is key because Red Velvet is a delicate balance. If you've ever wondered why your cake didn't rise, it's usually because the vinegar and soda didn't get to dance properly. If you enjoy this kind of sweet and buttery science, you might also find the texture of my Cornbread Cookie Recipe fascinating, as it plays with similar crumb densities.
Understanding Every Crucial Ingredient
- - 315g all purpose flour
- Provides the base structure. Why this? Keeps the cake sturdy enough to stack without being heavy.
- - 300g granulated sugar
- For sweetness and moisture.
- - 10g unsweetened cocoa powder
- Adds a hint of depth. Why this? Just enough to react with acid without turning the cake brown.
- - 5g baking soda
- Our primary lifting agent.
- - 3g fine sea salt
- To sharpen all the other flavors.
- - 240ml buttermilk
- Room temperature is a must here.
- - 240ml vegetable oil
- For that "never dry" texture.
- - 115g unsalted butter
- Softened to help with aeration.
- - 2 large eggs
- Room temperature helps them emulsify better.
- - 2 tsp red gel food coloring
- For that iconic crimson pop.
- - 5ml distilled white vinegar
- The secret to the velvet texture.
- - 10ml pure vanilla extract
- For that classic bakery aroma.
- - 450g brick cream cheese
- Must be cold to keep the frosting stiff.
- - 225g unsalted butter
- Slightly softened so it blends without lumps.
- - 500g powdered sugar
- Sifted to avoid a gritty finish.
- - 5ml pure vanilla extract
- For flavor depth.
- - 15ml heavy cream
- To achieve that silky, spreadable consistency.
Tools To Keep Baking Simple
You don't need a professional kitchen to pull this off, but a few specific items make it much easier. I always suggest using a stand mixer such as a KitchenAid if you have one, primarily because the cream cheese frosting needs a good whipping to get that "silky" feel.
However, a hand mixer works perfectly well if you're willing to put in an extra minute of effort.
You'll need two 9 inch round cake pans for the classic look. If you only have one, you can bake in batches, but keep the remaining batter in a cool spot. A silicone spatula is also non negotiable for folding in the red dye; you don't want to leave any white streaks at the bottom of the bowl!
Finally,, an offset spatula will make frosting the sides feel like a breeze rather than a chore.
step-by-step To Silky Layers
- Preheat and Prep. Set your oven to 350°F (175°C). Grease your pans and line the bottoms with parchment paper. Note: This ensures the delicate "velvet" edges don't tear during removal.
- Whisk Dry Ingredients. Sift the 315g flour, 300g sugar, 10g cocoa, 5g baking soda, and 3g salt into a large bowl.
- Cream Butter and Sugar. In your mixer, beat the 115g softened butter and the 240ml oil until combined.
- Emulsify Eggs. Add the 2 eggs one at a time, beating well after each. Mix until the batter looks pale and smooth.
- Incorporate Liquids. Stir in the 240ml buttermilk, 10ml vanilla, and the 2 tsp red gel. Watch for a vibrant, uniform crimson color.
- Activate the Soda. Combine the 5ml vinegar with the dry ingredients, then slowly pour in the wet mixture. Note: You'll see a slight fizz; that's the science happening!
- Bake the Layers. Divide evenly between pans. Bake for 35 minutes until a toothpick comes out clean and the house smells like vanilla.
- Cool Completely. Let pans sit for 10 minutes before turning cakes onto a wire rack. They must be cold before frosting or the cream cheese will melt into a puddle.
- Whip the Frosting. Beat the 450g cold cream cheese and 225g butter until smooth. Slowly add 500g powdered sugar and the 15ml cream. Beat until it looks like a soft, white cloud.
- Assemble and Frost. Place one layer down, spread a thick layer of frosting, then top with the second layer and cover the exterior.
Chef's Tip: Freeze your butter for 10 minutes before creaming it with the oil. This slight chill prevents the fats from separating and leads to a much finer, tighter crumb.
Fixing Common Sinking And Cracking
Why Your Cake Sinks in the Middle
If your cake looks like a crater, it's usually one of two things. First, you might have opened the oven door too early. That rush of cold air stops the rise before the structure is set. Second, your baking soda might be old. Always test it in a splash of vinegar; if it doesn't fizz aggressively, throw it out.
Why Your Frosting Is Runny
The biggest mistake I ever made was using "spreadable" cream cheese from a tub. Don't do it! You need the brick style. If it's still runny, it's likely too warm. Pop the whole bowl in the fridge for 20 minutes, then re whip it.
| Problem | Root Cause | Solution |
|---|---|---|
| Dry, crumbly layers | Overbaked or too much flour | Reduce bake time by 5 mins or use a kitchen scale for flour. |
| Brownish tint | Too much cocoa powder | Stick to exactly 10g; the reaction needs a specific ratio. |
| Lumpy frosting | Butter was too cold | Let butter sit at room temp for 30 mins before mixing. |
Common Mistakes Checklist
- ✓ Use room temperature buttermilk to prevent the batter from curdling.
- ✓ Sift your cocoa powder to avoid tiny bitter "chocolate bombs" in the red crumb.
- ✓ Don't overmix once the flour goes in - stop as soon as streaks disappear.
- ✓ Let the layers cool in the freezer for 15 minutes before frosting for easier handling.
- ✓ Use gel food coloring only; liquid versions can mess with the hydration levels.
Simple Swaps For Different Diets
| Original Ingredient | Substitute | Why It Works |
|---|---|---|
| Buttermilk (240ml) | Milk + 1 tbsp lemon juice | Mimics the acidity needed for the "velvet" texture. |
| Vegetable Oil (240ml) | Melted Coconut Oil | Provides a similar fat content with a very subtle nutty note. |
| All Purpose Flour (315g) | 1:1 gluten-free Blend | Works well, though the crumb may be slightly more fragile. |
If you are looking for a completely different flavor profile but still want that comforting, baked from scratch feel, consider trying a Crock Pot Candied recipe as a side dish for your next holiday meal. It has that same soulful quality as a good Red Velvet Cake.
Keeping Your Cake Moist Longer
Red Velvet Cake actually tastes better on day two! To keep it fresh, store it in an airtight container in the fridge for up to 5 days. Because of the cream cheese frosting, it shouldn't sit out at room temperature for more than two hours.
If you want to freeze it, wrap the unfrosted layers tightly in plastic wrap and foil; they'll stay perfect for up to 3 months.
For a zero waste tip, if you trimmed the tops of your cakes to make them level, don't throw those red crumbs away! Crumble them up and use them as a decorative garnish over the white frosting. It gives the cake that professional "bakery" look and ensures nothing goes to waste.
You can also mix those crumbs with a little leftover frosting to make quick cake pops for the kids.
Best Ways To Serve Dessert
When it's time to slice this beauty, use a long, thin knife dipped in hot water and wiped dry between every single cut. This is the only way to get those clean, sharp lines where the white frosting doesn't smudge into the red cake. It takes a second longer, but the presentation is night and day.
The "Natural" Twist
If you're not a fan of artificial dyes, you can use 60ml of reduced beet juice. Just know the color will be more of a "maroon" or "earthy red" rather than the bright fire engine red we see in classic photos. It still tastes wonderful, but it definitely changes the vibe.
The Blue Velvet Option
Believe it or not, you can swap the red gel for royal blue gel to make a "Blue Velvet" cake. It’s a fun party trick for gender reveals or themed birthdays. The flavor remains the same tangy, buttery goodness, but the visual impact is wild!
Debunking Baking Myths
Myth: Red Velvet is just chocolate cake with red dye. Actually, it’s not. A chocolate cake has much more cocoa and lacks the specific vinegar buttermilk reaction that creates the unique "velvet" texture. Red Velvet is more of a light buttermilk cake with a hint of cocoa.
Myth: You have to use beets to make it authentic. While historical versions relied on the reaction of old-fashioned cocoa with acid, the use of beets became popular during rationing in WWII.
It's a valid method, but modern gel colors are what give the "original" 1950s Waldorf Astoria cake its famous look.
Myth: More food coloring means a better cake. In reality, too much liquid or gel coloring can actually add a metallic aftertaste. Stick to the 2 teaspoons of high-quality gel; it's more than enough to get that vibrant "shatter" of color against the white frosting.

Recipe FAQs
What is the flavor of red velvet cake?
It's a delicate blend of vanilla and subtle cocoa. The signature tang comes from buttermilk and a touch of vinegar, creating a unique flavor profile that's not overly sweet.
What is the secret to a good red velvet cake?
Accurate measurements and the right acidity are key. The reaction between buttermilk, vinegar, and baking soda is crucial for that tender, "velvet" crumb.
Is a red velvet cake just a chocolate cake?
No, it's distinct from chocolate cake. While it contains cocoa, the primary flavors are buttermilk and vanilla, with a much lower cocoa content than a typical chocolate cake. This creates a lighter, tangier taste and a different crumb structure.
What makes red velvet cake "velvety"?
The "velvet" texture comes from the reaction of acidic ingredients with baking soda. Buttermilk and vinegar tenderize the gluten in the flour, resulting in a cake with a fine, soft, and smooth crumb.
Can I use liquid food coloring instead of gel?
No, stick with gel coloring. Liquid food coloring adds unnecessary moisture to the batter, which can affect the texture and structure of your cake. Gel colors provide intense pigment without altering the consistency, much like how precise hydration matters in a good Sourdough Sandwich Rolls Sourdough Hoagie Rolls: Velvety Crumb.
What is the unhealthiest cake?
This is subjective and depends on ingredients and portion size. However, cakes high in sugar, saturated fats, and refined flours, especially with rich frosting and fillings, are generally considered less healthy.
Treats like cheesecake or multi layered cakes with buttercream often fall into this category.
What is the secret to keeping red velvet cake moist?
Use oil as part of your fat. A combination of butter and oil in the batter ensures lasting moisture, preventing the cake from drying out. This dual fat approach is similar to how achieving the right consistency is vital in recipes like Velvet Road Proper Alfredo Sauce Without Heavy Cream 20 Minutes.
Red Velvet Cake
Ingredients:
Instructions:
Nutrition Facts:
| Calories | 872 kcal |
|---|---|
| Protein | 7.1 g |
| Fat | 55.6 g |
| Carbs | 88.8 g |
| Fiber | 1.1 g |
| Sugar | 66.7 g |
| Sodium | 233 mg |
