Old Fashioned Butter Mints Recipe
- Time: Active 20 minutes, Passive 30 minutes, Total 50 minutes
- Flavor/Texture Hook: Velvety peppermint that dissolves into a buttery cloud
- Perfect for: Holiday gift tins, wedding favors, or homestyle after dinner treats
- Mastering the Classic Old Fashioned Butter Mints Recipe
- Understanding the Scientific Process Behind Smooth Candy
- Essential Measurements for Every Successful Candy Batch
- Choosing the Best Components for Creamy Mints
- Simple Tools for Shaping Mints
- A Reliable Timeline from Prep to Plate
- Solutions for Common Confectionary Mistakes
- Creative Ways to Customize Flavors
- Keeping Your Mints Fresh
- How to Serve Your Treats
- Debunking Candy Making Myths
- Recipe FAQs
- 📝 Recipe Card
Mastering the Classic Old Fashioned Butter Mints Recipe
Whenever I smell peppermint and softened butter, I am immediately transported back to my aunt’s kitchen in rural Iowa. She had this heavy, chipped ceramic bowl she only brought out for special occasions, and we all knew what it meant.
We would sit around the table, dusting our hands with powdered sugar like little bakers, waiting for our turn to snip the long ropes of dough into tiny, pillowy squares.
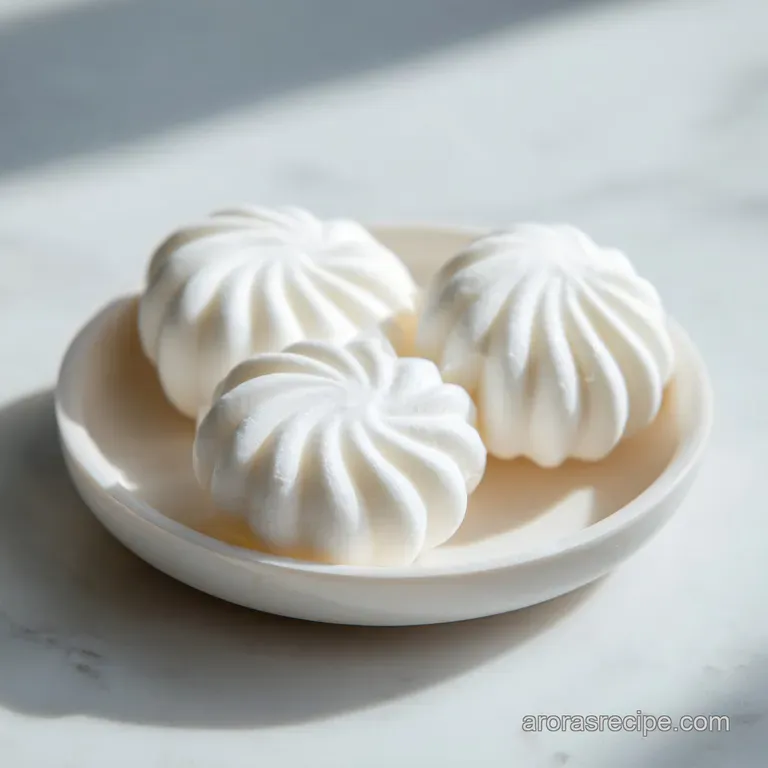
These aren't those hard, chalky things you find at the bottom of a candy dish in a restaurant. This is a hearty, homestyle butter mints recipe that produces a candy so soft it practically disappears the moment it hits your tongue.
It is the kind of stress free baking - or rather, candy making - that reminds you why simple ingredients often make the most memorable gifts.
Getting that specific "shatter" on the outside while keeping the inside silky is all about the curing time. If you’ve ever felt intimidated by candy thermometers or boiling sugar, take a deep breath. We aren't doing any of that today.
This is a no cook method that relies on the magic of emulsion and a little bit of patience. Trust me, once you pop one of these into your mouth, you'll never go back to the store-bought bags.
Understanding the Scientific Process Behind Smooth Candy
The Physics of the Melt: The high fat content from the cream cheese and butter interferes with the sugar's ability to form large crystals. This creates a smooth, non crystalline structure that dissolves rapidly when it touches the warmth of your tongue.
Moisture Migration: As the mints sit at room temperature, moisture evaporates from the surface, creating a microscopic "crust" that gives the candy its signature snap. Inside, the fats remain trapped in a sugar matrix, preserving that velvety, melt away center we all crave.
| Method | Texture Result | Best Use Case |
|---|---|---|
| No Cook (This Recipe) | Creamy, soft, and quick to dissolve | Traditional "pillow" mints and casual gifts |
| Stovetop (Boiled) | Firm, slightly chewy, and translucent | Harder candies or pulled taffy styles |
| Oven (Flash Dry) | Crisp exterior with a very dry crumb | Humid climates where air drying fails |
Butter mints are incredibly sensitive to the environment, much like the delicate balance I look for when making a Peanut Butter Blossom Cookies recipe. In the Midwest, we often have to battle humidity, which can make the dough tacky. By understanding that the sugar is essentially "cured" by the air, you can adjust your drying time based on how the air feels in your kitchen that day.
Essential Measurements for Every Successful Candy Batch
| Component | Scientific Role | Pro Secret |
|---|---|---|
| Unsalted Butter | Provides the rich, fatty mouthfeel | Use high-quality European butter for extra silkiness |
| Cream Cheese | Acts as a stabilizer and adds tang | Always use full fat blocks, never the whipped tub kind |
| Confectioners' Sugar | Creates the structural framework | Sift twice to ensure there are zero gritty lumps |
| Peppermint Extract | Delivers the cooling sensory finish | A little goes a long way; measure over a separate bowl |
Getting the proportions right is the difference between a dough that handles like playdough and one that sticks to everything it touches. I once tried to eyeball the sugar and ended up with a minty soup that refused to hold its shape.
Since then, I’ve learned that the 1 lb (453g) of sugar is a non negotiable anchor for this Southern butter mints recipe.
Choosing the Best Components for Creamy Mints
- 1/2 cup (113g) unsalted butter, softened: Why this? Provides the base fat for that classic melt away texture. (Substitute: Salted butter, but omit the extra sea salt).
- 4 oz (113g) full fat cream cheese, softened: Why this? Adds stability and a slight tang to balance the sugar. (Substitute: Mascarpone for a richer, milder flavor).
- 1/4 tsp fine sea salt: Why this? Enhances the peppermint and cuts through the intense sweetness. (Substitute: Table salt, use slightly less).
- 1 lb (453g) confectioners' sugar, sifted: Why this? The primary structure; must be fine for a smooth finish. (Substitute: Organic powdered sugar, but it may be slightly grainier).
- 1 tsp peppermint extract: Why this? Provides the signature cooling "mint" flavor profile. (Substitute: Spearmint extract for a gentler, sweeter taste).
- 1 tsp pure vanilla extract: Why this? Rounds out the flavor and adds a homestyle warmth. (Substitute: Vanilla bean paste for visible specks).
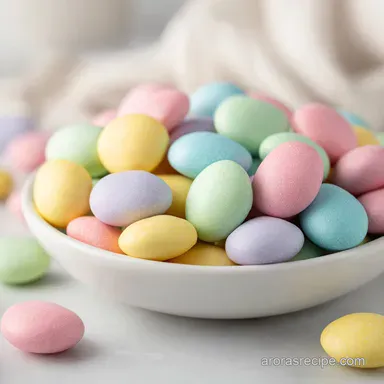
- 2 drops gel food coloring (optional): Why this? Gives that festive look without thinning out the dough. (Substitute: Natural beet juice for a soft pink).
Stabilizing the Fat Emulsion
When you beat the butter and cream cheese together, you are creating a stable fat in-water emulsion. It's vital that both ingredients are at the exact same room temperature. If the butter is too cold, it will leave tiny greasy pebbles in your mints recipe.
If it's too warm, the dough will be greasy and won't hold the indentations from a fork or mold.
Preventing Grainy Texture
The secret to a velvety finish lies in the sifting. Confectioners' sugar often has cornstarch to prevent clumping, but it can still hold onto moisture and form tiny beads. Sifting it directly into the creamed mixture ensures that every grain of sugar is coated in fat, which prevents them from recrystallizing into a gritty mess later on.
Simple Tools for Shaping Mints
You don't need fancy candy making gear for this. A simple stand mixer, like a KitchenAid, makes the creaming process much easier on your arms, but a hand mixer works just fine. For the shaping, a clean pair of kitchen shears or even a pizza cutter is my favorite trick.
It zips through the ropes of dough way faster than a knife, and it doesn't squish the edges as much.
Chef Tip: Freeze your butter for 10 minutes before letting it soften on the counter. This sounds counterintuitive, but it helps the butter reach a "plastic" state where it's soft enough to mix but firm enough to hold air, which makes for a lighter mint.
If you are making this as a christmas butter mints recipe, you might want to use silicone molds. Just a light dusting of extra powdered sugar inside the mold ensures they pop out with crisp, clean details.
I've found that the more intricate the mold, the more important it is to let the dough chill for 15 minutes before pressing it in.
A Reliable Timeline from Prep to Plate

- Cream the fats. Combine 1/2 cup softened butter, 4 oz cream cheese, and 1/4 tsp salt in a large bowl. Beat until pale and completely smooth, about 3 minutes. Note: This ensures a lump free base.
- Add flavorings. Pour in 1 tsp peppermint extract and 1 tsp vanilla extract. Mix until the aroma is strong and fragrant.
- Incorporate sugar. Gradually add 1 lb sifted confectioners' sugar one cup at a time. Mix until a stiff, playdough like dough forms.
- Color the dough. Add 2 drops of gel food coloring if using. Knead by hand on a sugar dusted surface until the color is uniform and streak free.
- Roll into ropes. Divide the dough into four pieces and roll each into a long, thin rope about 1/2 inch thick.
- Snip the mints. Use a pizza cutter or shears to cut the ropes into 1/2 inch pieces. until you have a pile of tiny pillows.
- Transfer to parchment. Place the mints in a single layer on a parchment lined baking sheet. Note: Don't let them touch or they will fuse together.
- Air dry. Let the mints sit uncovered at room temperature for at least 24 hours. until the exterior feels dry and firm.
- Test for doneness. Pick one up and give it a gentle squeeze. It should snap on the outside but stay soft inside.
- Final cure. If the air is humid, let them sit another 12 hours before moving to a container.
| Servings | Butter Amount | Sugar Amount | Prep Time |
|---|---|---|---|
| 50 Mints | 1/4 cup | 1/2 lb | 15 minutes |
| 100 Mints | 1/2 cup | 1 lb | 20 minutes |
| 200 Mints | 1 cup | 2 lbs | 35 minutes |
Working in batches is your friend here. If you try to roll out 200 mints at once, the dough at the bottom of the bowl might dry out before you can get to it. Keep any dough you aren't currently rolling under a damp paper towel or a piece of plastic wrap.
This is a hearty, homestyle approach that keeps the process stress free and fun, even if you're making a massive batch for a wedding.
Solutions for Common Confectionary Mistakes
Why Your Mints Are Sticky
If your mints feel tacky even after 24 hours, humidity is usually the thief. Sugar is hygroscopic, meaning it pulls moisture right out of the air. If it's a rainy day, your mints might take twice as long to dry.
You can try putting them in a room with a dehumidifier or a very cool, dry area of the house.
| Problem | Root Cause | Solution |
|---|---|---|
| Mints falling apart | Too much sugar or dry air | Add a teaspoon of room temp water and reknead |
| Greasy surface | Butter was too warm | Chill the dough for 20 minutes before rolling |
| Gritty texture | Sugar wasn't sifted | Always sift twice through a fine mesh strainer |
Why Your Mints Are Crumbly
This happens when the dough gets too dry during the rolling process. Maybe you used too much extra sugar on the counter, or the bowl sat out too long. Don't panic! You can save it by kneading in a tiny drop of water or a bit more cream cheese.
It’s all about getting that "playdough" feel back so the ropes don't crack when you roll them.
Common Mistakes Checklist
- ✓ Never use margarine; the water content is too high and the mints will never set.
- ✓ Avoid liquid food coloring as it can thin out the dough; stick to gel.
- ✓ Don't skip the salt; it’s the secret to making this an easy butter mints recipe that isn't cloying.
- ✓ Ensure your cream cheese is full fat; low-fat versions have fillers that prevent a clean "snap."
- ✓ Let them dry completely before stacking; otherwise, you'll end up with one giant mint brick.
Creative Ways to Customize Flavors
While the old fashioned butter mints recipe always calls for peppermint, I love experimenting with the seasons. For a summer wedding, I’ll often swap the peppermint for lemon or lime extract and add a tiny bit of citrus zest. It’s a refreshing change that still offers that same velvety texture.
If you are making these for a christmas butter mints recipe, try a "candy cane" swirl. Take half of your white dough and tint it bright red. Twist a thin rope of red and a thin rope of white together before rolling them into one final rope.
When you snip them, you get a beautiful marbled effect that looks like you spent hours on it, but it's actually quite simple.
Adapting for Decorative Molds
If you want to use this butter mints recipe for molds, you need to make the dough just a tiny bit stiffer. Add an extra 1/4 cup of powdered sugar to the mix. Press the dough firmly into the mold, then use a flat knife to scrape away the excess so the bottom is perfectly level.
Pop the mold into the freezer for 5 minutes, and the mints should fall right out with a gentle tap.
Keeping Your Mints Fresh
Storing these is easy once they are cured. Put them in an airtight container with a piece of parchment paper between layers. They will stay fresh at room temperature for about 2 weeks, or in the fridge for up to a month.
If you’re making a huge batch of pillow mints recipe ahead of time, the freezer is actually your best friend.
- Freezing: Place the cured mints in a freezer safe bag, removing as much air as possible. They stay perfect for 2-3 months.
- Zero Waste Tip: If you have leftover scraps that are too small to shape, don't toss them! Crush them up and fold them into a batch of vanilla frosting or sprinkle them over a chocolate cake. They add a lovely little hit of minty crunch.
How to Serve Your Treats
Presentation is half the fun with a southern butter mints recipe. I love putting them in small mason jars tied with a bit of twine, or placing them in tiny paper candy cups on a silver tray. They look so elegant and "fancy," even though we know they were a breeze to make.
- If you want a festive look, use gold or silver luster dust.
- If you want a modern twist, dip half of each mint in melted dark chocolate.
- If you want a rustic vibe, serve them in a wooden bowl lined with fresh mint leaves.
These mints are the perfect palate cleanser after a hearty meal, much like how a bright Lemon Pepper Sauce recipe cuts through a rich protein. They provide that final, cool note that makes a dinner party feel complete. Whether you're making them for a grand wedding or just to have in a jar on your counter, these little pillows of sugar and butter are a true Midwestern classic that never goes out of style.
Debunking Candy Making Myths
Many people believe that you can't make mints on a rainy day. While humidity does slow down the drying process, it doesn't ruin the batch. You just need to be patient and perhaps give them 48 hours to dry instead of the usual 24.
The sugar will eventually set; it just works on its own timeline when the air is heavy.
Another common myth is that you must use "candy sugar." Standard confectioners' sugar from any grocery store is exactly what you need. The "magic" isn't in a special type of sugar, but in the ratio of fat to sugar and the mechanical action of sifting and mixing.
As long as you sift it to remove the lumps, your mints will be as smooth as silk.

Recipe FAQs
What gives butter mints their flavor?
Peppermint extract is the primary flavor source. Full fat butter and a touch of vanilla extract round out the profile, adding richness and depth to the cooling sensation.
What is the difference between dinner mints and butter mints?
They are often the same recipe, but "dinner mints" implies a firmer texture. True butter mints, like this recipe, rely on a high fat/no-cook method for a creamy, melt away center, whereas traditional dinner mints are sometimes boiled for a slightly harder bite.
How long do homemade butter mints stay fresh?
At room temperature, they stay best for about two weeks. Store them in an airtight container with parchment paper between layers to prevent sticking and maintain their dry exterior.
Are butter mints a southern thing?
No, they are popular across the Midwest and South, but highly traditional in the South. Often served after heavy meals, this confection showcases a wonderful texture contrast, similar to the way we balance flavors in our Liver Pudding recipe to achieve a savory finish.
How do I stop my butter mints dough from being too sticky?
Incorporate extra sifted powdered sugar until it forms a stiff dough. If the dough remains tacky after adding all the measured sugar, the air humidity is high, so you may need up to an extra 1/4 cup to compensate.
How do I get the perfectly smooth texture without boiling sugar?
Ensure your butter and cream cheese are at perfect room temperature and sift the powdered sugar twice. The fat base coats the fine sugar crystals evenly, preventing them from aggregating into gritty structures.
Can I substitute the cream cheese with something else?
Yes, you can substitute with mascarpone cheese for a richer result. Full fat mascarpone has less water content than cream cheese, which aids in creating a stable emulsion that resists crumbling, much like the fat structure in a good Homemade Crescent Roll recipe.
Homemade Butter Mints Recipe
Ingredients:
Instructions:
Nutrition Facts:
| Calories | 30 kcal |
|---|---|
| Protein | 0.1 g |
| Fat | 1.3 g |
| Carbs | 4.5 g |
| Fiber | 0 g |
| Sugar | 4.5 g |
| Sodium | 10 mg |
