Harissa Aioli: the 10-Minute Recipe for a Fiery Condiment
- 🌶️ The Essential Condiment: Mastering Homemade Harissa Aioli
- 🧪 Culinary Science: Why This Harissa Aioli Recipe Works
- 🛒 Ingredients Checklist: Building the Ultimate Harissa Aioli
- Harissa Aioli Nutrition and Dietary Considerations
- The Method: How to Make Smooth, Stable Harissa Aioli
- 👨🏻🍳 Expert Tips & Troubleshooting Common Aioli Mistakes
- Storage, Shelf Life, and Food Safety for Homemade Aioli
- 🍽️ Serving and Pairing Suggestions for Harissa Aioli
- Recipe FAQs
- 📝 Recipe Card
🌶️ The Essential Condiment: Mastering Homemade Harissa Aioli
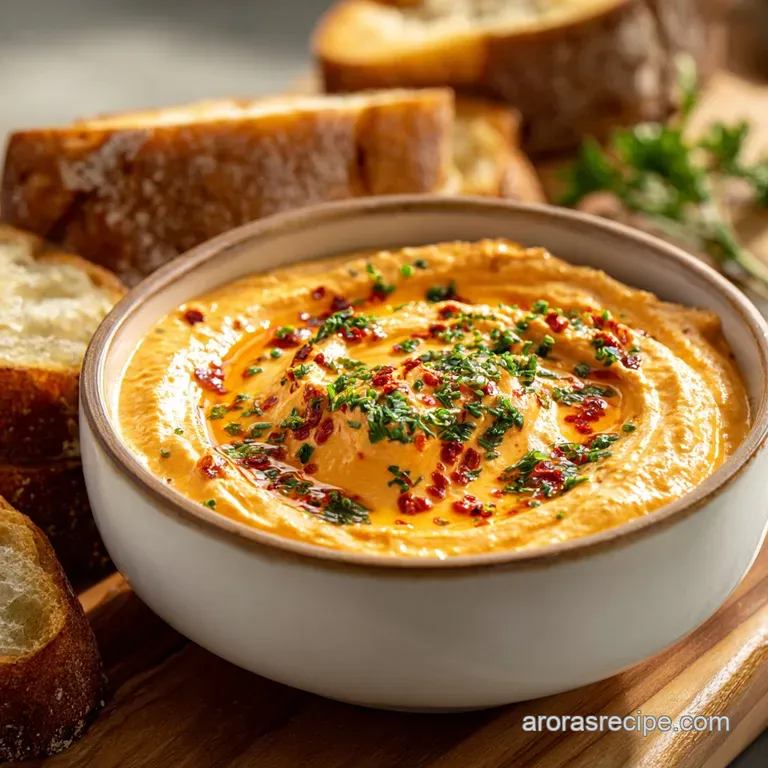
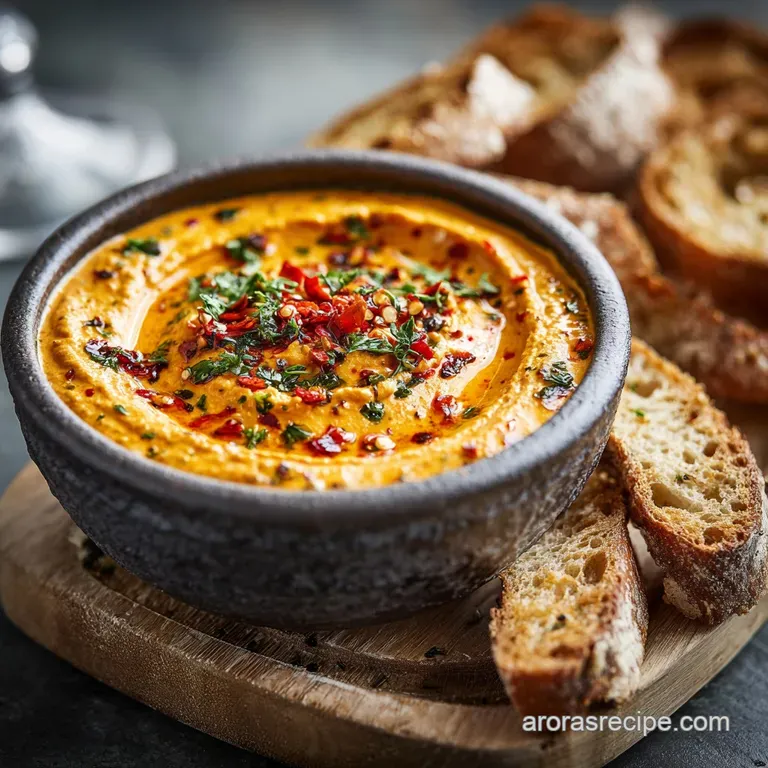
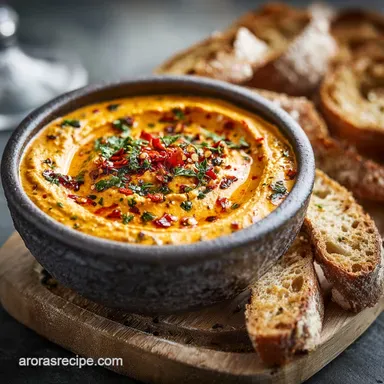
If the aroma of smoky chili, bright lemon, and punchy raw garlic mixed into luxurious velvet sounds like heaven, then pull up a seat. This Harissa Aioli is seriously the closest thing to bottled sunshine you can make in your own kitchen.
It looks gorgeous, boasting a deep terracotta orange, and the texture is so unbelievably smooth it coats everything beautifully.
I am telling you right now, this fiery condiment recipe is a genuine lifesaver for frantic weeknights or last minute entertaining. It takes less than 10 minutes to whip up, uses super cheap ingredients you probably already have, and suddenly makes that boring bag of frozen fries taste like a gourmet snack.
Forget store-bought sauces entirely, you deserve better than that overly sweet, slightly metallic tasting stuff.
We are going to make a proper emulsion, the real deal aioli, but I’ll give you the easiest cheat method that guarantees success every single time. Stop stressing about split sauces and let's crack on with making the best spicy aioli dip you’ve ever tasted.
🧪 Culinary Science: Why This Harissa Aioli Recipe Works
It’s all about creating a stable bond between oil and water, which is what an emulsion is. This Harissa Aioli recipe works so brilliantly because we start with a strong, room temperature base of egg yolk and acid (lemon juice).
The lecithin in the yolk acts as the molecular glue, trapping the tiny droplets of oil and keeping them suspended beautifully.
Using neutral oil, like Rapeseed or Canola, ensures that the complex flavor of the Harissa paste and the fresh garlic really sing. We don't want a heavy, bitter olive oil interfering with that perfect smoky heat. The key trick here is patience.
You have to introduce the oil at a glacial pace initially, or that beautiful emulsion will break faster than you can say, "Oh dear."
My Big Early Mistake
I wasted so many ingredients when I first tried making homemade aioli because I didn't realize temperature mattered. I thought I could just yank the egg out of the fridge and start whisking. Wrong!
Cold ingredients resist emulsification like oil resists water, resulting in a thin, watery, sad mess. Now I always set my egg yolk out for 30 minutes before starting.
Speed and Stability
While this fiery condiment recipe is fast (seriously, 10 minutes max), its real genius lies in its stability. The lemon juice not only brightens the Harissa aioli flavor but also helps set the emulsion, meaning this sauce holds up perfectly in the fridge for several days.
This is serious batch cooking potential, folks.
🛒 Ingredients Checklist: Building the Ultimate Harissa Aioli
Every ingredient here plays a specific role, from emulsifier to stabilizer. Don’t skip the acid; it’s essential for both flavor and stability.
Harissa Aioli Nutrition and Dietary Considerations
Yes, this sauce is primarily oil and egg yolk, so it’s rich, creamy, and calorie dense. It’s meant to be a potent, flavor packed condiment, not a low-fat dressing! On the bright side, because it’s so flavor intense, a little bit goes a very long way.
If you use aquafaba (chickpea liquid) instead of egg yolk, you can easily turn this into a fantastic vegan aioli.
Egg Yolk and Oil Secrets
You simply must use a pasteurized egg yolk if you have any health concerns about eating raw egg. But remember, it needs to be at room temperature, which is non-negotiable for success.
| Ingredient | Why it Matters | Substitution Option |
|---|---|---|
| Egg Yolk | Emulsifier (the glue); gives richness. | Aquafaba (chickpea liquid) for vegan. |
| Neutral Oil | Creates the volume; should be flavourless. | Light olive oil (not Extra Virgin), grapeseed, or sunflower oil. |
| Garlic | The necessary savoury punch. | Roast garlic (milder) or 1/4 tsp garlic powder (not as fresh). |
The Heat and The Zing
Harissa paste is the star of this show, providing that wonderfully deep, complex, slow burn heat. Different brands vary wildly in heat level, so taste yours first! Lemon juice cuts through all that richness, keeping the Harissa aioli sauce from tasting too heavy.
Chef's Note: If your Harissa paste is on the mild side, try adding a tiny pinch of cayenne pepper when you mix it in to really boost the spicy kick.
| Ingredient | Why it Matters | Substitution Option |
|---|---|---|
| Harissa Paste | Flavour, colour, and heat; must be high-quality. | Sriracha or Calabrian chili paste (adjusting down, as they are often sharper). |
| Lemon Juice | Acid for stability and brightness. | White wine vinegar or lime juice. |
| Salt/Pepper | Essential seasoning. | White pepper gives a cleaner, less visible heat. |
The Method: How to Make Smooth, Stable Harissa Aioli
We are going to use the immersion blender technique because it’s foolproof. If you want to use a whisk, bless your wrist, but the steps remain the same: slow start, quick finish.
Setting Up the Emulsion Base
Grab that tall, narrow container that came with your stick blender; this shape is critical for success. Combine your room temperature egg yolk, grated garlic, salt, pepper, and lemon juice. Give it a good whisk or pulse with the blender for just a few seconds until everything is combined and slightly frothy.
This pre-mix ensures the emulsifying agents are ready to work.
The Critical Pour
This is where you earn your chef stripes. Place the head of the immersion blender firmly on the bottom of the container, trapping the yolk mixture beneath it. Start blending on medium speed. Now, pour the oil very, very slowly over the top of the blender head. Do not lift the head.
You will literally see a thick, creamy layer begin to form at the bottom within 30 seconds. Once about a third of the oil is incorporated and the bottom is thick, you can slowly lift and lower the blender head to incorporate the rest of the oil in a thin, steady stream.
👨🏻🍳 Expert Tips & Troubleshooting Common Aioli Mistakes
The best cooks aren't the ones who never make mistakes; they are the ones who know how to fix them immediately.
Fixing a Split Aioli (The Kitchen Emergency)
If your homemade Harissa Aioli suddenly looks curdled, oily, and thin it’s split! Don't panic and do not throw it out. In a separate, clean bowl, place one fresh egg yolk (room temperature) and 1 teaspoon of fresh lemon juice. Whisk this aggressively until it is pale.
Now, grab your broken aioli mixture and slowly, drop by drop, whisk it into the fresh yolk base. It’s like magic; the fresh yolk acts as a new emulsifier and accepts the broken oil perfectly, bringing the whole sauce back to life.
The Harissa Integration Blunder
People often make a perfectly thick aioli, then dump in the Harissa and violently over blend it. Stop! You want to fold or gently pulse the Harissa paste in after the emulsion is completely stable. Over blending the finished Harissa aioli can sometimes cause the emulsion to loosen up again.
Plus, we want swirls of rich colour, not just a monotone blob.
Storage, Shelf Life, and Food Safety for Homemade Aioli
Since this is a fresh, raw egg preparation, you need to be mindful of storage times. Homemade Harissa Aioli should last safely for 5 to 7 days in the refrigerator. Always keep it in an airtight container to prevent the garlic aroma from taking over your fridge.
Regarding freezing: Do not freeze this. The emulsion structure will totally collapse and split into an oily, watery mess once thawed. Since it only takes 10 minutes to make, just whip up a fresh batch whenever you need it.
🍽️ Serving and Pairing Suggestions for Harissa Aioli
This spicy aioli dip is so robust it can stand up to heavy hitters, yet it's versatile enough for simple vegetable dippers. It is truly your secret weapon for incredible flavour layering.
The Ultimate Dipping Sauce
Think of anything crispy, salty, or fried. This is absolutely perfect slathered on sandwiches or used as a dip for chips and fries. It’s superb alongside baked sweet potato wedges or used as a dipping sauce for onion rings. We love it smeared under the cheese on a grilled halloumi and vegetable stack.
I’ve also found that its heat and brightness are killer when paired with seafood. For instance, the kick from the Harissa complements the richness of battered items beautifully. Try using it instead of regular aioli next time you make Crispy Paua Fritters: The Kiwi Classic with Tender Abalone Aioli .
Harissa Aioli Variations
Want to take this already brilliant sauce even further? Try these easy tweaks:
- Lime and Cilantro: Swap out the lemon juice for fresh lime juice and fold in a tablespoon of finely chopped cilantro at the end. This gives it a brighter, slightly Latin inspired profile.
- Roast Garlic Depth: Roast your garlic until it’s soft and sweet, mash it, and use that instead of the raw clove. It provides a deeper, mellower note that's less sharp and more subtle. Perfect if you’re planning to serve this on something delicate like white fish.

Recipe FAQs
Why did my Harissa Aioli separate or break?
This common issue is usually due to adding the oil too quickly at the start, or having ingredients at radically different temperatures. If it breaks, whisk a teaspoon of hot water or fresh lemon juice into the broken mixture, then slowly drizzle in a tablespoon of neutral oil to re-emulsify it.
Can I use high-quality store-bought mayonnaise instead of making the aioli from scratch?
Yes, you can skip the emulsion process entirely by stirring Harissa paste, garlic, and lemon juice directly into store-bought mayonnaise. While the texture won't be as precise as true aioli, this method is fantastic for a quick, robust flavour boost.
Is there a significant difference between jarred and tube harissa paste?
Absolutely; traditional Harissa pastes vary greatly in heat and smokiness depending on the brand and chili type used. Tube paste is often more concentrated and potent, while jarred varieties may contain more oil and preserved lemon, so always start with less and taste as you go.
How long will homemade Harissa Aioli last in the refrigerator?
Because this proper aioli uses a raw egg yolk base, it must be stored in an airtight container and should be used within 5 to 7 days for optimum safety and flavour. It is not suitable for freezing, as the emulsion will separate upon thawing.
Can I make this Harissa Aioli vegan?
Yes, you can substitute the egg yolk with an equal amount of aquafaba (the viscous water from a can of chickpeas) or use a quality prepared vegan mayonnaise as a base. The critical step of slowly drizzling in the oil remains necessary to achieve the proper texture, regardless of the base.
Does the type of oil matter when making the emulsion?
Crucially, you must use a neutral oil like grapeseed or canola for the bulk of the emulsion, as pure olive oil can taste heavy or bitter when used in large amounts for aioli. You can finish the aioli with a small drizzle of high-quality extra virgin olive oil just for flavour complexity at the very end.
How do I adjust the heat level without compromising the garlic and lemon notes?
Control the heat entirely by adjusting the amount of Harissa paste added, starting with a small teaspoon and increasing gradually after tasting. For a cooling counterbalance that mutes the spice slightly, incorporate a small pinch of powdered sugar or a little extra squeeze of fresh lemon juice.
Homemade Harissa Aioli Sauce
Ingredients:
Instructions:
Nutrition Facts:
| Calories | 544 kcal |
|---|---|
| Protein | 2.4 g |
| Fat | 56.7 g |
| Carbs | 2.0 g |
