Peanut Butter Blossoms: Classic & Chewy
- Time: Active 20 minutes, Passive 10 minutes, Total 30 minutes
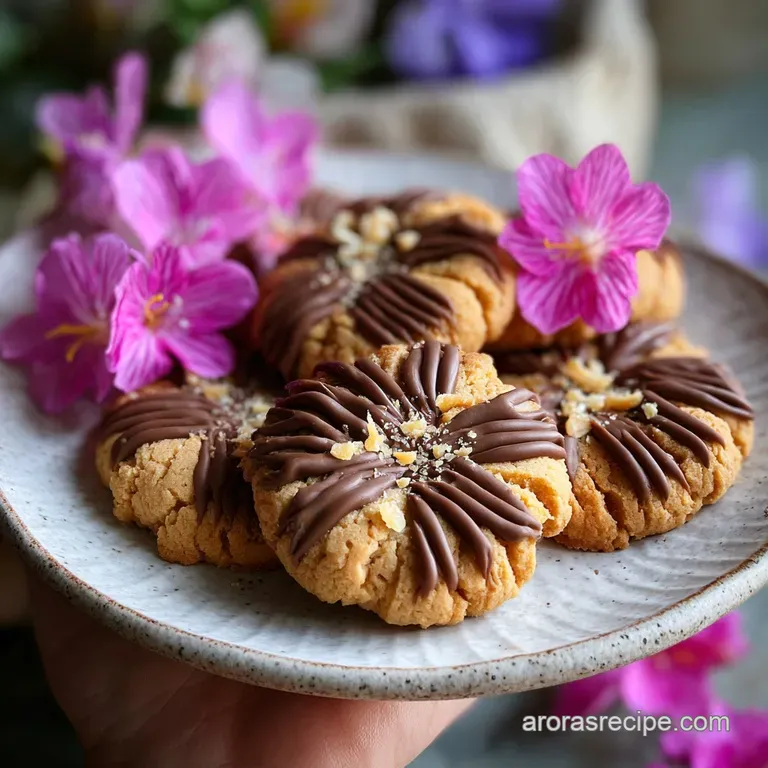
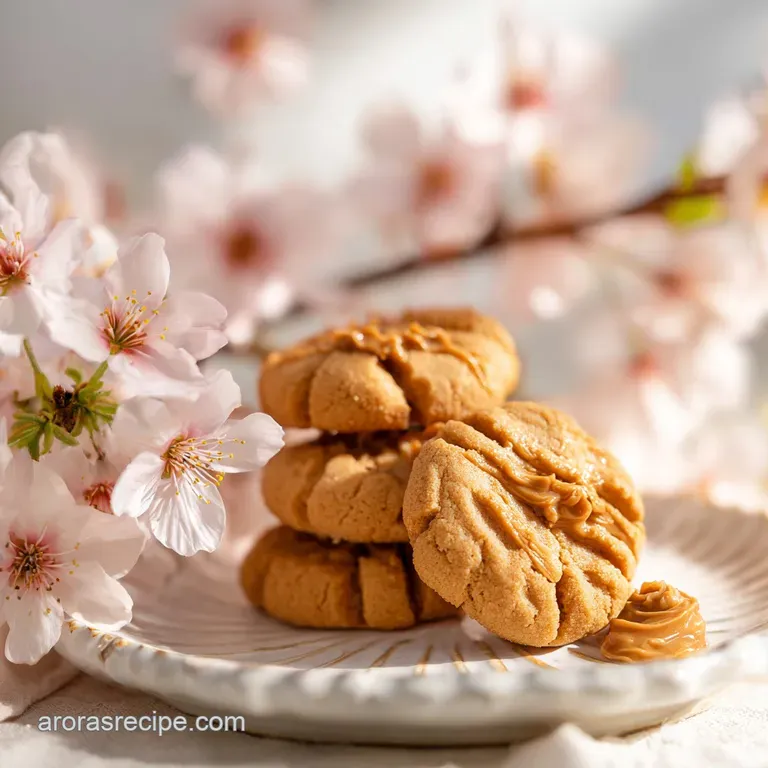
- Flavor/Texture Hook: Velvety peanut butter crumb with a melting chocolate core
- Perfect for: Holiday cookie swaps or simple weekend baking with kids
- Soft and Chewy Classic Peanut Butter Blossoms
- Why This Homestyle Recipe Works
- Essential Baking Specs and Times
- Simple Ingredients for Strong Results
- Essential Tools for Stress Free Baking
- Step-by-Step Guide to Perfect Cookies
- Solving Common Cookie Baking Issues
- Fun Flavor Variations to Try
- Easy Storage and Reheating Tips
- Myths About This Classic Cookie
- How to Serve These Treats
- Scaling the Recipe
- Recipe FAQs
- 📝 Recipe Card
Soft and Chewy Classic Peanut Butter Blossoms
There is nothing quite like the aroma of toasted peanut butter and melting chocolate filling up a kitchen on a chilly afternoon. Whenever I pull a tray of these out of the oven, it takes me right back to my grandma’s farmhouse in the Midwest, where the cookie jar was never empty and the oven was always warm.
These cookies are the ultimate homestyle comfort, and they are surprisingly stress free to whip up when you need a quick win for a potluck.
I have spent years tweaking this recipe because I used to struggle with the cookies getting too dry or the chocolate kisses just rolling right off the top. It was frustrating to put in the work and end up with a tray of "shatter" cookies that crumbled before you could even take a bite.
After a lot of trial and error in my own kitchen, I found that the secret lies in the moisture balance and the timing of that iconic chocolate press.
We've all been there, staring at a recipe that looks too fussy or requires fancy ingredients you can't find at the local shop. This version is built for the everyday cook who wants strong results without the headache.
Whether you are making these as your first batch of Christmas peanut butter blossoms or just as a Tuesday treat, you are going to love how simple and reliable this method is.
Why This Homestyle Recipe Works
Understanding the "how" behind your baking makes the whole process much more relaxed. When you know why the dough behaves the way it does, you can stop worrying about every little movement and just enjoy the process of creating something hearty and good.
- Mechanism: The combination of brown sugar and granulated sugar creates a hygroscopic effect, where the brown sugar pulls in moisture to keep the center soft while the white sugar helps the edges get a tiny bit of crisp.
- Protein Structure: Peanut butter adds extra protein and fat, which interferes with gluten development, resulting in a more tender, velvety crumb that doesn't feel like a piece of bread.
- Thermal Contact: Pressing the cool chocolate into the hot cookie creates a "flash melt" at the base, acting as a natural glue that keeps the kiss attached once it resets.
The Science of Why it Works
The leavening comes from baking soda reacting with the acidic molasses in the brown sugar, creating carbon dioxide bubbles that lift the dense dough. This creates that classic crinkle on the surface when the structure sets before the air finishes expanding.
| Baking Method | Total Time | Texture Outcome | Best Use Case |
|---|---|---|---|
| Classic Oven | 30 minutes | Soft center, crisp edge | Traditional holiday platters |
| Chilled Dough | 1 hours 30 mins | Thicker, loftier cookie | When you want a "bakery" look |
| Small Batch | 20 minutes | Extra soft and gooey | Quick cravings for two people |
Choosing the right method depends on how much time you have. If you are in a rush after a simple lunch of my Homemade Beans on recipe, the classic oven method is your best friend for speed and reliability.
Essential Baking Specs and Times
Success in baking usually comes down to three things: temperature, timing, and a little bit of patience. I like to keep things simple, so I don't use fancy scales unless I absolutely have to, but having a few hard numbers to aim for makes everything much more predictable.
Ingredient Deep Dive
| Ingredient | Science Role | Pro Secret |
|---|---|---|
| Creamy Peanut Butter | Fat and Flavor | Avoid "natural" stir style brands as the oil separation ruins the emulsion. |
| Light Brown Sugar | Moisture Retainer | Pack it tight in the cup to ensure you get the full molasses hit for chewiness. |
| All Purpose Flour | Structural Base | Spoon and level your flour; packing it too tight leads to a dry, crumbly mess. |
Whenever I'm getting ready to bake, I make sure my butter is sitting out for at least an hour. You want it soft enough that your finger leaves an indent, but not so oily that it's starting to melt. This is the foundation of a good creamed base, and it's the one step you really shouldn't rush.
Simple Ingredients for Strong Results
The beauty of homemade peanut butter blossoms is that you likely have almost everything in your pantry right now. I'm a big fan of budget smart baking, so I've figured out what you can swap if you're missing a staple and what you absolutely need to keep for the best flavor.
- 1/2 cup (115g) unsalted butter, softened (Substitute: Salted butter; just omit the extra salt in the recipe) Why this? Provides the rich, creamy mouthfeel and helps the cookies spread perfectly.
- 1/2 cup (135g) creamy peanut butter (Substitute: SunButter for nut free; texture will be slightly stickier) Why this? The star flavor. Creamy works better than crunchy for a smooth, velvety texture.
- 1/2 cup (100g) granulated sugar (Substitute: Caster sugar; it dissolves faster)
- 1/3 cup extra granulated sugar for rollingWhy this? Creates a crystalline barrier that prevents the dough from sticking and adds crunch.
- 1/2 cup (105g) light brown sugar, packed (Substitute: Dark brown sugar; adds a deeper, more caramel like flavor)
- 1 large egg, room temperature (Substitute: 1/4 cup unsweetened applesauce; cookie will be denser)
- 1 tsp vanilla extract (Substitute: Almond extract; use only 1/4 tsp as it's very strong)
- 1.5 cups (190g) all purpose flour (Substitute: 1:1 gluten-free flour blend with xanthan gum)
- 1 tsp baking sodaWhy this? Essential for the lift and that beautiful golden brown color.
- 1/2 tsp salt
- 36 pieces milk chocolate kisses, unwrapped (Substitute: Chocolate chunks or small peanut butter cups)
| Original Ingredient | Substitute | Why It Works |
|---|---|---|
| Unsalted Butter | Vegetable Shortening | Makes the cookie taller and softer, though you lose that buttery flavor. |
| Light Brown Sugar | White Sugar + 1 tsp Molasses | Recreates the moisture and acidity needed for the baking soda to react. |
| Milk Chocolate Kisses | Dark Chocolate Squares | Provides a more sophisticated, less sweet contrast to the salty dough. |
Using these substitutions is a great way to save a trip to the store. If you find the balance of flavors is too sweet, you can always look at techniques used in my Lemon Pepper Sauce recipe where we balance fats with bright notes, though here, a tiny pinch of flaky sea salt on top of the chocolate does the trick.
Essential Tools for Stress Free Baking
You don't need a kitchen full of gadgets to make the best peanut butter blossoms. In fact, some of my favorite batches were made with just a wooden spoon and a bit of elbow grease. However, a few basic tools will make your life a lot easier and ensure every cookie looks just as good as the last.
- Electric Hand Mixer: A stand mixer works too, but a hand mixer is great for feeling the consistency of the dough as it changes.
- Baking Sheets: I prefer light colored aluminum pans because they distribute heat more evenly than dark pans, which can burn the bottoms.
- Parchment Paper: This is my number one tip for stress free cleanup and preventing any sticking.
- Small Cookie Scoop: This ensures every single one of your 36 cookies is the exact same size, so they all finish baking at the same time.
Chef's Tip: Put your unwrapped chocolate kisses in the freezer for about 15 minutes before you start. This prevents them from melting into a puddle when you press them into the hot cookies.
step-by-step Guide to Perfect Cookies
Let's get down to the actual baking. This is the fun part where the house starts smelling like a bakery. Follow these steps, and you'll have a perfect batch of chocolate peanut butter blossoms in no time.
Mixing the Cookie Dough
- Cream the fats. Beat the softened butter, peanut butter, 1/2 cup granulated sugar, and brown sugar in a large bowl until light, fluffy, and pale yellow. Note: This incorporates air for a lighter texture.
- Add the wet ingredients. Mix in the egg and vanilla extract until the yellow of the yolk is fully incorporated.
- Whisk the dry base. In a separate smaller bowl, whisk together the flour, baking soda, and salt.
- Combine the mixtures. Gradually add the flour mixture to the wet ingredients until no white streaks of flour remain. Note: Don't overmix here or the cookies will be tough.
Rolling and Baking
- Prep the coating. Place the 1/3 cup of extra granulated sugar into a small shallow bowl.
- Shape the dough. Scoop about 1 tablespoon of dough and roll it into a 1 inch ball between your palms.
- Roll in sugar. Toss the ball in the granulated sugar until it is completely coated in a sparkly layer.
- Arrange on pans. Place the balls 2 inches apart on your prepared baking sheets.
- Initial bake. Bake at 375°F for 8 to 10 minutes until the edges are just set and the tops start to crack slightly.
- The "Blossom" fusion. Immediately press a chocolate kiss into the center of each warm cookie. Note: The cookie will crack more around the edges; this is the classic look!
Once the kisses are in, leave the cookies on the baking sheet for about 5 minutes. This allows the residual heat to finish cooking the centers without over browning the bottoms. Then, move them to a wire rack to cool completely.
Solving Common Cookie Baking Issues
Even with a reliable recipe, sometimes things go sideways. Maybe the oven was running hot, or the flour was a bit old. Whatever the case, most cookie problems have a simple fix that you can use for the next batch.
Solving Dry Crumbly Cookies
If your dough feels like sand and won't hold a ball shape, you likely have too much flour. This often happens if you use the measuring cup to scoop directly from the bag, which packs the flour down. To fix it, try adding a teaspoon of milk to the dough to bring it back together.
Keeping Chocolate Kisses Attached
There is nothing sadder than a "blossom" where the flower has fallen off. This usually happens if the cookies have cooled too much before you press the chocolate in. You need to be fast! Have your kisses unwrapped and ready to go the second those cookies hit the counter.
Managing Greasy Dough Issues
If your dough is so oily that it's sliding around, your kitchen might be too warm or your butter was too soft. Pop the whole bowl of dough in the fridge for 20 minutes. Cold fat is easier to handle and won't spread as much in the oven.
| Problem | Root Cause | Solution |
|---|---|---|
| Flat Cookies | Butter was too melty | Chill the dough balls for 15 minutes before baking. |
| Hard Cookies | Overbaked | Take them out when the centers still look slightly soft; they firm up as they cool. |
| No Cracks | Too much moisture | Ensure you aren't using an extra large egg; stick to "Large" size. |
I've made every one of these mistakes at least once. One time I forgot the baking soda entirely, and I ended up with little peanut butter hockey pucks! But that's the beauty of baking; even the "failures" usually taste pretty good with a glass of milk.
Common Mistakes Checklist
- ✓ Always unwrap your chocolate kisses before the cookies come out of the oven.
- ✓ Don't skip rolling the balls in sugar; it provides the necessary structure for the edges.
- ✓ Check your oven temperature with a separate thermometer if your cookies consistently burn.
- ✓ Let the cookies cool on the pan for 5 minutes to prevent them from breaking when moved.
- ✓ Avoid using "old" baking soda; if it's been open for more than 6 months, it might not lift the dough.
Fun Flavor Variations to Try
Once you've mastered the easy peanut butter blossoms, you can start getting a little creative. The base dough is very forgiving, which means it acts as a great canvas for different flavors and textures.
For the Holidays
For Christmas peanut butter blossoms, I love to use colored sanding sugar instead of regular granulated sugar. Red and green sparkling cookies with that chocolate kiss in the middle look absolutely beautiful on a dessert tray. You can also swap the vanilla for peppermint extract if you want a truly festive vibe.
The Gourmet Twist
If you want something a bit more grown up, try using dark chocolate kisses and sprinkling a tiny pinch of flaky Maldon salt on top right after pressing the chocolate in. The salt cuts through the richness and makes the peanut butter flavor really pop.
You could even use the almond flour trick mentioned in some recipes for a denser, heartier texture, though it will change the crumb significantly.
| Cookie Style | Ingredient Change | Resulting Texture |
|---|---|---|
| Extra Soft | Replace 1/4 cup flour with cornstarch | Very tender, melt in-your mouth feel. |
| Crunchy | Use "Extra Crunchy" peanut butter | Bits of nut throughout the cookie for more texture. |
| Double Chocolate | Add 2 tbsp cocoa powder to the flour | A rich, brownie like base for the kiss. |
Easy Storage and Reheating Tips
One of the reasons I love this homemade peanut butter blossoms recipe is that they actually stay soft for a long time. In my house, they rarely last more than two days, but if you're making them for a party, you can definitely prep ahead.
Storage: Keep your cookies in an airtight container at room temperature. They will stay fresh and soft for up to 5 days. If you find they are starting to get a little firm, put a piece of white bread in the container with them; the cookies will absorb the moisture from the bread.
Freezing: These cookies freeze beautifully. You can freeze the baked cookies for up to 2 months. Just make sure they are completely cool so the chocolate doesn't cause condensation. You can also freeze the raw dough balls (before rolling in sugar) for up to 3 months.
When you're ready to bake, just let them thaw for 30 minutes, roll in sugar, and bake as directed.
Zero Waste Tip: If you have leftover chocolate kisses, chop them up and use them in your next batch of pancakes or as a topping for oatmeal. And if you end up with "cookie crumbs" at the bottom of the jar, save them! They make a fantastic crunchy topping for vanilla ice cream.
Myths About This Classic Cookie
Over the years, I've heard a lot of "rules" about baking these that just aren't true. Let's clear some of those up so you can bake with confidence.
Myth 1: You must chill the dough for hours. While chilling doesn't hurt, it's not strictly necessary for this specific recipe. The ratio of flour to fat is high enough that the cookies won't turn into pancakes if you bake them right away.
It's a "stress free" win for when you want cookies now.
Myth 2: Natural peanut butter is "healthier" for baking. While it might have fewer additives, the oil separation in natural peanut butter is a nightmare for cookie structure. It often leads to a greasy dough that spreads too much.
For that classic homestyle texture, the standard creamy stuff (like Jif or Peter Pan) is actually the better tool for the job.
Myth 3: You have to melt the chocolate slightly. Some people think you need to put the cookies back in the oven after adding the kiss. Don't do it! The residual heat from the fresh out-of the-oven cookie is plenty.
Putting them back in the oven will cause the chocolate to bloom (get those white streaks) or lose its shape entirely.
How to Serve These Treats
Presentation is half the fun, especially during the holidays. I like to pile these high on a big ceramic platter. They look best when they aren't perfectly uniform those little cracks around the chocolate kiss are a sign of a perfectly baked, authentic cookie.
The Festive Holiday Platter
If you're serving these at a party, pair them with other textures. They go great alongside something crispy like shortbread or something tart like a lemon bar. The richness of the peanut butter is a great middle ground flavor that almost everyone loves.
Milk and Melts Pairing
Of course, you can't go wrong with a cold glass of milk. But if you're feeling a bit fancy, try serving them with a hot cup of coffee or even a spicy chai tea. The warmth of the drink slightly softens the chocolate kiss as you take a bite, making for a truly velvety experience.
No matter how you serve them, these cookies are a guaranteed hit because they taste like home.
Scaling the Recipe
If you are baking for a big school event or just a small household, you might need to adjust the yield.
- Scaling DOWN (18 cookies): Use exactly half of every ingredient. For the egg, whisk it in a small bowl first, then measure out about 2 tablespoons. Use a smaller baking sheet and check for doneness 2 minutes earlier than usual.
- Scaling UP (72 cookies): Double all ingredients. However, be careful with the baking soda and salt I usually only go to 1.75x the amount (about 1.75 tsp soda and 3/4 tsp salt) to avoid a chemical aftertaste. Work in batches and keep the dough in the fridge while the first set bakes to keep the fat from getting too soft.
Baking these shouldn't be a chore. It's about that moment when you sit down with a warm cookie, the chocolate is still a little soft, and everything else just fades away for a minute. Happy baking, friend!

Recipe FAQs
Why do my Peanut Butter Blossoms spread too much?
Your butter might be too soft or melted. For best results, ensure your butter is softened to room temperature, meaning it yields to gentle pressure but isn't greasy. If the dough feels too warm, chilling it for 20 minutes before baking can help prevent excessive spreading.
Can I use natural peanut butter in this recipe?
No, it's best to use standard creamy peanut butter. Natural peanut butter often has oil separation which can lead to a greasy dough and cookies that spread too much. Stick to processed creamy peanut butter for that classic chewy texture.
How do I get the chocolate kiss to stick to the cookie?
Press the kiss into the cookie immediately after it comes out of the oven. The residual heat from the hot cookie will slightly melt the base of the kiss, acting like glue. Have your unwrapped kisses ready to go.
My cookies are dry and crumbly, what did I do wrong?
You likely used too much flour. Scooping flour directly from the bag can compact it, leading to dry cookies. For a more tender crumb, spoon flour into your measuring cup and level it off. If the dough feels too dry, try adding a teaspoon of milk.
How can I make my Peanut Butter Blossoms festive for holidays?
Use colored sanding sugar and festive extracts. Roll the cookie dough balls in red or green sanding sugar for Christmas, or a mix of colors for other celebrations. Swapping vanilla extract for peppermint extract can also add a lovely holiday aroma, similar to how flavor profiles are adjusted in our Red Velvet Cake: Classic Southern Recipe in 1 Hour 5 Mins.
Can I freeze Peanut Butter Blossom dough?
Yes, you can freeze the raw dough balls. Roll the dough into balls, place them on a baking sheet, and freeze until solid. Transfer them to an airtight container or freezer bag for up to 3 months. Bake them directly from frozen, adding a few extra minutes to the baking time.
What's the best way to store leftover Peanut Butter Blossoms?
Store them in an airtight container at room temperature. They will stay soft and delicious for up to 5 days. If they start to feel a bit firm, placing a slice of white bread in the container will help reintroduce moisture, keeping them wonderfully chewy, much like ensuring proper moisture balance in our Sweet Potato Casserole: Classic Recipe with Pecan Streusel Topping.
Peanut Butter Blossoms
Ingredients:
Instructions:
Nutrition Facts:
| Calories | 119 calories |
|---|---|
| Protein | 1.9 g |
| Fat | 6.2 g |
| Carbs | 15.1 g |
| Fiber | 0.5 g |
| Sugar | 11.6 g |
| Sodium | 84 mg |
