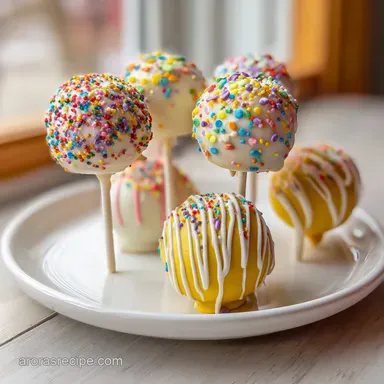
Starbucks Cake Pops: Copycat Recipe
- Time: Active 25 minutes, Passive 30 minutes, Total 55 minutes
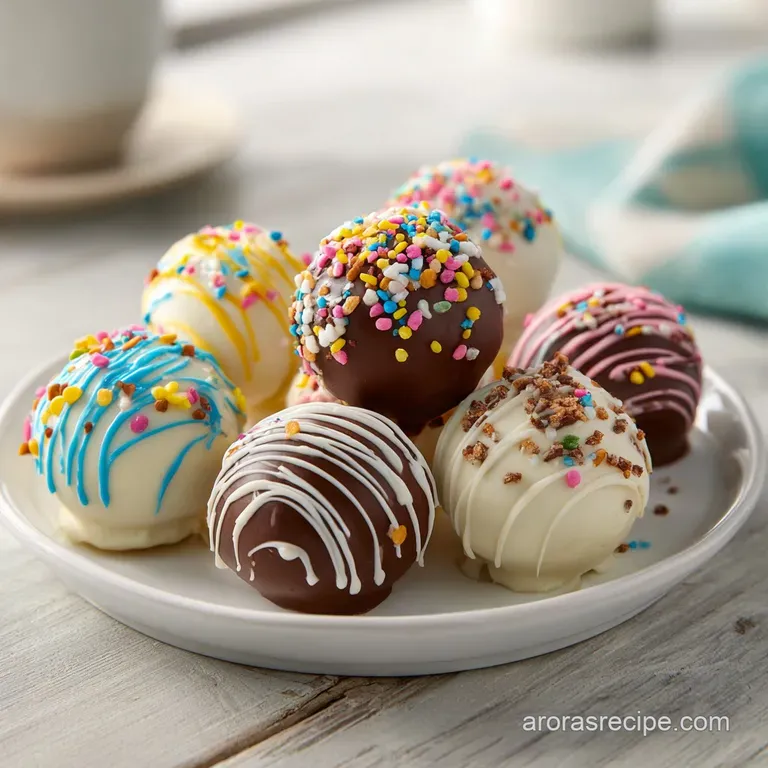
- Flavor/Texture Hook: Velvety vanilla center with a crisp chocolate shatter
- Perfect for: Birthday parties, afternoon pick me-ups, or budget smart school treats
- Mastering Fudgy Texture for Homemade Starbucks Cake
- Why This Pink Treat Always Wins
- Component Analysis and Selection
- Pantry Staples for Bakery Results
- Tools for the Perfect Finish
- Simple Steps for Flawless Pops
- Solving Common Coating Problems
- Smart Swaps for Busy Bakers
- Proper Storage for Fresh Flavor
- Occasions for These Handheld Treats
- Recipe FAQs
- 📝 Recipe Card
Mastering Fudgy Texture for Homemade Starbucks Cake
The air in a Midwestern kitchen during a bake sale prep is thick with the scent of vanilla and the rhythmic tapping of spoons against glass. I remember my grandmother standing over a bowl of "oopsie" cake the ones that didn't rise quite right or had a corner snagged in the pan.
She never saw a mistake; she saw the potential for something richer. She would crumble those scraps into a bowl, add a dollop of her famous buttercream, and roll them into what she called "hospitality balls." It was the ultimate way to stretch a budget while making everyone feel like they were getting a gourmet truffle.
That tradition of turning simple cake into a dense, fudgy masterpiece is exactly what makes the Starbucks Cake pop so iconic. It isn't just a piece of cake on a stick; it’s a specific texture that sits right between a brownie and a truffle.
To get that at home, we have to lean into the science of the "mess." We aren't looking for light and airy here. We want a tight, velvety crumb that holds its shape against the weight of a heavy candy coating. It’s about taking those humble box mix roots and treating them with the respect of a pastry chef.
When you bite into one of these, you want that satisfying snap of the pink shell followed immediately by a center that almost melts on your tongue. Achieving that requires a bit of patience and a few tricks I’ve picked up over years of "fixing" cakes that didn't go quite as planned.
We’re going to use the "Freeze Flash" method to ensure our pops don't dive bomb into the warm chocolate, and we’re going to talk about why vegetable shortening is your best friend when it comes to a smooth, dippable coating.
Right then, let's crack on with the secrets to making these look like they came straight from the glass display case.
Why This Pink Treat Always Wins
Structural Binding: Mixing frosting into fine crumbs creates a dense "dough" by filling the air pockets inherent in the sponge, ensuring the pop stays on the stick.
Fat Stabilization: The "Freeze Flash" step firms up the vegetable oil and frosting fats, which prevents the cake from softening or falling apart when submerged in warm candy melts.
Emulsion Thinning: Adding vegetable shortening to the candy melts breaks down the surface tension of the chocolate, allowing it to flow smoothly and creating a thinner, more professional shell that provides a clean shatter.
| Cooking Method | Active Time | Resulting Texture | Best For |
|---|---|---|---|
| Hand Crumbeled | 25 minutes | Dense, rustic, and slightly chewy | Traditional coffee shop feel |
| Food Processor | 15 minutes | Ultra fine, silky, and uniform | High volume party prep |
| Stand Mixer | 20 minutes | Fudgy with a bit of "bite" | Maximum flavor integration |
When we talk about the chemistry of a great cake pop, we have to look at the moisture to fat ratio. A regular cake is mostly air and structure; a cake pop is a compressed version of those flavors.
By using egg whites instead of whole eggs in the base, we keep the color pale and the flavor focused on the vanilla, allowing the pink coating to really pop visually.
Component Analysis and Selection
| Ingredient | Science Role | Pro Secret |
|---|---|---|
| White Cake Mix | Provides the structural starch and sweetness | Sift the dry mix first to ensure a perfectly smooth batter without lumps. |
| Egg Whites | Creates a lean, bright white crumb | Using whites only prevents the yellow tint of yolks from muddying the pink dye. |
| Vegetable Shortening | Lowers melting point of coating | This prevents the candy from seizing and gives it a glossy, professional sheen. |
| Pink Candy Melts | Forms a protective moisture barrier | Heat in a narrow glass rather than a wide bowl for easier, deeper dipping. |
If you find yourself running low on white cake mix or want a richer flavor profile, you can easily pivot. This base is incredibly forgiving, much like the foundation of a Texas Sheet Cake, where the goal is a moist, reliable crumb that stands up to a heavy topping or coating.
Pantry Staples for Bakery Results
To get started, gather your supplies. We’re keeping this budget friendly by using a standard box mix, but we’re treating it like a custom order.
- 1 box (15.25 oz) Super Moist White Cake Mix: This is our reliable base. Why this? Provides consistent rise and a neutral flavor profile for the vanilla.
- 1 cup water: Standard hydration.
- 0.33 cup vegetable oil: Keeps the crumb moist and helps the cake crumble without becoming gluey.
- 3 large egg whites: Keeps the cake light and bright white.
- 1 tsp pure vanilla extract: Boosts that "birthday cake" aroma.
- 0.5 cup vanilla frosting: Our binder. Why this? Actively glues the crumbs together into a pliable dough.
- 2 drops pink gel food coloring: For that signature interior hue.
- 16 oz pink candy melts: The classic outer shell.
- 2 tbsp vegetable shortening: The secret to a smooth dip.
- 2 tbsp white nonpareil sprinkles: For the iconic finish.
Tools for the Perfect Finish

You don't need a professional bakery setup to make these, but a few specific tools will make your life much easier. First, grab a 9x13-inch baking pan. I prefer a light colored metal pan to prevent the edges from browning too much.
You'll also need a large mixing bowl for the crumbling phase honestly, the bigger the better because cake crumbs tend to fly everywhere.
For the dipping stage, a deep, narrow glass is a total game changer. If you use a wide bowl, you'll have to tilt it as the chocolate gets low, which leads to messy sticks and uneven coating. A tall juice glass or a glass measuring cup works wonders.
You'll also need about 24 cake pop sticks and something to hold them upright while they dry. A block of styrofoam is the classic choice, but if you're in a pinch, a cardboard box with small holes poked in it works just as well.
Trust me, trying to balance these upside down on a plate is a recipe for a flat headed disaster.
Simple Steps for Flawless Pops
- Preheat your oven to 350°F (175°C). Combine the white cake mix, water, vegetable oil, egg whites, and vanilla extract in a large bowl. Mix until smooth.
- Pour the batter into a 9x13-inch baking pan and bake for 30 minutes until a toothpick comes out clean. Allow the cake to cool completely in the pan. Note: Cooling is vital; warm cake will melt the frosting and create a greasy mess.
- Crumble the cooled cake into very fine crumbs into a large mixing bowl using your hands or an electric mixer. Continue until no large chunks remain.
- Add the vanilla frosting and pink gel food coloring to the crumbs. Mix thoroughly until a dough like consistency forms and the color is even.
- Roll the mixture into 24 even balls, about 1 tablespoon each. Place them on a parchment lined baking sheet.
- Place the cake balls in the freezer for exactly 15 minutes. Do not skip this; it stabilizes the fats so they don't fall off the sticks.
- Melt the candy melts and shortening together in your narrow glass. Microwave in 30 second intervals, stirring between each, until the mixture is silky and fluid.
- Dip the tip of a cake pop stick into the pink coating, then insert it halfway into a chilled cake ball. Note: This acts as a "glue" to keep the pop anchored.
- Dip the entire cake ball into the coating in one smooth motion. Lift straight out and gently tap your wrist until the excess drips off completely.
- Add the white sprinkles immediately while the coating is wet. Place the pops in a stand or styrofoam block to dry until the shell is hard and matte.
Solving Common Coating Problems
Avoiding the Dreaded "Slide"
There is nothing more frustrating than watching your perfectly rolled cake ball slide down the stick like a slow motion disaster. This usually happens for one of two reasons: the cake ball is too warm, or the "anchor" wasn't set.
By dipping the stick into the chocolate before inserting it into the cake, you create a hardened seal that grips the crumb. If they are still sliding, your cake to frosting ratio might be too heavy on the frosting. The dough should feel like Play Doh, not wet mud.
Solving the Cracking Shell
If you notice small cracks appearing as the coating dries, it’s usually a temperature shock issue. If the cake balls are frozen solid (instead of just chilled) and the candy melts are very hot, the cake will expand as it warms up, bursting through the hardening shell.
To fix this, let your cake balls sit at room temperature for about 2 minutes after taking them out of the freezer before you start dipping. This bridges the temperature gap and keeps the shell intact.
| Problem | Root Cause | Solution |
|---|---|---|
| Lumpy Coating | Candy melts are too thick or old | Add 1 tsp more shortening and stir until velvety. |
| Falling off stick | Cake is too heavy or warm | Ensure the 15 minute Freeze Flash is strictly followed. |
| Bubbles in shell | Stirring too vigorously | Tap the glass on the counter to release air before dipping. |
Common Mistakes Checklist
- ✓ Ensure the cake is 100% cool before crumbling (prevents gummy texture)
- ✓ Use gel coloring instead of liquid (liquid can seize the chocolate)
- ✓ Don't over freeze the balls; 15 minutes is the sweet spot
- ✓ Tap your wrist, not the stick, to remove excess coating (prevents jarring the ball loose)
- ✓ Keep the dipping glass deep enough to submerge the pop in one go
Smart Swaps for Busy Bakers
If you're looking to save a few dollars or just don't want to run to the store for specific items, there are plenty of ways to adapt this. For instance, if you don't have candy melts, you can use white chocolate chips mixed with a little more shortening and a drop of oil based food coloring.
Just be careful, as chocolate chips are more temperamental than candy melts.
For those who enjoy a bit more depth in their sweets, you might consider the crumb technique used in a Sour Cream Coffee Cake. While that's a different style of bake, the principle of creating a flavorful, moist crumb is the same. You could even use leftover coffee cake as your base for a "latte" flavored pop!
| Original Ingredient | Substitute | Why It Works |
|---|---|---|
| Pink Candy Melts | White Chocolate + Pink Oil Dye | Provides a similar snap. Note: Must use oil based dye to prevent seizing. |
| Vegetable Shortening | Coconut Oil (Refined) | Thins the chocolate well. Note: May add a very slight coconut hint. |
| Vanilla Frosting | Softened Cream Cheese | Adds a tangy flavor. Note: Requires constant refrigeration for safety. |
Proper Storage for Fresh Flavor
These little treats are actually better the next day because the moisture in the center has time to fully meld with the crumbs. You can keep them at room temperature in an airtight container for up to 2 days, but if your kitchen is warm, the fridge is a safer bet.
In the refrigerator, they’ll stay fresh for up to 7 days. Just be aware that moving them from a cold fridge to a warm room can sometimes cause "sweat" (condensation) on the chocolate shell.
If you want to make a big batch for later, they freeze beautifully. Place the finished and fully dried pops in a single layer in a freezer bag. They’ll last for up to 6 weeks. When you're ready to eat, move them to the fridge overnight to thaw slowly.
This gradual temperature change helps prevent the coating from cracking or sweating too much.
For a zero waste approach, don't throw away any leftover melted candy or cake crumbs! You can mix the leftover crumbs into some softened butter to make a "cake batter" spread, or drizzle the leftover pink chocolate over popcorn for a sweet and salty snack.
Even the "ugly" pops that didn't quite make the cut can be chopped up and stirred into vanilla ice cream for a homemade "Cake Pop Blast."
Occasions for These Handheld Treats
These pops are the ultimate "social" food. Because they are on a stick, they don't require plates or forks, making them perfect for those busy Midwestern graduation parties or backyard baby showers where people are constantly moving and chatting.
I love setting them out in a tall jar filled with sugar or dried beans to hold them upright it makes for a beautiful, edible bouquet that usually disappears faster than the actual cake.
Gift Idea Strategy
If you're looking for a budget smart gift, a bundle of these wrapped in clear cellophane with a curly ribbon is a showstopper. You can match the ribbon to the pink shell or go with a contrasting white.
They look far more expensive than they are, and since one batch makes 24, you can easily check several people off your gift list with a single afternoon of baking.
The "If You Want X, Do Y" Shortcut
- If you want an ultra smooth finish, pulse the cake crumbs in a food processor until they look like fine sand.
- If you want a "skinny" version, use applesauce instead of oil in the cake base and use low-fat frosting as the binder.
- If you want a more intense vanilla flavor, scrape a real vanilla bean into the frosting before mixing it with the crumbs.
Whatever the reason you're making these, remember that the "secret" is mostly in the temperature. Keep your cool, keep your cake balls chilled, and don't rush the dip. There’s something genuinely satisfying about seeing that perfect, smooth pink sphere emerge from the chocolate.
It feels like a little bit of kitchen magic, and trust me, your friends will be convinced you spent way more than a few dollars on a box of mix. Enjoy the process, and maybe save one or two for yourself before the tray hits the table they never last long!

Recipe FAQs
What types of cakes does Starbucks typically sell?
Starbucks focuses primarily on loaf cakes, cake pops, and coffee cakes. Their menu rotates, but you will consistently find items like lemon loaf, birthday cake pops, and cinnamon coffee cake in their pastry case.
Does Starbucks make their own cakes from scratch?
No, they source them from commercial bakeries. Starbucks operates as a retail distributor, so while their offerings are consistent, they are mass produced off-site rather than baked daily in the store.
What is the 4 minute rule at Starbucks?
This refers to the recommended steep time for a perfect French Press coffee. If you enjoyed mastering the timing for our cake pops, you can apply similar Cheesecake Bites for 24 recipe to ensure your consistency remains perfect every time.
Can you consume Starbucks bakery items with a nut allergy?
Proceed with extreme caution, as Starbucks cannot guarantee an allergen free environment. Many of their products are produced in facilities that handle nuts, and cross contamination is a significant risk in a shared kitchen setting.
How to prevent the cake from turning gummy when crumbling?
Ensure the cake is 100% cool before you start crumbling it. Trapped steam creates moisture that ruins the texture, so allow it to reach room temperature entirely after its 30-minute bake time.
How to fix cake pops that fall off the stick while dipping?
Dip the tip of your stick into the candy coating before inserting it into the cake ball. This acts as a glue, and remember to tap your wrist not the stick to remove excess coating to keep the ball stable.
How to achieve a smooth finish on the candy coating?
Use a deep, narrow glass to submerge the entire cake ball in one fluid motion. Combining your candy melts with vegetable shortening helps thin the mixture, ensuring a professional, even coat without needing to dip multiple times.
Starbucks Cake Pops
Ingredients:
Instructions:
Nutrition Facts:
| Calories | 227 calories |
|---|---|
| Protein | 1.1 g |
| Fat | 11.9 g |
| Carbs | 30.3 g |
| Fiber | 0.2 g |
| Sugar | 22.8 g |
| Sodium | 146 mg |
