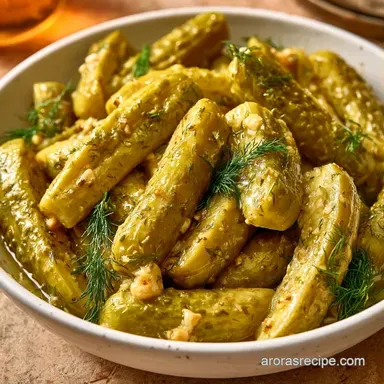
Crunchy Fresh Dill Pickles
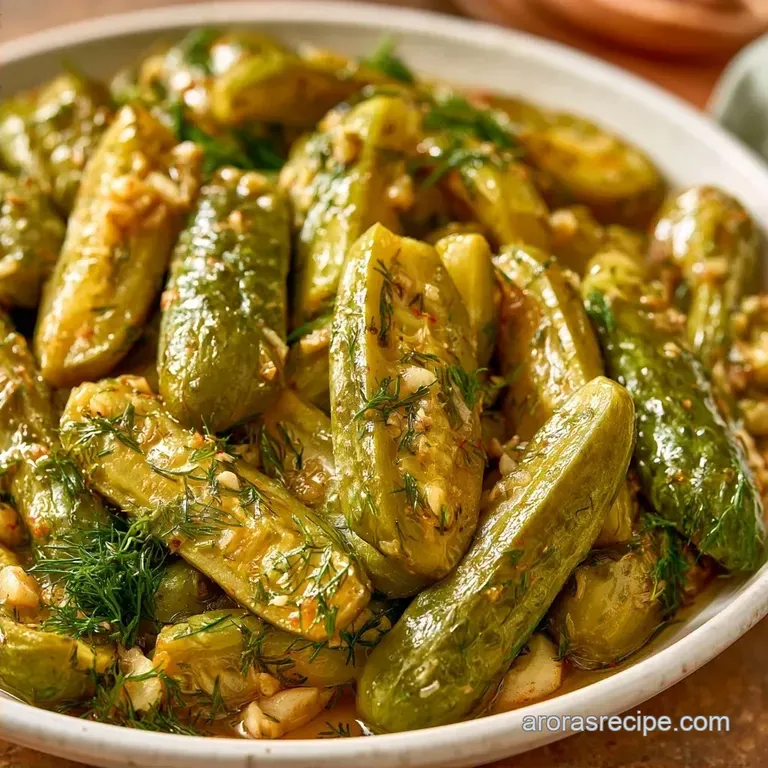
- Time: 20 min hands-on + 24 hours in the fridge
- Taste & Bite: A zesty, vinegary punch with a loud, crisp snap
- Perfect for: Backyard BBQs, sandwich toppings, or simple meal prep
- Quick Details for Your Pickles
- Why These Pickles Stay Crisp
- What Each Ingredient Does
- Minimal Tools for This Job
- Making Fresh Dill Pickles
- Fixing Common Pickle Problems
- Different Ways to Flavor Them
- Storage and Waste Tips
- Best Ways to Serve These
- CRITICAL: Very High in Sodium
- Recipe FAQs
- 📝 Recipe Card
The aroma of hot vinegar and crushed garlic always brings me back to my grandmother's Nashville kitchen. I can still imagine her slicing Kirby cucumbers on a thick wooden block. There is nothing quite like that first bite of a chilled pickle that truly cracks.
Many believe a professional canning kit is necessary for a great crunch, but that's simply not the case. All you need is the right cucumber variety and a little patience. These Fresh Dill Pickles are made for those who want that deli style quality without spending hours over a boiling pot.
You can expect a bright, clean zing that cuts through rich flavors. We use a combination of dill weed and umbrellas to create a deep, herbal profile. It's a basic process that turns humble garden vegetables into a snack you'll actually crave.
Quick Details for Your Pickles
Here are the specifics. This batch produces 4 pint jars. Expect to spend about 20 minutes preparing the vegetables and 15 minutes heating the brine.
The total duration is 25 hours 5 mins, though the majority of that time is spent chilling in the refrigerator.
The brine consists of a balanced blend of water and distilled white vinegar. This proportion ensures the pickles remain safe and tangy without an overwhelming acidic bite. By avoiding a lengthy fermentation, you achieve a brighter, fresher flavor profile.
Why These Pickles Stay Crisp
The trick to the texture is all in how we handle the water. I've found that the brine logic here is similar to how you balance a Cajun Tartar Sauce recipe, where the acidity has to play nice with the other flavors.
Pre salting: Tossing the cucumbers in salt for 30 minutes draws out internal moisture. This prevents the brine from diluting inside the cucumber, which is what usually makes them mushy.
Temperature Control: Pouring the brine while it's hot helps the liquid penetrate the skin quickly. Then, moving them straight to the fridge locks in the structure.
What Each Ingredient Does
| Ingredient | What It Does | Best Swap |
|---|---|---|
| Kirby Cucumbers | Provides the firm, thick skinned base | Persian cucumbers (smaller, thinner skin) |
| White Vinegar | Adds acidity and preserves the veg | Apple cider vinegar (milder, fruitier) |
| Pickling Salt | Draws out water without adding iodine | Kosher salt (avoid table salt) |
| Fresh Dill | Gives that classic herbal punch | Dried dill (use 1 tbsp per cup fresh) |
Minimal Tools for This Job
Minimal equipment is required for this recipe. You'll mainly need a large pot for the brine and a colander for the cucumbers. I suggest using a stainless steel pot, as vinegar can react with certain uncoated cookware.
For storage, 4 pint sized Mason jars are ideal, but any clean glass jar with a tight fitting lid will work. Finally, you will just need a standard chef's knife and a cutting board.
Making Fresh Dill Pickles
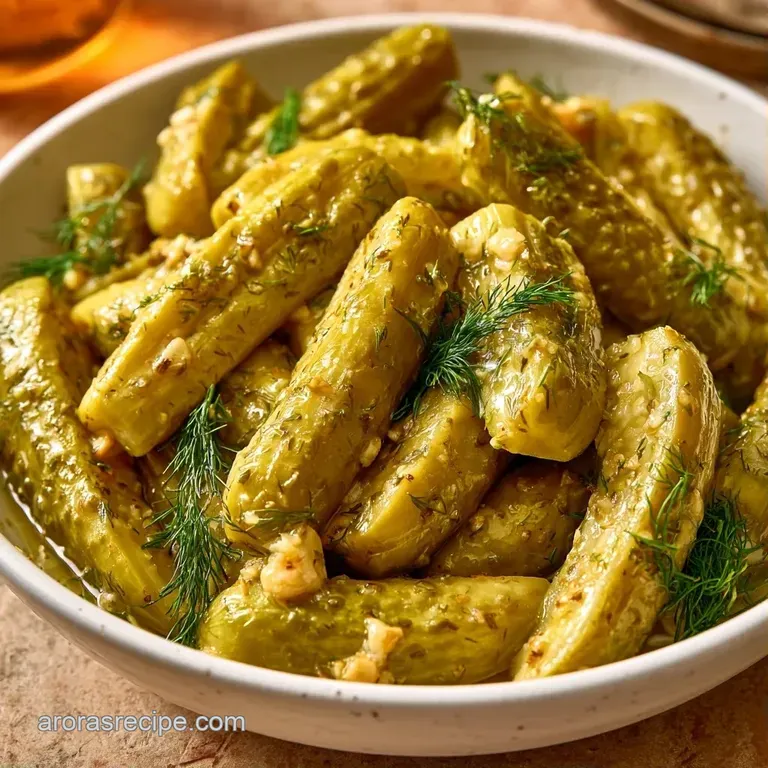
Phase 1: Prepping the Produce
- Thoroughly rinse the cucumbers and trim off the ends. Slice them into rounds or spears.
- Toss the cucumbers with 1 tbsp pickling salt in a colander and let them rest for 30 minutes to release moisture. Note: You'll notice water collecting at the base of the colander.
- Rinse the cucumbers under cold water to wash away extra salt and pat them dry.
- Evenly distribute the smashed garlic, fresh dill, and aromatics into the 4 pint jars.
Phase 2: Brewing the Brine
- Combine the water, vinegar, sugar, and the remaining pickling salt in a large pot.
- Over medium high heat, stir the liquid until the salt and sugar have fully dissolved.
- Take the pot off the heat immediately to preserve the acidity levels. Wait for the liquid to be crystal clear before pouring.
Phase 3: Jarring and Setting
- Tightly pack the cucumbers into the jars, leaving approximately 1/2 inch of headspace at the top.
- Pour the hot brine over the cucumbers until they are completely submerged.
- Seal the jars and refrigerate for 24 hours before serving to let the flavors meld.
Fixing Common Pickle Problems
If your brine looks milky or cloudy, it's almost always the salt. Standard table salt often has anti caking agents that turn the liquid opaque when it hits the vinegar. It doesn't hurt the taste, but it looks a bit off. Stick to pure pickling salt.
Another common issue is the "soft pickle." This usually happens if you skip the pre salting step or use cucumbers that were already old. Make sure your veg feels heavy and firm before you start. If they bend easily, they won't snap.
Finally, if the flavor feels bland, you might have over diluted your brine. Ensure you're using distilled white vinegar for that sharp, classic hit.
| Problem | Root Cause | Solution |
|---|---|---|
| Cloudy Brine | Table salt anti caking agents | Use pure pickling or Kosher salt |
| Soft Texture | Skipping the salt soak | Salt cucumbers for 30 mins first |
| Bland Taste | Low acidity in brine | Check vinegar to water ratio (1:1) |
Different Ways to Flavor Them
Adjust the flavors to suit your taste. For a bit of heat, add a teaspoon of dried red chili flakes or a sliced jalapeño to each jar. This creates a slow burn that pairs perfectly with the dill.
For a sweeter result, increase the sugar to 2 tablespoons. This gives it a "bread and butter" feel, though it stays more savory than a standard sweet pickle. It's a great option for kids who find the vinegar tang too strong.
| Goal | What to change | Result |
|---|---|---|
| Extra Heat | Add sliced jalapeños | Spicy kick |
| Milder Tang | Use Apple Cider Vinegar | Fruiter, softer acid |
| Sweeter Snap | Increase sugar to 2 tbsp | Semi sweet profile |
If you're only making a small batch with one cucumber, simply divide all the ingredient quantities by four. Just be mindful of the garlic one clove per jar is usually plenty for a smaller batch of Fresh Dill Pickles.
Storage and Waste Tips
These can be stored in the fridge for roughly 4 to 6 weeks. Keep the container tightly sealed to avoid brine evaporation. I advise against freezing them, as the water inside the cucumbers expands and breaks down the cell walls, leaving them mushy upon thawing.
Don't discard the leftover brine once you've eaten the cucumbers. This salty, garlic infused vinegar is wonderful as a grilled chicken marinade or stirred into potato salad for a bit of extra zing.
If you have any extra dill umbrellas, chop them up and store them in the freezer. They'll stay fresh for months and are excellent for adding to a quick pasta or a dip.
Best Ways to Serve These
They are a natural fit for burgers or deli style sandwiches, where their tang balances the richness of the meat and cheese. These Fresh Dill Pickles also pair wonderfully with baked salmon, offering a crisp, refreshing counterpoint to the oily fish.
For a more sophisticated treat, cut them into thin rounds and stack them on sharp cheddar with a touch of grainy mustard. It's an easy appetizer that satisfies every craving.
Create a simple charcuterie board by pairing them with olives, cornichons, and a dollop of cream cheese. The interplay between the smooth cheese and the punchy vinegar of the Fresh Dill Pickles is fantastic.
Truthfully, the ultimate way to eat them is right from the jar at 11 PM during a late night salty craving. Just ensure they've chilled for the full 24 hours, otherwise you'll miss that intense garlic flavor.
These Fresh Dill Pickles bring a genuine sense of homemade comfort. Once you experience the crunch of a home brined cucumber, commercial versions seem bland by comparison. Believe me, the 30 minute salt soak is entirely worth the effort.
CRITICAL: Very High in Sodium
1945 mg 1,945 mg of sodium per serving (85% 85% of daily value)
The American Heart Association recommends a daily sodium limit of 2,300 mg, and an ideal limit of 1,500 mg for most adults.
Tips to Reduce Sodium in Your Pickles
-
Reduce Pickling Salt-30%
The primary sodium source is the 1/4 cup of pickling salt; cut this amount in half to significantly drop the sodium levels while still preserving the cucumbers.
-
Increase Acidity-10%
Add an extra 1/4 cup of white vinegar or a squeeze of lemon juice to provide a sharp flavor that compensates for the reduction in salt.
-
Enhance Aromatics-5%
Increase the smashed garlic to 12 cloves and double the peppercorns to create a stronger flavor profile that masks the lower salt content.
-
Boost Fresh Herbs
Add more fresh dill weed and extra bay leaves to enhance the natural, earthy flavors of the brine without adding any sodium.
Recipe FAQs
What is the secret to crisp dill pickles?
Toss sliced cucumbers with pickling salt and let them sit for 30 minutes to remove excess moisture.
Tip: Rinse them under cold water and pat dry before jarring to remove surface salt.
How much fresh dill should I use?
Use one cup of chopped dill weed and four fresh dill umbrellas across your jars.
Tip: Distribute the greens and smashed garlic evenly to ensure consistent flavor in every jar.
How do I make these pickles spicy?
Increase the red pepper flakes or add sliced fresh chilies to the jars before pouring the brine.
Tip: This bold flavor profile pairs excellently with a side of homemade potato salad.
Is it true that dried dill is better than fresh for these pickles?
False. Fresh dill weed and umbrellas provide a brighter, more authentic flavor.
Tip: Store any leftover umbrellas in a freezer bag for future batches.
Which ingredients are in the pickling spice blend?
This blend consists of whole black peppercorns, mustard seeds, red pepper flakes, and bay leaves.
Tip: Use distilled white vinegar to keep the brine clear and the acidity consistent.
Fresh Dill Pickles Recipe