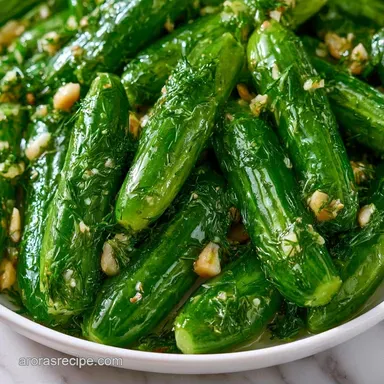
Garlic Refrigerator Pickles with Fresh Dill
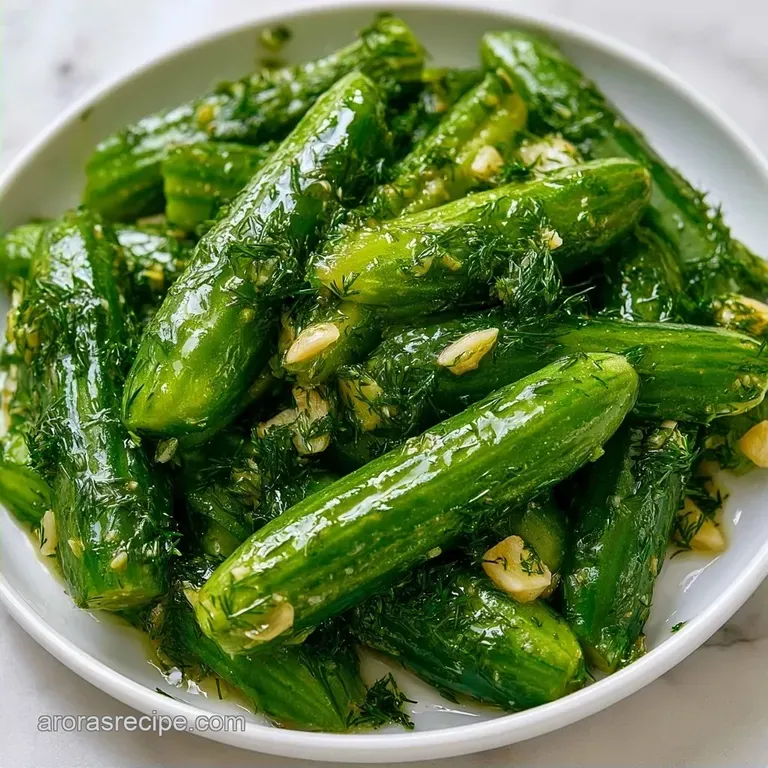
- Time: 10 min active + 24 hrs chilling
- Flavor/Texture Hook: Sharp, garlic forward snap
- Perfect for: Backyard BBQs or meal prep
That sharp, vinegary snap of a fresh pickle is something you just can't find in a store-bought jar. I remember a family reunion back in Nashville where my aunt brought these neon green, mushy slices that tasted more like preservatives than vegetables.
We all loved her, but we collectively agreed that the sandwiches needed something better.
Right then, I decided to whip up a batch of my own. I didn't want to mess with boiling water baths or worrying about seals, so I went with the fridge method. The smell of sliced garlic and fresh dill filling the kitchen is honestly one of my favorite things about this process.
You can expect a treat that's salty, tangy, and punchy. These Garlic Refrigerator Pickles don't require any fancy equipment, just a pot and some jars. Trust me on this, once you have a jar in your fridge, you'll find yourself snacking on them straight from the jar at midnight.
Easy Garlic Refrigerator Pickles
The magic here happens because we don't "cook" the vegetable. By avoiding the canning pot, we keep the cell walls of the cucumber intact, which is why you get that loud crunch.
Hot Brine: Pouring the liquid while it's hot forces air out of the cucumber. This lets the flavors soak in much faster than a cold soak.
Slicing Garlic: Thinly slicing the cloves instead of leaving them whole lets the garlic oils escape. It ensures every single spear tastes like garlic, not just the ones touching a whole clove.
If you're looking for something to pair with these, they go great alongside some homemade breadsticks for a quick appetizer spread.
| Method | Time | Texture | Best For |
|---|---|---|---|
| Hot Brine | 24 hrs | Extra Crisp | Quick flavor infusion |
| Cold Soak | 3-5 days | Soften Snap | Low acid preference |
Brining Details Explained
The goal is a balance between the sharp acidity of the vinegar and the savory punch of the garlic. Since we aren't processing these for a shelf, we can use a higher ratio of fresh aromatics.
The salt here is non negotiable. It draws out the water from the cucumber, which makes room for the vinegar. Without enough salt, the pickles feel watery rather than crisp.
We use distilled water to avoid minerals that can make the brine look cloudy. While filtered water works, distilled gives you that clear, professional look.
What Each Ingredient Does
I've found that using the right type of cucumber is the only way to avoid a mushy mess. Kirby cucumbers are the gold standard here because they have thicker skins.
| Ingredient | Role | If You Don't Have It |
|---|---|---|
| Kirby Cucumbers | Main Body | Persian cucumbers (smaller, thinner skin) |
| Distilled White Vinegar | Acidity | Apple cider vinegar (sweeter, softer taste) |
| Pickling Salt | Texture/Preservation | Kosher salt (avoid iodized salt to prevent cloudiness) |
| Fresh Dill | Herbal Note | Dried dill (use 1 tbsp instead of a bunch) |
You'll need these for your Garlic Refrigerator Pickles: - 2 lbs Kirby or Persian cucumbers, sliced into spears or rounds - 8 cloves garlic, thinly sliced Why this? Increases surface area for better flavor - 1 bunch fresh dill, roughly chopped - 2 cups distilled white vinegar - 2 cups
Filtered water - 2 tbsp pickling salt Why this? Doesn't contain anti caking agents that cloud brine - 1 tbsp granulated sugar - 1 tsp black peppercorns - 1 tsp mustard seeds - 1/2 tsp red pepper flakes
| Original Ingredient | Substitute | Why It Works |
|---|---|---|
| White Vinegar | Rice Vinegar | Milder acidity. Note: Adds a slight sweetness |
| Granulated Sugar | Honey | Natural sweetener. Note: Changes brine clarity |
| Fresh Dill | Fresh Parsley | Earthy green flavor. Note: Lacks the classic "pickle" taste |
Necessary Kitchen Gear
No special equipment is required for this recipe. Keeping your setup basic streamlines the process and ensures easier cleanup.
First, prepare two quart sized mason jars. Glass is essential since vinegar can react with metal or plastic over time. Make sure they are thoroughly cleaned with hot, soapy water.
A small saucepan that holds about a quart of liquid is all you need for the brine. While a slotted spoon is handy for packing the cucumbers, your hands work just as well.
The Cooking Process
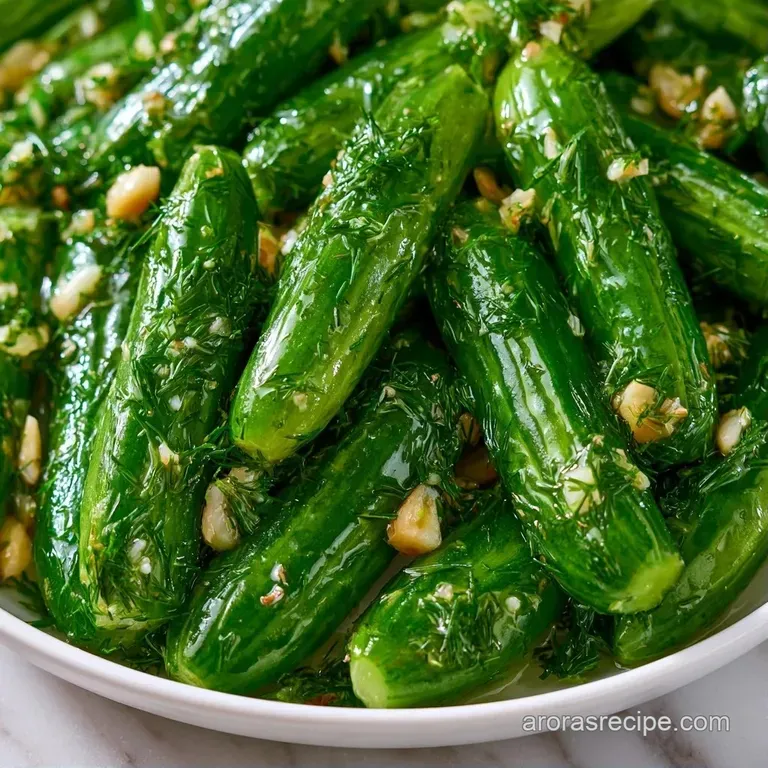
It's time to get started. To ensure the cucumbers begin absorbing the flavor immediately, work efficiently once the brine is hot.
Phase 1: Prepping the Produce
Cut your cucumbers into consistent rounds or spears; keeping the size uniform ensures they brine at the same speed. Divide the sliced garlic and chopped dill equally between two clean jars.
Phase 2: Simmering the Brine
In a small saucepan, combine the granulated sugar, pickling salt, filtered water, and distilled white vinegar. Stir occasionally over medium heat for about 5 minutes until the salt and sugar have completely dissolved and the liquid is clear.
Phase 3: Packing and Sealing
Take the pan off the heat and stir in the mustard seeds, red pepper flakes, and black peppercorns. Pack the cucumber slices tightly into the jars, pressing down firmly to eliminate any large air pockets.
Pour the hot brine over the cucumbers until they are completely covered. Lightly tap the jars on the countertop to release any trapped air bubbles. Secure the lids tightly. Allow the jars to cool to room temperature on the counter before refrigerating them for 24 hours.
Fixing Common Issues
Even straightforward recipes can have hiccups. Most often, the culprit is either the choice of produce or the type of salt used.
Soft Texture
If your Garlic Refrigerator Pickles lack crunch, you may have used English cucumbers. While perfect for salads, they are too watery for brining. For a better snap, opt for Persian or Kirby varieties.
Cloudy Brine
A cloudy appearance typically occurs when using iodized table salt. The iodine reacts with the vinegar to create a haze. They are still safe to eat, but the liquid won't look as clear.
Dull Flavor
If they don't taste "pickly" enough, you might have added too much water. Double check that your vinegar and water are mixed in a strict 1:1 ratio.
| Problem | Fix |
|---|---|
| Mushy pickles | Use Kirby cucumbers |
| Cloudy brine | Use pickling or Kosher salt |
| Bland taste | Check vinegar to water ratio |
Serving Your Pickles
These Garlic Refrigerator Pickles are versatile. I love them as a side for a hearty bowl of beef soup during the winter months. The acidity cuts right through the richness of the broth.
For a snack plate, serve them alongside sharp cheddar cheese and some smoked salami. The garlic notes make them a great partner for salty meats.
If you're making burgers, slice the spears into rounds and pile them high. They add a brightness that store-bought chips just can't match.
Keeping Them Fresh
Store these in the refrigerator. Since they haven't been heat processed in a canner, they aren't shelf stable. They will stay crisp and flavorful for approximately 4 to 6 weeks, provided the lid remains tightly sealed.
Discard the batch if you notice any mold or if the brine becomes overly slimy. This is uncommon, but it can happen if the jars weren't completely clean.
Put the leftover brine to good use. Try it as a marinade for grilled chicken or stir a bit into potato salad for a zesty pop. It's also perfect for quick pickling sliced red onions to top your tacos.
Customizing Your Batch
After mastering these Garlic Refrigerator Pickles, feel free to experiment with the seasonings. I usually adjust the spice level based on who I am serving.
For more kick, double the red pepper flakes or toss in two sliced jalapeños per jar. This creates a heat that builds gradually rather than hitting you all at once.
If you prefer a sweet and sour profile, increase the sugar to 2 tablespoons. This gives them a taste similar to bread and butter pickles while keeping the garlic punch intact.
For those who avoid dill, simply replace it with a few bay leaves or fresh parsley. This transforms the flavor into something more savory and less like a traditional deli pickle.
Decision Shortcut
- For extra heat: add 2 sliced jalapeños per jar.
- For a sweeter taste: use 2 tbsp sugar instead of 1.
- For an alternative herb: swap dill for fresh parsley.
Pickle Myths Debunked
Some believe that cucumbers must be soaked in ice water first. While this can help, the hot brine method manages the texture perfectly on its own.
Others worry that adding sugar causes pickles to spoil faster. In a refrigerator, a small amount of sugar does not impact the safety or shelf life of the batch.
Finally, you don't need a vacuum sealer for these. A standard mason jar lid is sufficient for Garlic Refrigerator Pickles since the cold temperature handles the preserving.
Recipe FAQs
How long do these refrigerator pickles stay fresh?
Up to three weeks. Keep them sealed in the refrigerator to maintain the crunch and flavor.
Is it necessary to boil the brine?
Yes, to dissolve the solids. Heating the vinegar, water, salt, and sugar ensures the liquid is clear and seasonings are evenly distributed.
Why did my pickles turn out mushy?
Over processing or poor cucumber choice. Using non-pickling varieties or leaving them at room temperature too long can break down the cell walls.
Which cucumbers work best for this recipe?
Stick with Kirby or Persian. These have thicker skins and firmer textures that resist softening in the brine.
Can I substitute the distilled white vinegar?
Yes, apple cider vinegar works well. It adds a fruitier note, similar to how we balance acidity in our soy sauce eggs.
What happens if I leave the garlic cloves whole?
The flavor remains milder. Thinly slicing the cloves releases more oils, ensuring the punchy garlic taste permeates every spear.
Do I need a water bath canner for this recipe?
No, this is a common misconception. Since these are refrigerator pickles, the high acidity and cold storage prevent spoilage without heat processing.
How to remove trapped air bubbles?
Tap the jars gently on the counter. This ensures the brine fully submerges the cucumbers and prevents gaps.
Garlic Refrigerator Pickles