Reese's Peanut Butter Cookies: Bakery Style
- Time: Active 15 minutes, Passive 40 minutes, Total 55 minutes
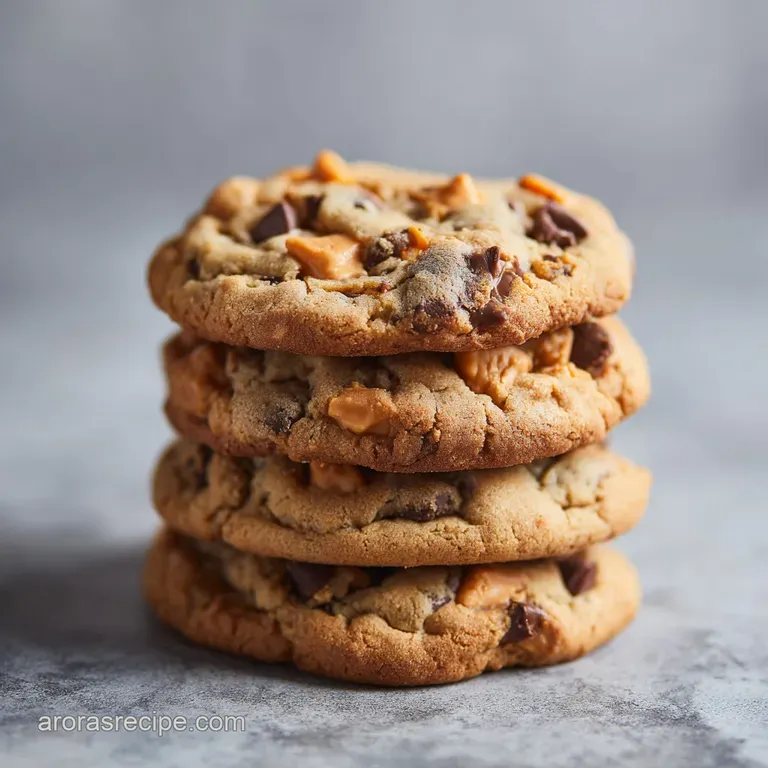
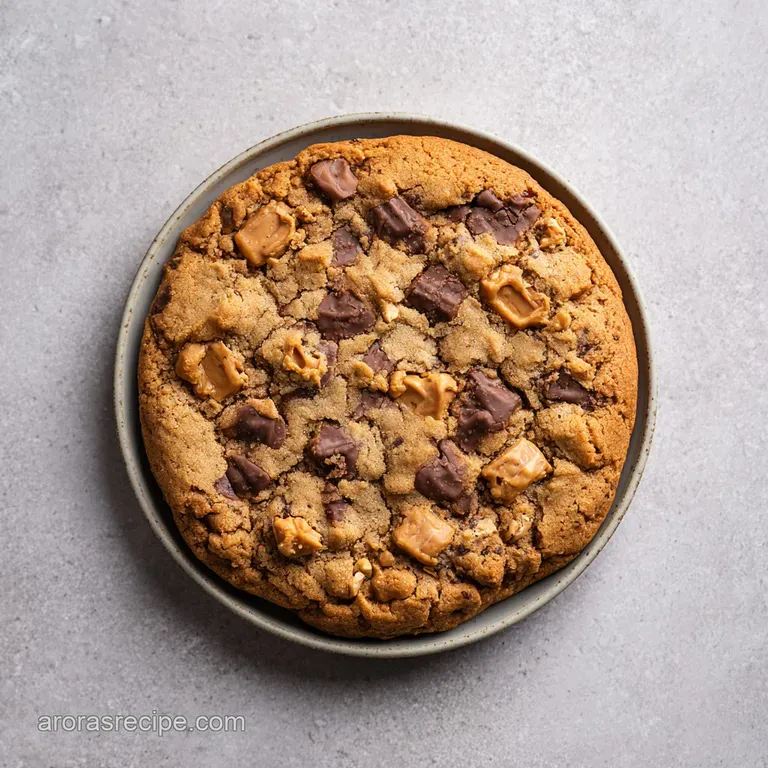
- Flavor/Texture Hook: Shattering edges with a dense, fudgy center and molten peanut butter pockets.
- Perfect for: Holiday cookie swaps, weekend baking projects, or satisfying a serious chocolate craving.
- Mastering Authentic Reeses Peanut Butter Cookies
- Why This Specific Recipe Works
- Selecting Premium Quality Cookie Ingredients
- Essential Equipment for Successful Baking
- Master the Key Baking Steps
- Fixing Common Cookie Baking Problems
- Adjusting Your Batch Size Properly
- Debunking Common Cookie Baking Myths
- Flavor Twists and Recipe Variations
- Storage Guidelines and Zero Waste
- Best Pairings for Your Cookies
- Recipe FAQs
- 📝 Recipe Card
Mastering Authentic Reeses Peanut Butter Cookies
The smell of peanut butter hitting hot butter is one of those scents that instantly transports me back to my grandmother’s kitchen in Nashville. I remember standing on a wooden stool, watching her press those classic fork tines into dough, but I always felt like something was missing.
I wanted more crunch, more chocolate, and that specific, salty kick that only comes from a Reese's cup. This recipe is the result of years of "mistakes" that turned out to be lessons in texture.
We are not just making a basic cookie here; we are building a multi textured experience. Think about the way a cold Reese’s cup snaps when you bite it, versus how it turns into a silky puddle when it’s baked inside warm dough. That contrast is exactly what we’re chasing.
If you have ever pulled a tray out of the oven only to find your cookies are as flat as pancakes or as dry as a desert, don't worry. I have been there, and I have figured out the fixes so you don't have to.
Right then, let's get into the heart of why this works. You’re going to get a cookie that has those slightly crisp, golden brown edges but stays soft enough in the middle that it almost feels like fudge.
We’re using a mix of chopped cups, Reese's Pieces for that signature shell crunch, and semi sweet chips to balance out the sugar. It’s a lot, I know, but trust me on this it is the only way to do it right.
Why This Specific Recipe Works
The Physics of the Peanut Butter Pucker: Using cornstarch in the dough prevents the cookies from spreading into thin wafers while maintaining a tender, velvety crumb. The high ratio of brown sugar creates a hygroscopic effect, pulling moisture from the air to keep the centers fudgy for days.
- Moisture Retention: Light brown sugar contains molasses, which bonds with the egg proteins to create a chewy, flexible structure rather than a brittle one.
- Fat Stability: Combining unsalted butter with creamy peanut butter provides a higher melting point, ensuring the cookie sets before it spreads too far.
- Texture Contrast: The addition of Reese's Pieces provides a structural "skeleton" to the soft dough, adding a necessary snap to every bite.
- Leavening Balance: Baking soda reacts with the acidic molasses in the brown sugar, creating tiny carbon dioxide bubbles that lift the heavy mix ins.
| Method | Time | Texture | Best For |
|---|---|---|---|
| Standard Oven | 10 minutes | Crisp edges, soft center | Traditional bakery results |
| Chilled Dough | 12 minutes | Denser, more flavorful | Professional presentation |
| Toaster Oven | 8 minutes | Extra crunchy bottom | Small batch cravings |
When you are deciding which method to use, think about how much patience you have. I usually opt for the chilled dough method because it allows the flour to fully hydrate, which leads to a much more complex flavor profile. If you're in a rush, the standard oven method still produces a result that will have your neighbors knocking on your door. Much like my Really Basic Peanut recipe, the foundation is key, but the "extras" here are what make it shine.
Selecting Premium Quality Cookie Ingredients
| Ingredient | Science Role | Pro Secret |
|---|---|---|
| All Purpose Flour | Provides the gluten framework for structure. | Weigh it (220g) to avoid heavy, dry cookies. |
| Creamy Peanut Butter | Adds fat and distinct nutty lipids. | Use stabilized brands, not "natural" oil separating types. |
| Light Brown Sugar | Promotes browning and soft texture. | Pack it tight to ensure accurate moisture levels. |
| Cornstarch | Interferes with gluten to soften the crumb. | Sift with flour to prevent chalky clumps. |
The choice of peanut butter is actually the most debated topic in my kitchen. While I love the taste of natural peanut butter on toast, it’s a disaster for these cookies because the oil separation is too unpredictable. Stick to a standard creamy version for that consistent, silky mouthfeel.
- 1 ¾ cups (220g) all purpose flour Why this? Provides the essential structure to hold heavy mix ins.
- Substitute: 1:1 gluten-free flour blend for those with sensitivities.
- 1 tsp (3g) cornstarch Why this? The secret to that "melt in-your mouth" bakery texture.
- Substitute: Arrowroot powder works with a similar thickening power.
- 1 tsp (5g) baking soda Why this? Reacts with acid to provide lift and browning.
- Substitute: 3 tsp baking powder (but cookies will be cakey).
- ½ tsp (3g) sea salt Why this? Cuts through the sugar to highlight the peanut notes.
- Substitute: Table salt (use slightly less as it’s finer).
- ½ cup (115g) unsalted butter, softened Why this? Controlled fat content for better flavor and spread.
- Substitute: Salted butter (just omit the extra sea salt).
- ½ cup (125g) creamy peanut butter Why this? Infuses the entire dough with nutty flavor.
- Substitute: Almond butter (Note: adds a grittier, earthier profile).
- ¾ cup (150g) light brown sugar, packed Why this? Moisture and caramel notes for a chewy center.
- Substitute: Dark brown sugar for a deeper, molasses heavy flavor.
- ¼ cup (50g) granulated white sugar Why this? Helps the edges get that necessary crispness.
- Substitute: Coconut sugar (Note: cookies will be darker and drier).
- 1 large egg, room temperature Why this? Emulsifies the fats and sugars for a smooth dough.
- Substitute: Flax egg (1 tbsp meal + 3 tbsp water; denser result).
- 1 tsp (5ml) vanilla extract Why this? Acts as a background flavor enhancer.
- Substitute: Almond extract (use only ¼ tsp as it’s strong).
- 1 cup (150g) Reese’s Peanut Butter Cups, chopped Why this? The star of the show for molten pockets.
- Substitute: Chopped Snickers for a caramel/nougat twist.
- ½ cup (90g) Reese’s Pieces Why this? Adds a crunchy shell and extra peanut punch.
- Substitute: M&Ms (classic chocolate flavor without extra nuttiness).
- ½ cup (85g) semi sweet chocolate chips Why this? Balances the sweetness with a hint of cocoa bitterness.
- Substitute: Milk chocolate chips for an even sweeter profile.
Essential Equipment for Successful Baking
You don't need a professional kitchen to make these, but a few specific tools will make your life significantly easier. I've spent too many years struggling with a hand whisk when a stand mixer, such as a KitchenAid, could have saved my arm the workout.
The goal is to aerate the butter and sugar properly, and that takes a bit of mechanical help.
A good cookie scoop is my second "must have." If your cookies are all different sizes, they will cook at different rates. The small ones will turn into bricks while the big ones are still raw in the middle.
Using a 2 tablespoon scoop ensures every single cookie on that tray hits that golden brown finish at the exact same moment.
Chef's Tip: Freeze your chopped Reese's Cups for 15 minutes before folding them into the dough. This prevents them from smearing and keeps the pockets of peanut butter distinct and beautiful.
Master the Key Baking Steps
- Whisk the 1 ¾ cups flour, 1 tsp cornstarch, 1 tsp baking soda, and ½ tsp sea salt in a medium bowl. Note: This ensures the leavening agent is evenly distributed so you don't get "soda pockets."
- Cream the ½ cup softened butter, ½ cup creamy peanut butter, ¾ cup brown sugar, and ¼ cup white sugar in a large bowl. Beat for 3 minutes until pale and fluffy.
- Add the 1 large egg and 1 tsp vanilla extract to the creamed mixture. Note: Scrape the sides of the bowl to make sure everything is fully incorporated.
- Switch your mixer to low and slowly add the dry ingredients to the wet. Mix only until the last streak of flour disappears.
- Fold in the 1 cup chopped Reese’s Cups, ½ cup Reese’s Pieces, and ½ cup chocolate chips using a spatula. Note: Gentle folding prevents the chocolate from coloring the entire dough brown.
- Scoop 2 tablespoon mounds of dough onto a parchment lined tray and chill in the fridge for at least 30 minutes. Wait until the dough feels firm to the touch.
- Preheat your oven to 350°F (180°C) while the dough chills. Note: A fully preheated oven is vital for that initial "blast" of heat that sets the edges.
- Space the chilled dough balls 2 inches apart on a baking sheet. Bake 9 to 11 minutes until the edges are golden and the tops look slightly underdone.
- Remove from the oven and let them sit on the hot pan for 5 minutes. Note: The carryover heat finishes cooking the center without drying it out.
- Transfer to a wire rack to cool completely. Wait until they are cool to experience the full shattering texture of the Reese's Pieces.
Fixing Common Cookie Baking Problems
Why Your Cookies Spread Too Much
If your cookies end up looking like a single giant sheet cake, the culprit is usually the temperature of your fat. If the butter was melted instead of softened, or if you skipped the chilling step, the dough doesn't have the structural integrity to hold its shape against the oven's heat.
I once made the mistake of thinking 10 minutes in the fridge was "enough" it wasn't.
| Problem | Root Cause | Solution |
|---|---|---|
| Greasy texture | Butter was too warm | Chill dough longer or use cooler room temp butter next time. |
| Dry/Crumbly bite | Too much flour | Measure by weight (220g) or use the spoon and level method. |
| Flat cookies | Expired baking soda | Test soda in vinegar; it should bubble vigorously immediately. |
Why Your Cookies Stayed Domed
On the flip side, if your cookies look like little balls that never flattened out, you likely over mixed the dough. Over mixing develops too much gluten, which creates a tough, bread like structure that refuses to yield to the heat.
It could also mean your oven temperature is too low, preventing the fat from melting at the right speed.
Common Mistakes Checklist
- ✓ Ensure your egg is at room temperature to prevent the butter from curdling.
- ✓ Don't use "Natural" peanut butter; the excess oil will cause the cookies to fall apart.
- ✓ Check that your baking soda is less than six months old for maximum lift.
- ✓ Avoid over chopping the Reese's cups; larger chunks create better flavor pockets.
- ✓ Never place raw dough onto a hot baking sheet from a previous batch.
Adjusting Your Batch Size Properly
If you are baking for a big Nashville neighborhood block party, you'll likely want to double this. When scaling up, I recommend doubling everything except the salt and baking soda use about 1.5 times the amount for those two to avoid a metallic or overly salty aftertaste. Also, work in batches.
If you crowd too many trays into the oven at once, the airflow will be restricted, and you'll end up with unevenly baked cookies.
Scaling down is a bit trickier because of the single egg. If you want to make a half batch, crack the egg into a small bowl, whisk it well, and then use exactly half of it by weight or volume.
For the baking time, keep a close eye on the oven around the 7 minute mark, as smaller batches sometimes bake a minute or two faster depending on your pan's heat retention.
Debunking Common Cookie Baking Myths
There is a long standing myth that you must press a fork into peanut butter cookies to help them cook. While that's true for old-fashioned, high flour recipes that are very stiff, this modern dough is soft enough to spread on its own.
The "criss cross" is purely aesthetic here, and honestly, I prefer the rustic, craggy look of a natural spread because it holds the mix ins better.
Another myth is that "softened butter" means it should be shiny or oily. If your finger goes through the stick of butter with zero resistance, it’s too warm. You want the butter to be about 65°F (18°C) it should yield to pressure but still hold its shape.
If the butter is too soft, your cookies will lose that velvety internal structure we worked so hard to build.
Flavor Twists and Recipe Variations
If you're feeling adventurous, you can easily turn these into a "Sweet and Salty" masterpiece. I love adding a handful of crushed pretzels to the mix. The sourdough notes in the pretzels play incredibly well with the peanut butter. If you've enjoyed my Butterfinger Cookies Recipe, you know how much a little extra crunch can change the game.
For a deeper chocolate experience, you could replace ¼ cup of the flour with Dutch processed cocoa powder. This creates a "dark" peanut butter cookie that looks stunning on a holiday platter. Just remember that cocoa powder is drying, so you might need to add an extra tablespoon of peanut butter to keep the dough pliable. If you want something even more classic, try my Peanut Butter Blossom Cookies recipe for that iconic Hershey's Kiss look.
Storage Guidelines and Zero Waste
These cookies are surprisingly resilient thanks to the fat content from the peanut butter. You can keep them in an airtight container at room temperature for up to 5 days. If they start to get a little firm, just pop one in the microwave for 8 seconds it revives the chocolate and softens the dough instantly.
- Freezing: You can freeze the baked cookies for up to 3 months. However, I prefer freezing the dough balls. Just scoop them, freeze them on a tray, and then toss them into a freezer bag. You can bake them straight from frozen; just add 2 minutes to the bake time.
- Zero Waste Tip: If you have a few cookies that went a bit too long in the oven and turned out crunchy, don't throw them away! Pulse them in a food processor and use the crumbs as a base for a cheesecake crust or as a topping for vanilla bean ice cream. The salty sweet crumbs are basically kitchen gold.
Best Pairings for Your Cookies
In my house, a cold glass of whole milk is the non negotiable partner for these cookies. The fats in the milk help cleanse the palate of the heavy peanut butter, making every bite feel like the first one. If you're serving these at a party, a strong, dark roast coffee is another brilliant choice.
The bitterness of the coffee cuts through the sweetness of the Reese's Pieces perfectly.
If you are looking for a full comfort meal, these are the ultimate ending to a simple dinner. I often serve them after a cozy afternoon of Baked Beans on Toast recipe. There is something about the humble, savory beans followed by a decadent, loaded peanut butter cookie that just feels like home. Whether you're in Nashville or anywhere else, that's the kind of meal that stays with you.

Recipe FAQs
How long do you cook Reese's peanut butter cookies?
Bake for 9 to 11 minutes at 350°F (180°C). The edges should look golden brown while the center remains slightly underbaked. Allow them to set for 5 minutes on the hot pan before transferring to a rack.
What is the secret to making cookies soft and chewy?
Use light brown sugar and cornstarch. Brown sugar contains molasses, which is hygroscopic and retains moisture, keeping the cookie centers soft. The cornstarch interferes with gluten development, leading to a tender crumb rather than a tough one.
What is Snoop Dogg's cookie recipe?
No, this recipe does not directly incorporate Snoop Dogg's specific preparation. However, his approach often emphasizes using quality, indulgent mix-ins, which this recipe certainly embraces with the triple chocolate and peanut butter payload.
Why does Reese's peanut butter taste different in cookies?
The difference is due to the heat interaction and stabilizers. The peanut butter inside a Reese's cup is mixed with sugar and stabilizers designed to hold its texture; when baked, the fats separate slightly, intensifying the salty sweet flavor against the warm dough.
Is it true I must chill the dough for the best texture?
Yes, chilling the dough for at least 30 minutes is highly recommended. This allows the flour to fully hydrate, leading to a denser, more flavorful cookie with less spread.
If you enjoyed controlling dough texture here, see how the same principle applies when preparing doughs for [Sourdough Sandwich Rolls recipe].
How should I properly mix the butter and sugar?
Cream the butter and sugars for a full 3 minutes on medium speed. You are looking for the mixture to become visibly lighter in color and fluffy in texture, which incorporates essential air into the base of the cookie.
Can I use natural, runny peanut butter instead of stabilized cream?
No, you should avoid oil-separating natural peanut butter. Its unstable oil content causes unpredictable spreading and often results in a greasy cookie texture because the structure cannot properly set around the excess liquid fat.
Reese S Peanut Butter Cookies

Ingredients:
Instructions:
Nutrition Facts:
| Calories | 202 kcal |
|---|---|
| Protein | 3.6 g |
| Fat | 10.5 g |
| Carbs | 24.8 g |
| Fiber | 1.2 g |
| Sugar | 16.0 g |
| Sodium | 149 mg |
