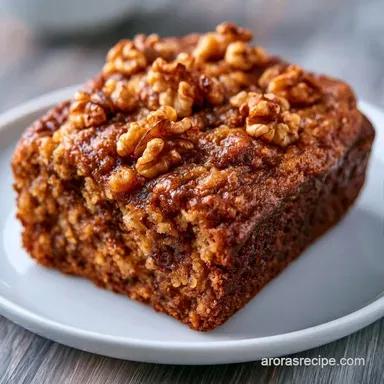
Banana Banana Nut Bread with Brown Sugar
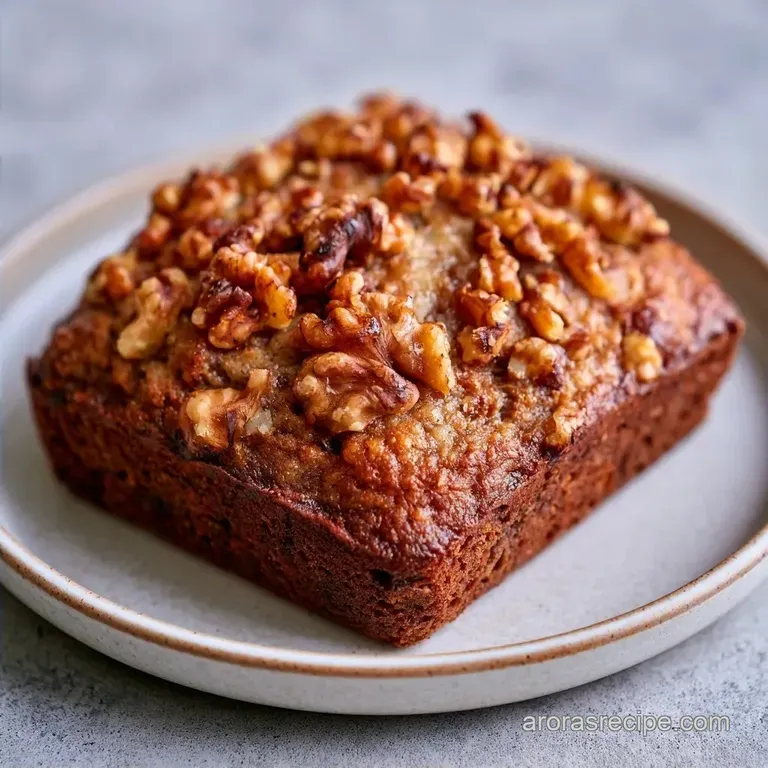
- Time Required: 15 min active, 60 min baking
- Taste & Texture: Caramelized notes paired with crunchy walnuts
- Best for: Budget-friendly treats or rainy Sunday mornings
Banana Banana Nut Bread for Home
There is nothing quite like the aroma of toasted nuts and cinnamon wafting through the air to make a house feel truly welcoming. I remember baking this for my children during their winter holidays, particularly on those chilly mornings when the frost clung thick to the windowpanes.
It brings a cozy warmth to the entire kitchen, regardless of the weather outside.
This Banana Nut Bread is an uncomplicated, filling treat that is very budget friendly. You don't need gourmet supplies or a professional kitchen to achieve a result that rivals any bakery loaf. The key is simply utilizing those spotted, overripe bananas that might otherwise go to waste.
The finished loaf boasts a deep mahogany crust and a moist interior that stays tender for several days. It is a stress free process that delivers a slice of pure comfort, pairing perfectly with almost anything. Here is everything you need to get started.
The Trick Behind the Texture
Brown Sugar: Substituting white sugar with brown adds a hint of molasses, which creates a richer, caramel like flavor and helps the crumb stay moist.
Parchment Sling: A paper strip lining the pan lets you hoist the entire loaf out easily. This eliminates any risk of the bread sticking or breaking when you remove it.
Room Temp Egg: An egg at room temperature blends more smoothly into melted butter, which results in a more uniform batter and a consistent rise in the oven.
| Ingredient Type | Fresh Bananas | Frozen Puree | Result |
|---|---|---|---|
| Prep Time | 5 mins mashing | 0 mins | Puree is faster |
| Flavor | Bright and punchy | Mellow and sweet | Fresh is more vibrant |
| Texture | Small fruit chunks | Very smooth | Puree makes it denser |
The combination of butterfat and fruit moisture is what produces such a tight, tender crumb. Believe me, skipping the walnut toast changes the entire flavor profile.
The Specs for This Loaf
This is a classic Midwestern style quick bread. It's designed to be sturdy enough for slicing but soft enough to melt in your mouth. We're aiming for a deep brown color and a heavy, satisfying feel.
The total time is 75 minutes, with most of that being passive oven time. It's a great budget friendly option since it relies on pantry staples. One loaf gives you about 12 thick slices, which is plenty for a family breakfast or a few days of snacks.
What You'll Need
To ensure your Banana Nut Bread is a success, choose bananas that are heavily spotted. Darker peels indicate a higher concentration of sugar and a deeper flavor.
The Wet Base
- 3 large overripe bananas, mashed (approx. 300g)Why this? Ensures the bread is moist and naturally sweet
- 1/2 cup (113g) unsalted butter, melted and cooledWhy this? For a rich taste and soft crumb
- 3/4 cup (150g) packed light brown sugarWhy this? Adds a hint of molasses and extra moisture
- 1 large egg, room temperatureWhy this? Helps hold the loaf together
- 1 tsp (5ml) vanilla extractWhy this? Balances the overall fruit profile
The Dry Structure
- 1 1/2 cups (190g) all purpose flourWhy this? The essential base for quick bread
- 1 tsp (5g) baking sodaWhy this? Gives the heavy mixture some lift
- 1/2 tsp (3g) saltWhy this? Counteracts the sweetness
- 1 tsp (2g) ground cinnamonWhy this? Provides a warm, cozy fragrance
The Texture - 3/4 cup (85g) chopped walnuts, toasted Why this? Adds an earthy taste and a bit of crunch
Budget Swaps If walnuts are too costly, pecans are an excellent substitute. For those avoiding dairy, melted coconut oil works well in place of butter, though it will add a subtle coconut flavor.
Essential Kitchen Tools
You only need a few standard tools to make this.
I suggest using a 9x5 inch loaf pan. A springform pan can be used, but the resulting loaf will be flatter. To avoid overmixing the batter, a silicone spatula is ideal for folding in the flour.
You can mash the bananas with a sturdy fork, though a potato masher is more efficient. Cooling the bread on a wire rack is essential to prevent the bottom from getting soggy from the steam.
How to Bake the Bread
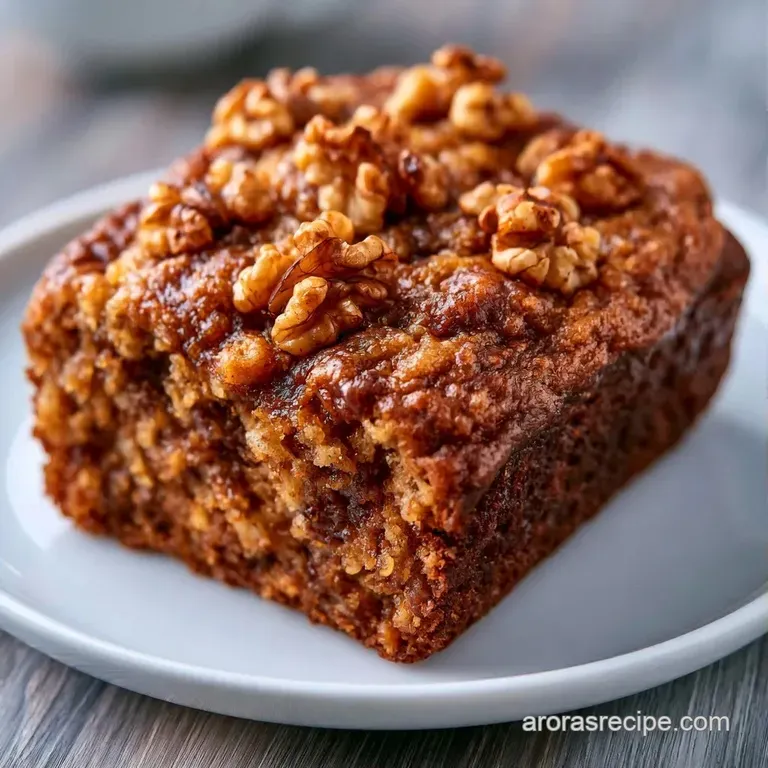
Time to start the baking process. Follow these directions for a reliable result every time.
- Set your oven to 175°C (350°F). Butter a 9x5 inch loaf pan and line the bottom and sides with parchment paper, making sure it hangs over the edges. Note: This sling makes removal effortless
- In a large bowl, mash the bananas with a fork until they reach a mostly smooth consistency.
- Whisk in the melted butter, brown sugar, egg, and vanilla. Stir until the mixture is smooth and the sugar has fully dissolved.
- Combine the flour, baking soda, salt, and cinnamon in a medium bowl.
- Using a spatula, gently fold the flour mixture into the wet banana ingredients. Stop as soon as no white streaks remain. Note: Overmixing will result in tough bread
- Fold in the toasted walnuts until they are evenly distributed throughout the batter.
- Pour the batter into your pan and level the top.
- Bake for 50 to 60 minutes. After 50 minutes, test the center with a toothpick. It is done once the toothpick comes out clean or with a few moist crumbs.
- Let the bread stay in the pan for 10 minutes, then lift it onto a wire rack.
Fixing Common Loaf Issues
Even the best recipes can hit a snag. Here is how to handle the usual suspects for this Banana Banana Nut Bread.
Bread Gummy in Middle
This usually happens if you stir the batter too much after adding the flour. Overmixing develops gluten, which traps moisture in a way that feels rubbery. Next time, stop stirring the moment the flour disappears. If it's already baked, slicing it thinner and toasting it usually fixes the texture.
Top Browns Too Fast
If the top is getting too dark but the center is still raw, your oven might be running hot. About 30 minutes in, loosely tent a piece of aluminum foil over the top. This shields the crust while letting the middle finish cooking.
Bread Doesn't Rise
This is almost always due to expired baking soda. Baking soda loses its punch over time. To check yours, put a pinch in a bit of vinegar. If it doesn't fizz immediately, toss it and get a fresh box.
Swaps and Easy Changes
Feel free to adapt this recipe based on what you have on hand. To add more fruitiness, stir in a handful of dried cranberries or raisins along with the walnuts.
For a sweeter variation, add a half cup of chocolate chips to give the loaf a dessert like quality. If you prefer a veggie forward option, my Zucchini Banana Bread recipe is a great way to utilize garden produce.
Those who enjoy a dense, hearty cake might also like this Moist Pumpkin Bread, which follows a similar process but incorporates warm autumn spices.
Decision Shortcut
- Extra tang? → fold in 1 tsp lemon zest
- Deeper flavor? → use dark brown sugar
- Nut free? → swap walnuts for sunflower seeds
Keeping Your Loaf Fresh
Once cooled, this bread stays moist for a surprisingly long time. Keep it in a sealed container at room temperature for 3 days. If you're keeping it longer, the fridge is your best bet for up to 5 days.
For long term storage, slice the bread first and freeze the slices individually with parchment paper between them. They last about 3 months in the freezer. You can pop a frozen slice straight into the toaster for a quick breakfast.
Zero Waste Tip Don't toss the banana peels. You can freeze them to make banana peel tea or simply toss them in your compost bin to feed your garden.
What to Serve With It
This loaf is great on its own, but a little something extra makes it a meal. A thick slab of salted butter on a warm slice is the classic way to go.
For a cozy evening, I love serving a slice alongside a cup of Homemade Hot Chocolate. The rich cocoa complements the cinnamon and walnuts perfectly.
If you're serving this for brunch, pair it with some Greek yogurt and fresh berries. The tartness of the yogurt cuts through the sweetness of the bread.
The Final Touch for Texture
Getting the crumb right is all about the balance of moisture. Because we use melted butter instead of creamed butter, the bread has a denser, more cake like feel rather than a fluffy bread texture. This is exactly what you want for a hearty Banana Banana Nut Bread.
The key is the cooling process. Letting it sit in the pan for 10 minutes allows the structure to set. If you pull it out too early, it might collapse or crumble. Patience at the end is what ensures those clean, beautiful slices.
Honestly, once you have a loaf of this sitting on your counter, it doesn't stay there long. It's the kind of recipe that makes everyone feel welcome in the kitchen. Enjoy your baking!
Recipe FAQs
What is the difference between banana bread and banana nut bread?
Banana nut bread simply adds chopped walnuts to the standard banana bread batter.
Tip: Toast your walnuts first to bring out a deeper, roasted flavor.
Is it true that mixing the batter until perfectly smooth is the best approach?
False. Overmixing develops too much gluten, resulting in a tough, rubbery loaf.
Tip: Fold ingredients until just combined and stop as soon as flour streaks disappear.
How to bake banana bread in a cake pan?
Grease the pan thoroughly and check for doneness earlier than the standard 50 minutes.
Tip: Use a thinner layer of batter to ensure the center cooks through evenly.
Which ingredients make banana nut bread stay moist?
Brown sugar provides molasses and moisture that keeps the crumb tender.
Tip: If you enjoyed mastering the moisture balance here, see how similar fat ratios work in our blueberry doughnuts.
Banana Banana Nut Bread with Brown Sugar