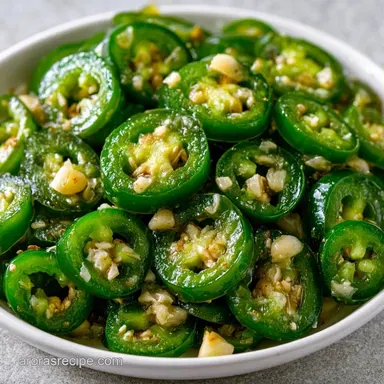
Low-Sugar Pickled Jalapeños
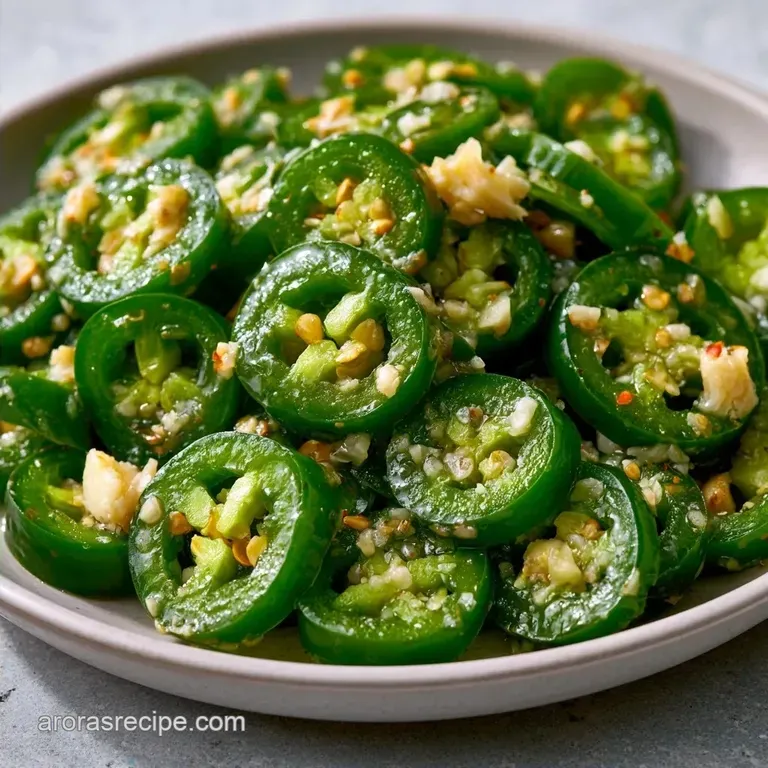
- Time: 20 min active + 2 hours chilling
- Flavor/Texture Hook: Tangy, crisp, and bright heat
- Perfect for: Taco night, burgers, or sandwich toppers
The scent of charcoal and slow smoked brisket always reminds me of July in Nashville. My family does these huge backyard gatherings where the table is basically just one long stretch of aluminum foil and heavy platters.
In the middle of all that rich, fatty meat, you need something that cuts through the grease and wakes up your tongue.
That's where a jar of homemade Pickled Jalapeños comes in. I used to buy the store-bought ones, but they always tasted like metallic syrup. Once I started making my own, I realized how much better a fresh, crisp pepper tastes when it's just been swimming in a hot, garlicky brine.
You don't need a fancy setup or a degree in food science to get this right. It's a quick process that turns a few basic pantry staples into a condiment you'll reach for every single day. Trust me, once you have these in your fridge, you'll never go back to the canned stuff.
What Makes This So Good
- Hot Brine: Boiling the liquid dissolves the salt and honey instantly, so the flavor is even. It also helps the brine penetrate the pepper skins faster.
- Honey Balance: A touch of sweetness doesn't make them "sweet," but it rounds out the harsh edge of the distilled vinegar.
- Smashed Garlic: Crushing the cloves instead of mincing them releases the oils without leaving tiny, burnt bits of garlic floating in your jar.
| Method | Time | Texture | Best For |
|---|---|---|---|
| Quick Brine | 2 hrs | Extra Crisp | Immediate use/Fridge |
| Traditional | 2 weeks | Softer/Cured | Long term storage |
Right then, let's look at what actually goes into the jar.
Tools You'll Need
Minimal equipment is required for this recipe. All you really need is a good knife and a reliable cutting board. I recommend a stainless steel saucepan for the brine to avoid any reaction with the vinegar.
Stick with glass jars; wide mouth Mason jars are my go-to since they allow for tighter packing. A slotted spoon is also very helpful. It's the best tool for pressing floating peppers beneath the liquid to ensure they stay crisp.
What You'll Need
The vinegar is the heavy lifter here. White distilled vinegar gives that clean, sharp punch, but you can use apple cider vinegar if you want a slightly fruitier, softer taste. The honey is just there to balance the acidity. I've used maple syrup before, and it works just as well.
Kosher salt is better than table salt because it dissolves more cleanly and doesn't leave a chemical aftertaste. Garlic and peppercorns add the savory depth that makes these taste homemade rather than industrial.
- 1 lb (450g) fresh jalapeños, sliced into rounds Why this? Provides the base heat and crunch.
- 1 cup (240ml) white distilled vinegar Why this? Essential for acidity and preservation.
- 1 cup (240ml) filtered water Why this? Dilutes the vinegar for a balanced bite.
- 1 tbsp (15g) kosher salt Why this? Draws out moisture and adds seasoning.
- 1 tbsp (12g) honey or maple syrup Why this? Cuts the sharp vinegary edge.
- 3 cloves (15g) garlic, smashed Why this? Adds a savory, aromatic punch.
- 1 tsp (2g) whole black peppercorns Why this? Provides a subtle, earthy spice.
Recipe Specs
This makes about 16 servings, which usually fills two pint sized jars. The prep takes about 10 minutes if you're fast with a knife, and the brine boils in another 10 minutes.
The most important part is the 2 hours of chilling time. While you can eat them warm, the flavors only really lock in once they've cooled down in the fridge. Total time from start to eating is 2 hours and 20 minutes.
The Cooking Process
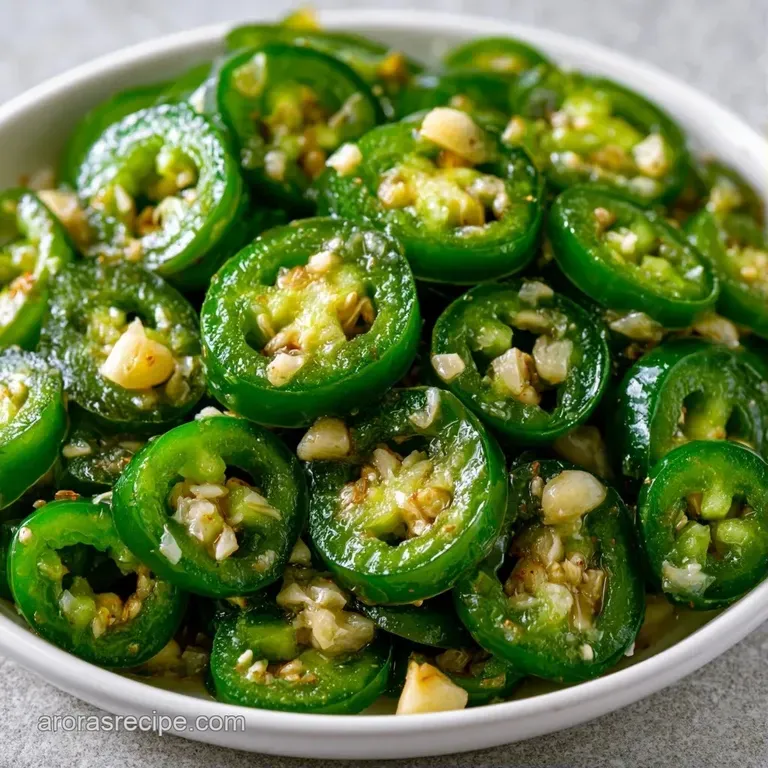
- Wash the jalapeños well and cut them into 1/4 inch rounds. Pack the slices snugly into clean glass jars. Note: Tight packing prevents the peppers from floating.
- In a small saucepan, combine the white vinegar, water, honey, kosher salt, smashed garlic, and peppercorns.
- Heat the mixture over medium high until it reaches a light boil, stirring occasionally until the honey and salt are completely dissolved. Wait for active bubbles to form before taking it off the heat.
- Carefully pour the hot brine over the jalapeños in the jars, ensuring all slices are fully covered.
- Use a slotted spoon to press down any floating peppers to avoid spoilage. Press firmly until all air bubbles are gone.
- Close the lids tightly and leave the jars at room temperature to cool.
- Refrigerate the jars for 2 hours to achieve the best flavor.
Pro Tips & Pitfalls
Dealing with Burning Hands
Jalapeño oils are stubborn. I once spent an entire evening feeling a sting on my fingertips because I didn't use gloves. Wear disposable gloves when slicing. If you forget, rub your hands with vegetable oil first, then wash with dish soap to break down the capsaicin.
Fixing Cloudy Brine
If your liquid looks a bit milky, it's usually just the garlic or the honey reacting. It doesn't affect the taste or safety. To avoid it, make sure your water is filtered and you stir the honey thoroughly while it's boiling.
Handling Floating Peppers
Peppers float because of trapped air. If they stay above the brine, they can soften or spoil. This is why the slotted spoon is so important. If you don't have one, a butter knife works, but be careful not to crack the glass.
Transitioning to Canning
This is a refrigerator recipe, so it's not shelf stable. If you want to keep them in a pantry, you'll need to process them in a water bath. This is not a canning recipe that's why not shelf stable and will need to be kept refrigerated. If looking for canning in a more permanent way, check the USDA guidelines for safety.
| Goal | What to change |
|---|---|
| Milder Heat | Remove seeds/membranes |
| Extra Tang | Use 1.25 cups vinegar |
| More Savory | Double the garlic |
If you enjoy this kind of zing, you might also like my Mexican Pickled Onions for a different kind of bright topper.
Common Pickle Myths
A lot of people think you have to let Pickled Jalapeños sit for a week to get the flavor. That's not true for refrigerator pickles. Because we use a boiling brine, the infusion happens much faster. You can actually taste a difference after just two hours.
Another myth is that you need to peel the peppers. Honestly, don't even bother. The skin is where a lot of the structure is, and it softens just enough in the vinegar to be pleasant without losing that snap.
Preservation Secrets
Keep these in the refrigerator, where they'll stay crunchy and bold for 3 to 4 weeks. Be sure to use a clean fork whenever you take some out; using a dirty spoon can introduce bacteria that clouds the brine or spoils the batch more quickly.
Do not freeze them. Freezing breaks down the cellular structure of the pepper, which leads to a mushy, watery consistency after they thaw.
Make use of the extra brine instead of pouring it down the drain. It's essentially a spicy, garlicky vinaigrette. I love using it to marinate chicken breasts for 30 minutes before grilling, or stirring a splash into potato salad for extra zing. It also serves as a great base for Pickled Hot Peppers if you have other pepper varieties in the fridge.
Dietary Adaptations
If you need to avoid honey, granulated sugar works just fine. Use the same amount (1 tbsp). For a paleo or keto version, a tiny pinch of stevia or monk fruit sweetener works, though the honey really helps with the mouthfeel of the brine.
To make these Mexican Pickled Jalapeños, add a sliced carrot to the jar. The carrot absorbs the heat and the vinegar, becoming a savory treat on its own. You can also add a pinch of dried oregano to the brine for a more herbal, earthy vibe.
If you find the heat too intense, slice the jalapeños lengthwise and scrape out the white membranes and seeds before packing. Most of the heat lives in the ribs, not the flesh.
Serving Suggestions
These Pickled Jalapeños are the perfect pairing for any rich dish. Load them onto a juicy cheeseburger or tuck them inside a grilled cheese sandwich. They are also a must have for homemade taco night.
I enjoy stirring a few slices into a bowl of corn chowder just before serving, as the bright acidity balances the creaminess of the soup. For a bolder twist, mince them and fold them into cream cheese to create a spicy dip that's fantastic with tortilla chips.
Now you're all set to start. Just remember to let them chill waiting is the only challenging part of this recipe. Enjoy that snap!
Recipe FAQs
How to prepare the pickling liquid?
Combine vinegar, water, salt, honey, garlic, and peppercorns in a saucepan. Bring the mixture to a light boil over medium high heat until the salt and honey dissolve.
Can I use maple syrup instead of honey?
Yes, maple syrup works just as well as honey for rounding out the vinegar. Both provide the necessary sweetness to balance the heat.
Is it true that homemade pickles always take days to taste good?
That's a myth. Using a boiling brine allows the flavors to penetrate quickly, making them ready after just two hours in the fridge.
Why do you smash the garlic instead of mincing it?
Smashed cloves release aromatic oils without creating tiny burnt pieces in the brine. This keeps the liquid clear and the flavor clean.
What should I do if slices float to the top?
Press the peppers down with a slotted spoon to keep them fully submerged. This prevents spoilage and ensures every slice is pickled evenly.
Do the jars need to be chilled before serving?
Chill the jars for at least two hours. This cooling period is essential for the flavors to meld and for the peppers to reach the right texture.
Which dishes go best with these pickled peppers?
They are excellent on tacos, burgers, or sandwiches. If you love this bright, acidic contrast, try pairing them with a creamy side like our pea salad.
Pickled Jalapeños in 20 Minutes