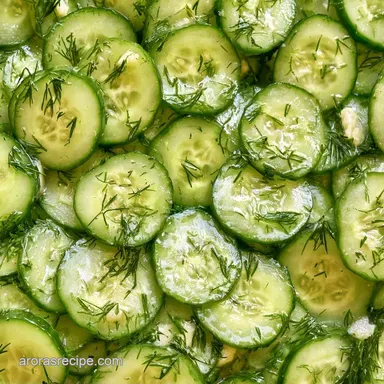
Homemade Pickles: Snappy Refrigerator Dill
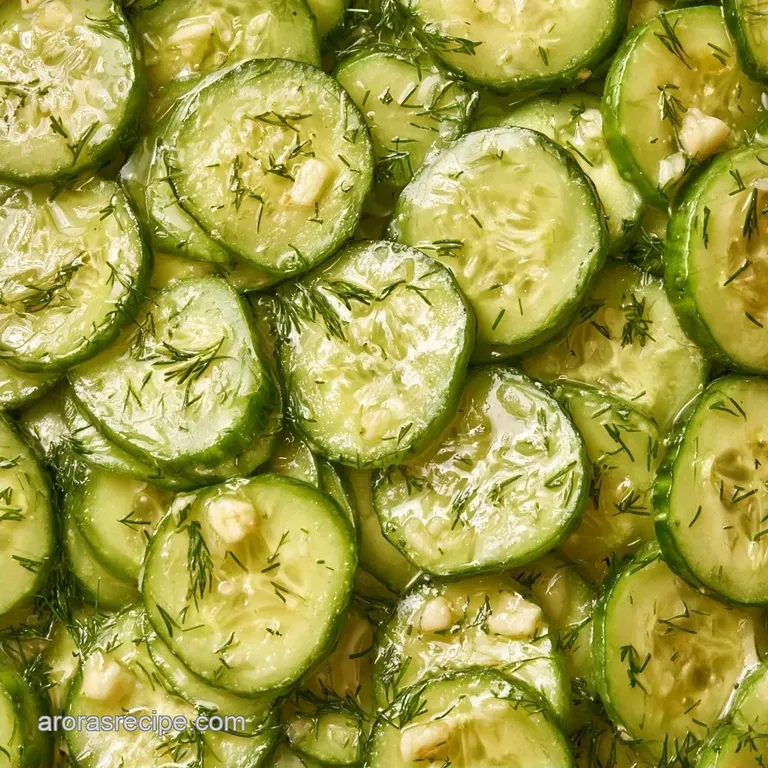
- Time:15 minutes active + 24 hours chilling
- Flavor/Texture Hook: Tangy, garlicky, and super snappy
- Perfect for: Sandwich toppers, snack platters, or beginner friendly meal prep
That sharp, vinegary scent hits you the second you pop the lid. Then there's that loud, satisfying snap when you take the first bite. It's that exact experience I wanted to recreate in my own kitchen, though it took a few tries to get it right.
I once tried a "quick" version where I just dumped hot brine over raw cucumbers. They turned out limp and bland within two days. I realized I was skipping the most important part: prepping the vegetables to actually hold onto the flavor.
These Homemade Pickles use a method that guarantees a crunch. We'll use a simple brine and a cold soak technique so you don't have to worry about water baths or sealing machines.
Easy Crunchy Homemade Pickles Recipe
Cook time: 5 minutes
Total time: 24 hours 20 mins
Yield: 2 quart sized jars
Why These Stay So Crunchy
The Salt Soak: Salting the slices first draws out internal water. This stops the pickles from diluting the brine and keeps the cell walls firm.
The Vinegar Ratio: A 1:1 mix of vinegar and water balances the acidity. It preserves the vegetable without making it taste like straight acid.
Right then, before we dive into the gear, look at the difference between doing this in the fridge versus the traditional way.
| Method | Time | Texture | Best For |
|---|---|---|---|
| Refrigerator | 24 hours | Extra Snappy | Quick snacks |
| Water Bath | Weeks | Softer/Salty | Long term pantry |
What You'll Need
First, let's look at what each part of these Homemade Pickles actually does for the flavor.
| Component | Purpose | Substitute Notes |
|---|---|---|
| Kirby Cucumbers | Firm structure | Persian cucumbers work; English are too watery |
| White Vinegar | Acid/Preservation | Apple cider vinegar adds a fruitier note |
| Kosher Salt | Moisture control | Sea salt works; avoid table salt (too cloudy) |
| Fresh Dill | Herbaceous punch | Dried dill is weaker, use 1 tbsp |
Now, here is the full list. Grab everything before you start.
- 2 lbs Kirby or Persian cucumbers, sliced into 1/4 inch rounds Why this? Smaller varieties have thicker skins and more crunch.
- 8 cloves garlic, smashed Why this? Smashed cloves release more oils than sliced ones.
- 1/2 cup fresh dill, roughly chopped
- 1 tbsp kosher salt (for pre treating)
- 1 cup white distilled vinegar
- 1 cup filtered water
- 2 tbsp kosher salt
- 1 tbsp granulated sugar Why this? Balances the sharp vinegar bite.
- 1 tsp black peppercorns
- 1 tsp coriander seeds
Simple Tools For Pickling
You don't need a professional lab for this. A few basic kitchen items will do. I usually use a standard stainless steel saucepan for the brine and two wide mouth Mason jars.
A colander is a must for the salt drain step. If you don't have a measuring cup, a standard liquid measuring jug works. Just make sure your jars are clean and dry to keep the Homemade Pickles fresh.
The step by step Process
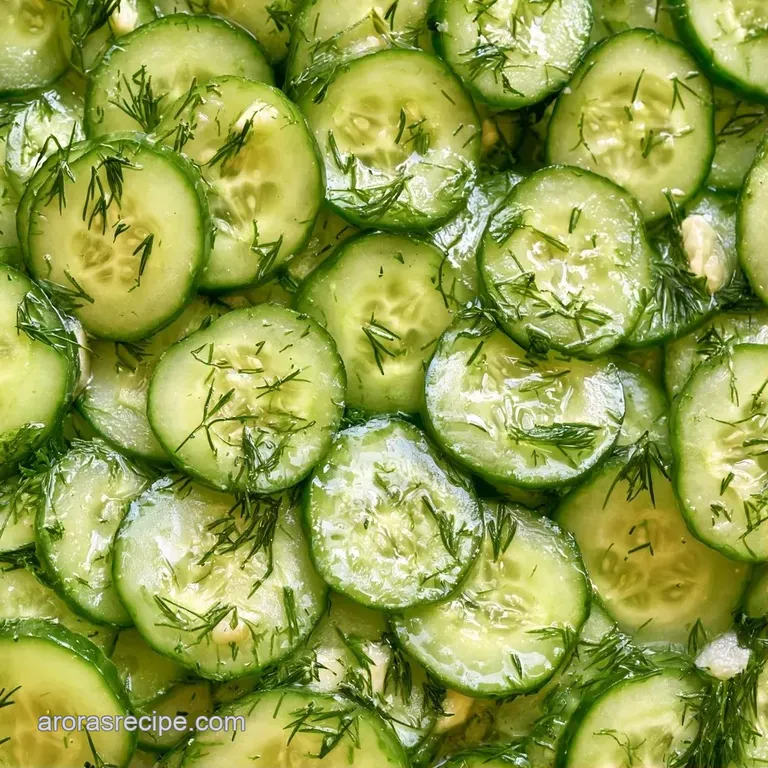
Time to start the prep.
- Cut the cucumbers into consistent rounds. Note: Keeping the slices uniform ensures they brine at the same speed.
- Put the cucumbers in a colander and toss with 1 tbsp of kosher salt. Let them sit for 30 minutes until they look slightly wilted, then rinse them quickly with cold water and pat dry.
- In a saucepan, mix together the vinegar, water, salt, sugar, peppercorns, and coriander seeds.
- Simmer the mixture over medium heat, stirring occasionally until the salt and sugar have fully dissolved. Remove from the heat immediately.
- Evenly distribute the smashed garlic and fresh dill into two Mason jars.
- Pack the cucumber slices tightly into the jars, leaving about 1/2 inch of headspace.
- Fill the jars with the hot brine, making sure the cucumbers are fully covered. Tap the jars gently on the counter to get rid of air bubbles.
- Let the jars cool on the counter for 30 minutes, then secure the lids and refrigerate for at least 24 hours before eating your Homemade Pickles.
Pro Tip: For a more complex taste, stir a pinch of red pepper flakes into the brine for a subtle heat that doesn't mask the dill.
Fixing Common Texture Issues
The biggest worry with Homemade Pickles is usually the texture. If they come out soft, it's almost always because of the cucumber type or the brine temperature.
Using English cucumbers is a common mistake. They are bred to have thin skins and high water content, which means they can't stand up to the salt and vinegar as well as Kirbys. Another issue is boiling the brine too hard. A simmer is plenty.
Fixing Mushy Slices
If your slices aren't snapping, check your produce choice. Always go for the bumpy skinned ones.
Fixing Dull Flavor
If the taste is flat, you might have over rinsed the cucumbers or used too much water in the brine.
| Problem | Root Cause | Solution |
|---|---|---|
| Soft Texture | Used English cucumbers | Switch to Kirby or Persian |
| Cloudy Brine | Used iodized table salt | Use Kosher or sea salt |
| Bland Taste | Didn't let them sit 24h | Wait another day for brine penetration |
Ways To Swap Flavors
You can easily tweak these Homemade Pickles to suit your mood. I love making a few different jars at once.
For a spicy version, add three sliced jalapeños to each jar. If you prefer a "bread and butter" style, increase the sugar to 1/4 cup and add a sliced onion. The acidity of the brine also makes these a great side if you're serving them alongside a creamy potato salad.
Since we aren't canning these, you can be more adventurous with ingredients. Try adding a strip of lemon peel or a few mustard seeds for a more complex profile. The brine also tastes great if you're sipping it alongside a roasted tomato soup.
| Goal | What to change |
|---|---|
| More Heat | Add sliced jalapeños |
| Sweeter Bite | Increase sugar to 4 tbsp |
| Zesty Note | Add lemon peel strips |
Keeping Your Jars Fresh
These Homemade Pickles are kept in the refrigerator. Because they haven't been processed in a water bath, they are not shelf stable. Keep them cold, and they'll remain crunchy for roughly 4 to 6 weeks.
Avoid using your fingers to grab a pickle; instead, use a clean fork to keep bacteria out of the jar. Toss them if you notice any cloudiness or an unusual smell.
To minimize waste, don't pour out the extra brine. It is essentially a seasoned vinegar. I like to use it to flavor chicken before grilling or stir a splash into potato salad for an extra zing. It's also excellent for quick pickling sliced red onions for tacos.
Ways To Serve Them
Homemade Pickles are a staple for a reason. They cut through rich, fatty foods perfectly. I love them on a burger with extra melted cheese or sliced thin on a deli sandwich.
Try them as a snack on a charcuterie board with some sharp cheddar and spicy salami. If you're feeling fancy, chop them up and mix them into a tartar sauce for fried fish.
Honestly, some of the best Homemade Pickles are eaten straight from the jar at midnight. Just make sure you've waited that full 24 hours, or you'll miss out on the depth of the garlic and dill. Trust me, the wait is worth the snap.
High in Sodium
895 mg 895 mg of sodium per serving (39% 39% of daily value)
The American Heart Association recommends a daily sodium limit of no more than 2,300 mg for most adults to reduce the risk of cardiovascular disease.
Tips to Reduce Sodium
-
Reduce Brine Salt-25%
Reduce the 2 tbsp of kosher salt in the brine by half; the vinegar will still provide a strong preservative and tart flavor.
-
Skip Pre-treating Salt-25%
Omit the 1 tbsp of salt used for pre-treating the cucumbers to eliminate unnecessary sodium before the pickling process begins.
-
Use Salt Substitutes-20%
Replace a portion of the kosher salt with a potassium based salt substitute or a low-sodium salt blend.
-
Increase Acidity-15%
Add a tablespoon of lemon juice or a splash of apple cider vinegar to enhance the 'tang' and compensate for reduced salt.
-
Boost Aromatics
Double the amount of fresh dill and smashed garlic to create a more robust flavor profile without adding sodium.
Recipe FAQs
How to make pickles for beginners?
Slice cucumbers, salt them for 30 minutes, then pour hot brine over them in jars.
Tip: Use Kirby or Persian cucumbers for the best crunch.
What is the 3 2 1 rule for pickles?
This is a general ratio of three parts vinegar, two parts water, and one part salt.
Tip: Our specific recipe uses a 1:1 vinegar to water ratio for a balanced, tangy flavor.
Is it true that skipping the salt soak is okay?
No, and here's why. Skipping this step leaves too much water in the cucumber, leading to limp pickles.
Tip: Pat the slices completely dry after rinsing to keep the brine strong.
Which vegetables are best for beginners?
Cucumbers are the gold standard because they absorb brine quickly and maintain texture.
Tip: These tangy slices pair perfectly with classic potato salad.
Can sweet pickles be made without canning?
Yes, simply increase the granulated sugar in the brine and refrigerate the jars.
Tip: Keep the jars sealed and chilled for at least 24 hours to let the sweetness penetrate.
Easy Homemade Pickles