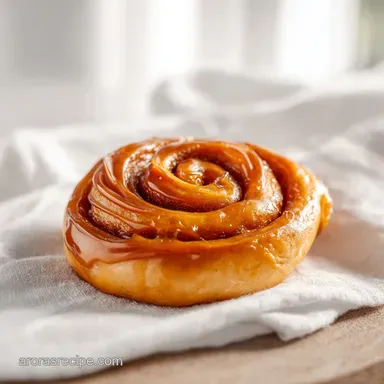
Foolproof Dulce De Leche: Rich and Velvety
- Time: 5 min active + 125 min cook + 45 min cooling = Total 175 min
- Flavor/Texture Hook: Velvety, glossy, and deep caramel notes
- Perfect for: Beginner friendly dessert topping or filling
Imagine the smell of toasted sugar and warm cream filling your kitchen, that deep, nutty aroma that tells you something special is happening. I remember the first time I tried this, I was terrified the can would actually explode.
I spent half the time hovering over the pot, staring at the bubbles, convinced I was conducting a dangerous science experiment rather than making dessert.
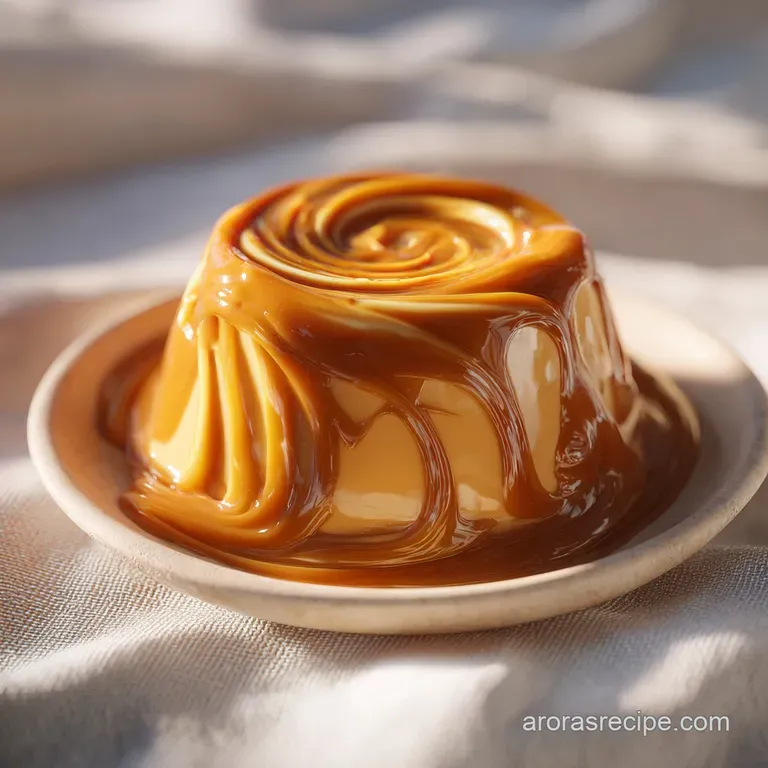
But when I finally opened that cooled can, the transformation was wild. What started as a pale, syrupy liquid had turned into a thick, golden lava. It's a bit of a waiting game, but the payoff is a texture that's completely different from store-bought jars.
Whether you want to learn how to make dulce de leche for a cake filling or just as a treat for fruit, this is the most stress free way to do it. You don't need to stand over a stove whisking until your arm falls off. We're letting the heat do all the heavy lifting while we hang out.
Easy Homemade Dulce de Leche
Right then, let's get into the grit of this. The most common way to make dulce de leche is using a can of sweetened condensed milk, but the secret is in the temperature control. If you rush it, you get lumps. If you're patient, you get a silky, glossy sauce that clings to everything it touches.
Honestly, don't even bother with the low-fat versions of condensed milk here. You need that fat to carry the flavor and give it that heavy, luxurious mouthfeel. I've tried the "healthy" swaps, and they just don't hold up. This is a treat, so let's treat it like one.
If you're feeling adventurous, you can use this as a base for other things. For example, it's a fantastic dip for sliced apples or a swirl in a cheesecake. If you want another sweet treat to pair with this, you should definitely try these Mexican Hot Chocolate Cookies for a full on dessert party.
The Magic Behind The Caramel
I used to think this was just about boiling milk, but there's a bit more going on under the lid. Here is why this specific method works:
- Slow Heat: By keeping the milk inside the can, we maintain a steady temperature that browns the sugars without burning them.
- Pressure Cooking: The sealed can creates a tiny bit of pressure, which helps the thickening process happen more evenly.
- Water Barrier: The water bath prevents the milk from ever hitting the actual temperature of the burner, which is why it doesn't scorch.
- Fat Binding: Adding butter at the end creates a velvety emulsion, giving it that professional, glossy shine.
Since we aren't stirring, we rely on the water bath technique to ensure the heat is distributed evenly around the cylinder of the can.
| Method | Time | Texture | Best For |
|---|---|---|---|
| Water Bath | 125 min | Thick & Velvety | Beginners |
| Stovetop | 45 min | Grainier/Intense | Fast results |
| Slow Cooker | 8 hours | Very Smooth | Set and forget |
Component Analysis
Before we start, it's helpful to know what each part is actually doing. This isn't just a list of things to throw in a pot; every bit matters.
| Ingredient | Science Role | Pro Secret |
|---|---|---|
| Condensed Milk | Sugar & Protein Base | Use a brand with high milk solids for thickness |
| Sea Salt | Flavor Balance | Cuts through the sugar to prevent "cloying" taste |
| Butter | Emulsifier | Use room temperature butter for a smoother whisk |
| Vanilla | Aroma Layer | Add at the end so the flavor doesn't boil away |
The Pantry List
Keep it simple. You only need a few items to make dulce de leche from scratch using the condensed milk shortcut.
- 1 can (397g) sweetened condensed milk Why this? The high sugar content is essential for the browning process
- 1 tsp (5ml) vanilla extract Why this? Pure extract adds a floral note that balances the richness
- 1/4 tsp (1.5g) sea salt Why this? Enhances the caramel flavor
- 1 tbsp (14g) unsalted butter Why this? Adds a velvety finish and shine
If you're out of butter, you can use a tablespoon of coconut oil, though it adds a slight tropical note. If you don't have sea salt, regular table salt works, but use a pinch less so it isn't too sharp.
Tools You'll Need
You don't need a fancy kitchen for this. A few basic tools will do the trick:
- A large pot (must be deep enough to cover the can by 5cm)
- Tongs (essential for removing the hot can)
- A whisk or stiff spatula
- A timer (don't guess the time)
Step-by-step Cooking Process
Let's crack on. Follow these steps exactly, especially the cooling part, or you'll have a very bad time opening that can.
- Remove the paper label from the condensed milk can. Note: This stops paper bits from floating in your water
- Place the unopened can in the bottom of your large pot.
- Fill the pot with water until the can is submerged by at least 5cm.
- Bring the water to a rolling boil over medium high heat.
- Reduce heat to a steady simmer and set your timer for 125 minutes.
- Check the water every 30 minutes. Add boiling water if the level drops to ensure the can stays fully covered.
- Use tongs to remove the can and let it cool completely for 30 to 60 minutes. Wait until it is cool to the touch.
- Open the can carefully and pour the golden caramel into a bowl.
- Whisk in the vanilla, sea salt, and room temperature butter until the mixture is glossy and smooth.
Chef's Tip: If you want an even deeper color, let it simmer for an extra 15 minutes, but be very careful about the water level.
Fixing Common Mistakes
The biggest worry with this recipe is the can. As long as it's submerged, you're golden. But sometimes things go sideways.
Troubleshooting Common Issues
| Issue | Solution |
|---|---|
| Sauce too thin | Usually, this means the simmer wasn't hot enough or the timer was stopped too early. If it's too runny, you can put it in a saucepan and simmer it on low for a few minutes, whisking constantly. |
| Why is the texture grainy | Graininess happens when the water level drops and the milk inside the can overheats in one spot. This causes the sugars to crystallize. |
| The color is too pale | This usually happens if the water never reached a proper simmer. Make sure you see those steady bubbles throughout the process. |
- ✓ Always use boiling water for top ups to keep the temp steady.
- ✓ Never open the can while it's still hot.
- ✓ Whisk the butter in at the very end for the best shine.
- ✓ Use a pot that is significantly larger than the can.
Fun Flavor Tweaks
Once you know how to make dulce de leche, you can start playing with the flavors. It's a great canvas for other tastes.
If you want a salted caramel vibe, just double the sea salt. For an espresso version, whisk in a teaspoon of instant coffee powder along with the vanilla. It adds a bitter edge that cuts right through the sweetness.
While this is a sweet treat, if you're looking for something hearty for dinner, my Chicken and Sausage Stew is a great way to balance out a day of baking.
Storage and Waste Tips
Store your finished sauce in a glass jar in the fridge for up to 3 weeks. It will thicken up as it cools, so if it becomes too stiff, just pop a spoonful in the microwave for 10 seconds.
You can freeze this for up to 3 months. Thaw it in the fridge overnight and give it a good whisk before using.
To avoid waste, use the leftover butter wrapper to grease your baking pans, or use any leftover sauce to glaze a roasted carrot for a sweet and savory side dish.
Best Ways to Serve
This is where the fun begins. I love using it as a dip for fresh strawberries or sliced pears. It's also a total winner when swirled into a bowl of vanilla bean ice cream.
For a more "homestyle" dessert, try filling the center of a thumbprint cookie or layering it between two thin crepes. If you're feeling fancy, drizzle it over a warm slice of pound cake. Trust me, it's the easiest way to make a simple cake feel like a feast.
Recipe FAQs
How to make dulce leche at home?
Submerge a label free can of sweetened condensed milk in water and simmer for 125 minutes. Once cooled, whisk in butter, sea salt, and vanilla extract until the mixture is glossy and smooth.
What is the secret to making good dulce de leche?
Keep the can fully submerged by at least 5cm of water at all times. Checking the water level every 30 minutes prevents the sugars from crystallizing and ensures the can does not burst.
Does boiling a can of condensed milk turn into caramel?
Yes, this process creates a thick, caramelized sauce. The prolonged heat triggers a reaction that browns the milk sugars and transforms the texture.
How is dulce de leche made?
Simmer an unopened can of condensed milk in a pot of water for 125 minutes. After cooling for 30 to 60 minutes, the thickened milk is whisked with butter, sea salt, and vanilla.
Is it true I can open the can immediately after simmering?
No, this is a common misconception. You must let the can cool completely for at least 30 to 60 minutes to avoid dangerous accidents when opening.
Why is the texture grainy?
The water level likely dropped too low during cooking. This allows the milk inside to overheat in one spot, causing the sugars to crystallize.
How to store the finished sauce?
Store it in a glass jar in the fridge for up to 3 weeks. For longer preservation, it can be frozen for 3 months and thawed overnight in the refrigerator.
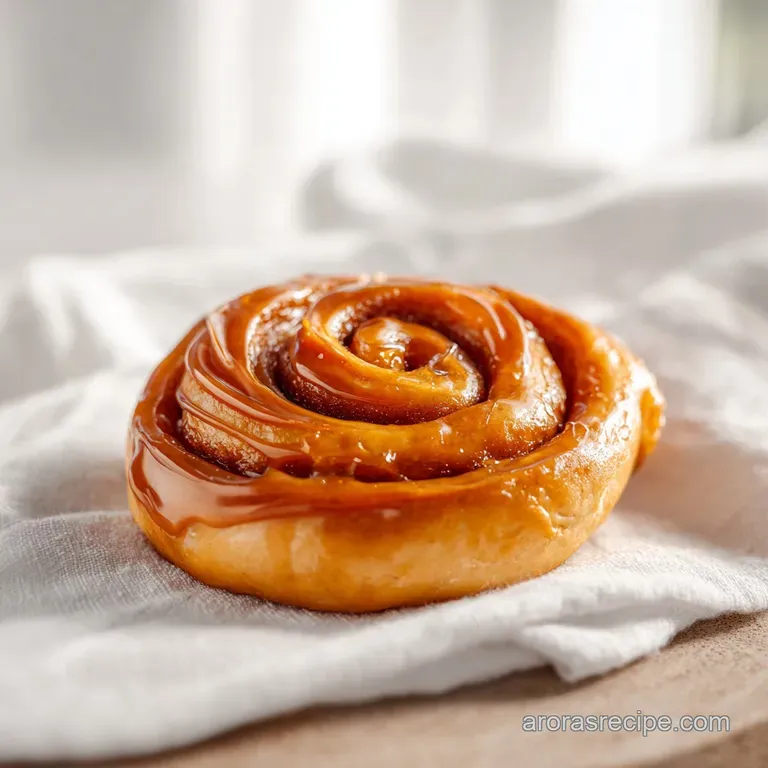
Homemade Dulce De Leche