The Softest Sugar Cookie of Your Life Recipe
- Time: Active 20 minutes, Passive 2 hours 8 mins, Total 2 hours 28 mins
- Flavor/Texture Hook: Velvety, melt in-the mouth crumb with a buttery vanilla finish
- Perfect for: Holiday gift boxes, birthday parties, or a cozy Nashville style Sunday treat
- Mastering The Softest Sugar Cookie of Your Life Recipe with Vanilla Frosting
- Technical Specifications and Yield Data
- Selecting Elements for Pillowy Texture
- Essential Tools for Consistent Results
- Perfecting the Method and Texture
- Troubleshooting Texture and Flavor Issues
- Personalizing Flavors and Creative Variations
- Preservation and Minimizing Ingredient Waste
- Beverage Pairings and Menu Planning
- Common Myths
- Recipe FAQs
- 📝 Recipe Card
Mastering The Softest Sugar Cookie of Your Life Recipe with Vanilla Frosting
The whir of the mixer always takes me back to my grandmother’s kitchen, where the scent of warm butter and vanilla bean paste felt like a heavy, comforting blanket. I remember the first time I tried to make sugar cookies on my own, I ended up with what looked like golden brown hockey pucks that nearly chipped a tooth.
It was a disaster, but that failure started my obsession with finding the "softest" possible result. I spent months testing flour ratios and chilling times until I finally hit that sweet spot where the cookie holds its shape but collapses into a velvety crumb the second it hits your tongue.
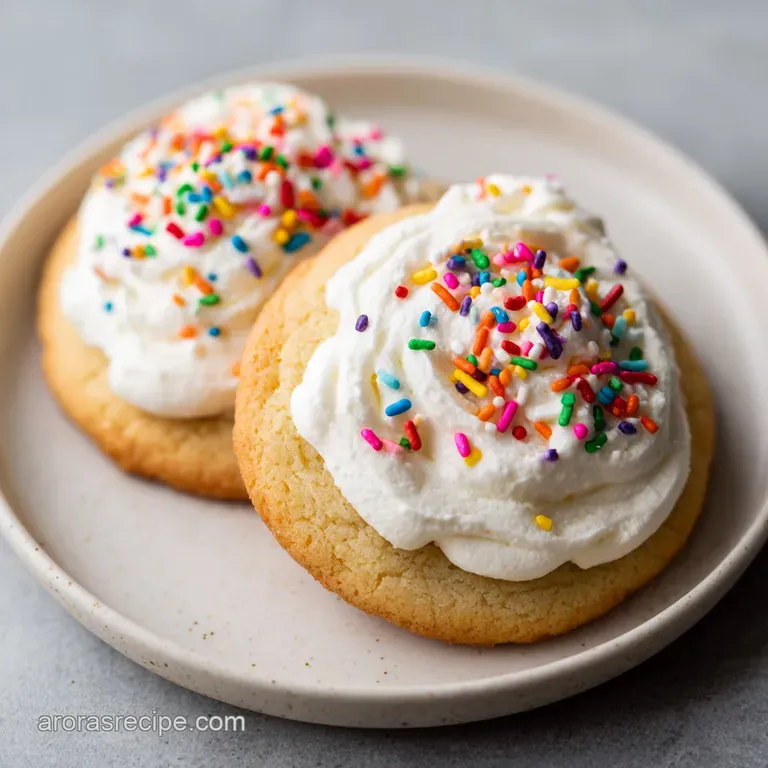
Indulge in "The Softest Sugar Cookie of Your Life Recipe with Vanilla Frosting" for an unforgettable, melt in-the mouth treat. This isn't just another dry, crumbly biscuit that requires a gallon of milk to swallow.
We're talking about a thick, soft cut out sugar cookie recipe that maintains its integrity under heavy frosting while remaining incredibly tender. Whether you're making these for a rainy afternoon or a big celebration, you'll find that the secret lies in the humble pantry staples we often overlook.
Trust me, once you try this method, those grocery store "loft house" style cookies will never taste the same again.
Technical Specifications and Yield Data
The Architecture of the Pillowy Bite: The combination of cornstarch and cream of tartar creates a tenderizing effect by limiting gluten development and providing a slight leavening lift. This ensures the cookies stay thick and soft without becoming cakey or overly crisp.
- Fat Aeration: Creaming the butter for a full three minutes creates tiny air pockets that expand in the heat, resulting in a lighter internal structure.
- Acid Stabilization: Cream of tartar doesn't just add a subtle tang, it stabilizes the egg proteins, allowing the cookie to rise and then "set" into a soft texture.
- Starch Interference: Adding cornstarch to all purpose flour mimics the protein content of cake flour, which prevents the dough from becoming tough.
- Moisture Retention: Using a higher ratio of vanilla extract and a touch of heavy cream in the frosting keeps the entire bite hydrated.
| Thickness | Bake Time | Visual Cue | Texture Result |
|---|---|---|---|
| 1/4 inch | 7-8 minutes | Matte top, no browning | Maximum softness, very tender |
| 3/8 inch | 9-10 minutes | Slightly puffed edges | Dense, chewy, bakery style |
| 1/2 inch | 11-12 minutes | Set center, pale bottom | Cake like, very substantial |
When you are aiming for the softest sugar cookies of your life recipe, the thickness of the dough is your primary lever for control. A thinner cookie will naturally have a bit more "snap" around the edges, while a thicker cut will remain doughy and soft throughout.
I personally prefer the quarter inch mark because it allows the vanilla frosting to shine without the cookie feeling like a piece of bread.
Selecting Elements for Pillowy Texture
| Ingredient | Science Role | Pro Secret |
|---|---|---|
| Unsalted Butter | Provides fat and flavor | Use high fat European style for a richer, silkier mouthfeel |
| Cornstarch | Weakens gluten bonds | Sift it with the flour to ensure no chalky clumps remain |
| Cream of Tartar | Controls pH balance | This is the "old fashioned" secret for that signature soft bite |
| Pure Vanilla Extract | Flavor and hydration | Double the amount for a professional, aromatic bakery scent |
Selecting the right components is the first step toward a super soft sugar cookie cutout recipe. I always use unsalted butter because it gives me total control over the seasoning. You don't want a salty cookie when you have a sweet frosting waiting to go on top.
For the aromatics, while vanilla is king, that half teaspoon of almond extract is what makes people stop and ask, "What is that amazing flavor?" It's the secret handshake of the baking world.
- 1 cup (227g) unsalted butter, softened: Why this? Provides the foundational fat for a rich, tender crumb structure.
- 3/4 cup (150g) granulated sugar: Why this? Sweetens while allowing the cookie to remain pale and soft.
- 1 large egg, room temperature: Why this? Binds the dough without making it too tough or rubbery.
- 1 tbsp (15ml) pure vanilla extract: Why this? Offers deep aromatic notes that define the classic sugar cookie profile.
- 1/2 tsp (2.5ml) almond extract: Why this? Adds a professional tasting "cherry floral" undertone that enhances the vanilla.
- 3 cups (375g) all purpose flour: Why this? Provides the necessary structure to hold the cut out shapes.
- 2 tbsp (16g) cornstarch: Why this? Softens the flour's protein, creating that "melt in-your mouth" texture.
- 1 tsp (5g) baking powder: Why this? Gives the cookies a gentle lift without making them cakey.
- 1/2 tsp (2g) cream of tartar: Why this? Ensures a soft, fine crumb and prevents over browning.
- 1/2 tsp (3g) fine sea salt: Why this? Balances the sugar and brings out the butter's natural sweetness.
- 1/2 cup (113g) unsalted butter, softened (frosting): Why this? Creates a stable, creamy base for the vanilla topping.
- 2 cups (240g) powdered sugar: Why this? Provides structure and sweetness for a smooth, spreadable frosting.
- 2 tbsp (30ml) heavy cream: Why this? Adds a velvety richness and thins the frosting to perfection.
- 1 tsp (5ml) vanilla bean paste: Why this? Visual beauty with "specks" and a more intense vanilla hit.
- 1 pinch salt: Why this? Cuts through the powdered sugar's intense sweetness.
Essential Tools for Consistent Results
To get the results of an old fashioned soft sugar cookies recipe from scratch, you don't need a professional bakery, but a few specific tools make life much easier. A stand mixer, like a KitchenAid, is your best friend here because it allows you to cream the butter and sugar thoroughly without your arm falling off.
I also highly recommend using a silicone baking mat. It provides a non stick surface and helps distribute heat evenly, which prevents the bottoms of your cookies from getting that dark, crispy ring that ruins the "soft" experience.
A rolling pin with thickness rings is another "cheat code" I use. It ensures that every single cookie is exactly 1/4 inch thick, so they all finish baking at the exact same second. If you don't have one, just use two dowels or even two stacks of magazines on either side of your dough to guide your rolling pin.
It's a simple trick, but it makes a massive difference in how professional your final platter looks.
Chef's Tip: Freeze your metal baking sheets for 10 minutes before placing the dough on them. This helps the cookies maintain their shape and prevents the butter from melting too quickly as soon as they hit the oven.
Perfecting the Method and Texture
Creaming the Foundation
Place 1 cup of softened unsalted butter and 3/4 cup granulated sugar in your mixer bowl. Beat on medium high speed for 3 full minutes until the mixture is pale and fluffy. Note: This aeration is vital for a light texture.
Incorporating the Aromatics
Add the 1 large egg, 1 tbsp vanilla extract, and 1/2 tsp almond extract to the creamed butter. Continue mixing for another minute until the egg is fully emulsified. Note: Room temperature eggs incorporate much better than cold ones.
Integrating the Dry Ingredients
In a separate bowl, whisk together 3 cups all purpose flour, 2 tbsp cornstarch, 1 tsp baking powder, 1/2 tsp cream of tartar, and 1/2 tsp salt. Slowly add this to the wet ingredients on low speed until just combined and no white streaks remain.
Note: Overmixing at this stage will make the cookies tough.
Chilling and Sculpting
Divide the dough in half, wrap in plastic, and refrigerate for at least 2 hours. Once chilled, roll out on a lightly floured surface to 1/4 inch thickness and cut into desired shapes until all dough is used. Note: Chilling prevents the cookies from spreading in the oven.
Precision Baking Steps
Preheat your oven to 350°F (180°C). Place shapes on a lined baking sheet and bake for 7 to 8 minutes until the tops look matte and set. Note: Do not wait for the edges to brown; they should remain pale.
Whipping the Frosting
While cookies cool, beat 1/2 cup butter, 2 cups powdered sugar, 2 tbsp heavy cream, 1 tsp vanilla bean paste, and a pinch of salt. Whip on high speed for 2 minutes until the frosting is light and velvety.
Note: Vanilla bean paste adds beautiful black specks to the finish.
Similar to the technique used in my Salted Caramel Cookies recipe, we want the fat to stay cool during the process. If you find the dough getting sticky while you're cutting out shapes, don't be afraid to pop it back in the fridge for 10 minutes. It's better to take your time than to struggle with a limp piece of dough that loses its shape the moment you lift it.
Troubleshooting Texture and Flavor Issues
Preventing Unexpected Dough Spread
If your cookies come out looking like puddles instead of stars or hearts, the culprit is usually temperature. If the butter in the dough gets too warm before it hits the oven, it will melt faster than the flour can set the structure. Always ensure your dough is cold to the touch when it goes into the oven.
Also, make sure you aren't using "spreads" or tub butter, which have higher water content and will cause a disastrous spread.
Avoiding a Dry Crumb
A dry, sandy cookie is usually the result of too much flour. When measuring your 3 cups of flour, avoid dipping the measuring cup directly into the bag. This packs the flour down, and you could end up with 20% more than the recipe calls for. Instead, spoon the flour into the cup and level it off with a knife.
This ensures your thick sugar cookie recipe for decorating stays moist and tender every single time.
Fixing Grainy Frosting
Grainy frosting happens when the powdered sugar isn't fully incorporated or if the butter was too cold. To fix this, continue whipping the frosting on high speed for several minutes. If it's still stubborn, add one extra teaspoon of heavy cream.
The liquid helps dissolve the sugar crystals, resulting in that professional, silky finish we’re looking for.
| Problem | Root Cause | Solution |
|---|---|---|
| Tough texture | Overmixing the flour | Mix only until the flour disappears |
| Browned edges | Oven temperature too high | Check oven with a thermometer; reduce time |
| Distorted shapes | Dough was too warm | Chill cut shapes for 10 mins before baking |
Common Mistakes Checklist
- ✓ Use room temperature eggs to ensure proper emulsification with the butter.
- ✓ Spoon and level your flour rather than scooping directly from the bag.
- ✓ Never skip the 2 hour chill time; it's essential for flavor development.
- ✓ Bake on the middle rack for even heat distribution.
- ✓ Allow cookies to cool completely before applying the vanilla frosting.
Personalizing Flavors and Creative Variations
One of the best things about this soft vanilla sugar cookie recipe is how easily it adapts to different occasions. If you want a themed version, check out my Heart Shape Sugar recipe. For a citrus twist, you can swap the almond extract for fresh lemon zest and a tablespoon of lemon juice in the frosting. It brightens the whole experience and makes them feel very summery.
Infusing Citrus Brightness
Add the zest of one lemon to the sugar before creaming it with the butter. Rubbing the zest into the sugar releases the oils and creates a much more intense flavor than just stirring it in at the end. Use lemon juice instead of heavy cream in the frosting for a tart, refreshing balance to the sweet cookie base.
Creating a Chocolate Version
To transform this into a chocolate treat, replace 1/2 cup of the all purpose flour with high-quality Dutch processed cocoa powder. You may need to add an extra tablespoon of heavy cream to the dough if it feels too dry.
The result is a deep, dark cookie that pairs perfectly with a peppermint or raspberry flavored frosting.
Substituting for dairy-free
You can make these dairy-free by using a high-quality vegan butter stick (avoid the tubs) and full fat coconut milk or almond milk in the frosting. The texture will be slightly different, but the cornstarch will still keep them remarkably soft.
| Original Ingredient | Substitute | Why It Works |
|---|---|---|
| Unsalted Butter | Vegan Butter Sticks | Similar fat content. Note: Shapes may spread slightly more. |
| Heavy Cream | Full fat Coconut Milk | Provides necessary fat for a creamy frosting texture. |
| Granulated Sugar | Coconut Sugar | Adds a caramel like depth. Note: Cookies will be darker. |
If you are looking for something even faster, my Cinnamon Rolls Ready recipe uses similar pantry staples but delivers that comforting spice in under 30 minutes. However, for that classic, nostalgic cookie experience, nothing beats the soft cut out sugar cookie recipe no chill (though I still recommend a quick 30 minute chill if you have the patience!).
Preservation and Minimizing Ingredient Waste
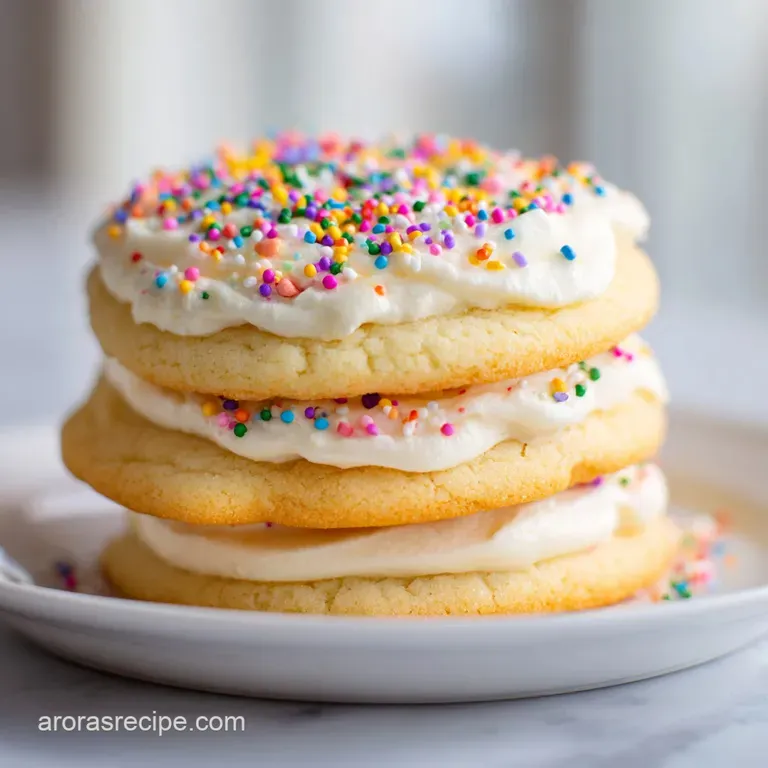
Storing these cookies correctly is the difference between a "cloud" and a "brick." Once the frosting has set, layer the cookies in an airtight container with parchment paper between the layers. They will stay perfectly soft at room temperature for up to 5 days.
If you need to keep them longer, they actually freeze beautifully. You can freeze the decorated cookies for up to 3 months. Just thaw them at room temperature for about an hour before serving.
To minimize waste, save your dough scraps! After you've cut out your shapes, ball up the leftover dough, roll it out again, and keep cutting. The third "re roll" might be slightly tougher due to the extra flour used for dusting, so I usually save those for the "cook's treat" (the ones I eat while the good ones go on the platter).
You can also freeze the raw dough logs for up to 2 months. Just thaw in the fridge overnight before rolling and baking.
Beverage Pairings and Menu Planning
These cookies are the ultimate "closer" for any meal. Because they are so rich and sweet, they pair beautifully with a bitter beverage. A dark roast coffee or a strong Earl Grey tea cuts through the buttery frosting perfectly.
For the kids, a cold glass of whole milk is the classic choice, but I've found that a spiced apple cider during the fall months makes for a really cozy pairing.
- If you want a classic pairing, go with a cold glass of milk.
- If you want a sophisticated snack, serve with an espresso or a latte.
- If you want a festive vibe, pair with hot cocoa topped with extra whipped cream.
If you’re planning a dessert table, these cookies provide a great visual and textural contrast to something denser like my Moist Pumpkin Bread recipe. Having a mix of soft cookies, quick breads, and maybe some Glazed Croissants recipe for a bit of "shatter" and crunch creates a professional level spread that will have your friends asking for your blog link!
Common Myths
One persistent myth is that you must sift every single ingredient for a soft cookie. While sifting flour and cornstarch helps remove clumps, it's the creaming of the butter and sugar that truly provides the lift and softness.
Sifting is great, but don't feel like you've failed the recipe if you skip it on a busy Tuesday afternoon.
Another misconception is that "more baking powder equals more softness." In reality, too much leavening agent can cause the cookies to puff up and then collapse, leading to a dry, crumbly mess. Stick to the measured teaspoon for that perfect, consistent rise.
The softness comes from the fat to flour ratio and the cornstarch, not from blowing the cookie up with air.
Finally, many people believe you can't over chill dough. While chilling is good, leaving dough in the fridge for more than 48 hours can actually start to dry out the edges of the dough, making it crack when you try to roll it.
If you aren't going to bake within two days, it's better to wrap the dough tightly and move it to the freezer.

Recipe FAQs
Should I use room temperature or cold butter for the cookie dough?
Cream softened butter first, then chill the dough. You must cream the butter and sugar until pale and fluffy to incorporate air, which ensures the final cookie is soft, not dense. After mixing the dough, an absolute minimum of two hours of chilling is required to prevent spread.
How do I prevent my cut-out sugar cookies from puffing up and becoming cakey?
Reduce the leavening agent slightly and use cornstarch. The recipe's inclusion of cornstarch mimics cake flour to weaken gluten, while the baking powder provides just enough lift without causing excessive puffing. If you master this texture control here, see how the same principle of starch interference works in our Swifties Bake it recipe.
How long should I chill the dough before rolling and cutting shapes?
Chill the dough for a minimum of two hours. This resting period allows the fats to solidify completely, which is crucial for maintaining sharp edges when cutting and baking. For best results, you can chill the dough for up to 48 hours, but bring it out about 15 minutes before rolling.
How can I make the vanilla frosting extra smooth and glossy?
Whip the frosting on high speed for a full two minutes. Ensure your butter is perfectly soft, then gradually add the powdered sugar before increasing the speed to incorporate air and create a stable emulsion. Adding a tiny splash more heavy cream will also smooth out any residual graininess.
Is it true that cream of tartar is optional in this soft sugar cookie recipe?
No, it is a key ingredient for texture preservation. Cream of tartar does more than just add slight tang; it chemically interferes with gluten development and stabilizes the egg proteins.
Skipping it will likely result in a slightly tougher cookie that doesn't achieve that signature melt-in-your mouth quality.
What is the ideal baking time for a thick 3/8 inch cookie?
Bake thicker cookies between 9 and 10 minutes. For a dense, chewy texture that is still very soft in the center, aim for the higher end of the suggested time range. The key indicator is a matte top surface that is set but shows no browning whatsoever.
How do I substitute ingredients if I need to make this recipe dairy-free?
Replace butter with high fat vegan butter sticks and use canned coconut milk in the frosting. You must use a stick style vegan butter for structure, not tub margarine. This technique is similar to adapting recipes for a dietary restriction, much like finding a balance for our Proper SlowBaked Indian recipe.
Softest Sugar Cookie Recipe

Ingredients:
Instructions:
Nutrition Facts:
| Calories | 246 calories |
|---|---|
| Protein | 1.9g |
| Fat | 12.1g |
| Carbs | 32.4g |
| Fiber | 0.4g |
| Sugar | 16.5g |
| Sodium | 78mg |
