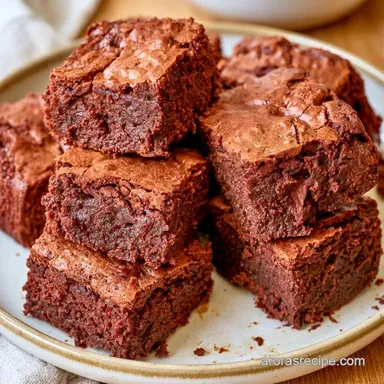
Fudgy Sweet Potato Brownies
- Time: 10 min active + 20 min bake + 30 min cooling
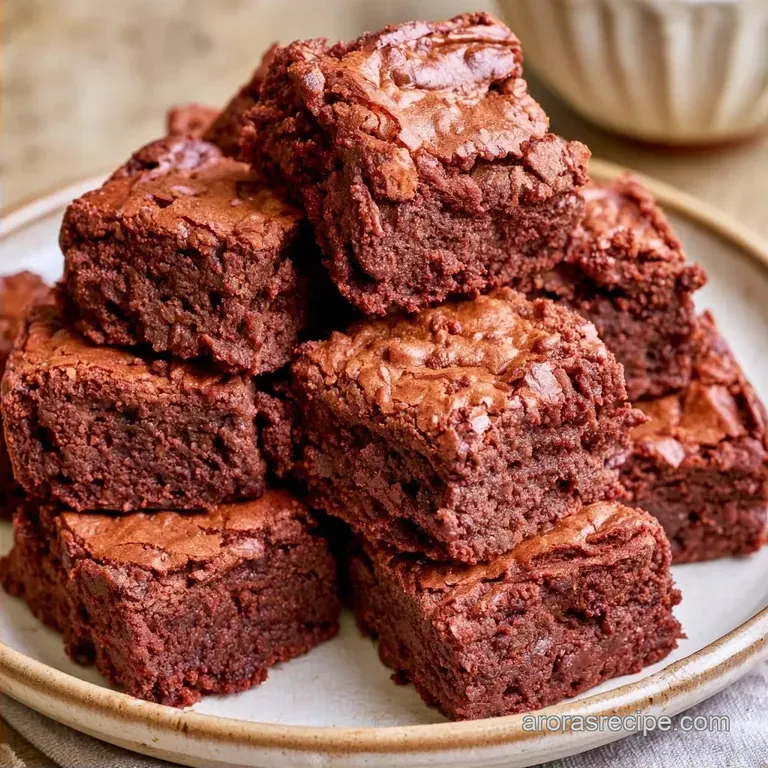
- Flavor/Texture Hook: Dense, mahogany colored squares with a rich cocoa finish
- Perfect for: Easy meal prep or wholesome Fall Sweet Potato Desserts
The scent of warm cocoa and cinnamon wafting through the home is a highlight of the autumn season. I used to believe that achieving a truly thick, fudgy brownie required massive amounts of flour and salted butter to get that signature heavy texture.
However, flour can often push brownies into "cake" territory. By swapping it for a roasted vegetable, the result is significantly more decadent. These Healthy Sweet Potato Brownies demonstrate that standard bakery ingredients aren't necessary to quench a chocolate craving.
They are also remarkably affordable. Since most components are pantry staples and the sweet potato provides its own sweetness, you can reduce the refined sugars. Once you experience this flourless version, you likely won't want to go back.
Sweet Potato Brownies
Right then, let's look at why this works. Most people assume that without gluten, a dessert will just fall apart or feel like a mushy mess. That isn't the case here because the sweet potato does the heavy lifting.
What Makes These Fudgy
- The Potato Binder: Roasted sweet potato is full of complex carbs and moisture. It replaces the flour to create a dense structure that feels heavy on the tongue.
- Nut Butter Fats: Almond butter provides the lipids that emulsify with the cocoa. This prevents the brownies from feeling dry or grainy.
Since we're talking about using tubers for treats, you might also like my Sweet Potato Fries if you want something salty to balance the sweet.
Here is how this method stacks up against the traditional way of baking brownies.
| Method | Bake Time | Texture | Best For |
|---|---|---|---|
| Fast Flourless | 20 minutes | Dense & Fudgy | Quick cravings / Dietary needs |
| Classic Flour | 35 minutes | Cakey & Light | Traditional dessert lovers |
One thing to remember is that these won't "rise" like a cake. They stay low and tight, which is exactly what you want for a fudgy result.
The Pantry List
Before we start, let's look at what each part of this recipe actually does.
| Ingredient | Role | If You Don't Have It |
|---|---|---|
| Sweet Potato Puree | Main structure/moisture | Pumpkin puree (will be softer) |
| Almond Butter | Fat and richness | Cashew butter or Sunflower butter |
| Maple Syrup | Natural sweetener | Honey or agave syrup |
| Cocoa Powder | Deep chocolate flavor | Melted dark chocolate (adjust syrup) |
Now, here are the exact measurements you'll need.
- 1 cup (245g) roasted sweet potato puree Why this? Provides the fudgy base without flour
- 1/2 cup (125g) creamy almond butter Why this? Adds healthy fats for a smooth texture
- 1/3 cup (80ml) pure maple syrup Why this? Liquid sweetener that blends easily
- 1/2 cup (45g) unsweetened cocoa powder Why this? Gives that intense chocolate punch
- 1 tsp (5ml) vanilla extract
- 1/2 tsp (3g) baking soda
- 1/4 tsp (1.5g) sea salt
- 1/2 cup (90g) dairy-free chocolate chips
If you're on a tight budget, you can swap the almond butter for peanut butter. It changes the flavor slightly to be more "nutty," but it works just as well for the structure.
Essential Kitchen Tools
No special equipment is required for this. I typically use a standard food processor to achieve a smooth texture, but a powerful blender is just as effective.
You'll also need: 8x8 inch baking pan Parchment paper (essential to prevent sticking) Spatula for folding Measuring cups and a kitchen scale for precision
Skip the non-stick spray if you're using parchment. The paper is the most reliable way to ensure you can lift the entire block out without it crumbling.
Step-by-step Baking Guide
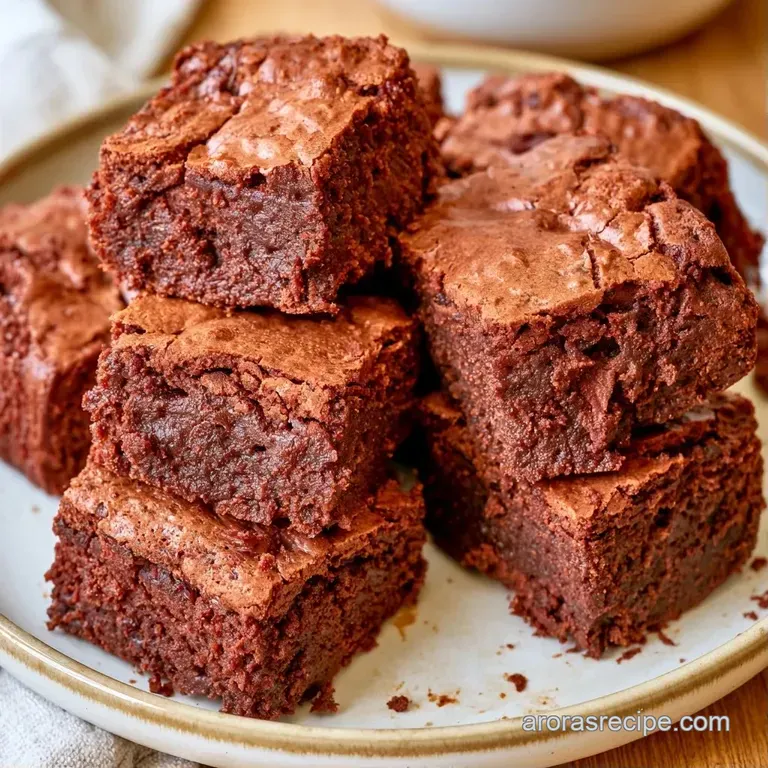
Time to start baking. Ensure your potato puree is at room temperature so the almond butter doesn't seize.
Phase 1: Prep and Prime
Heat your oven to 350°F (175°C). Line an 8x8 inch pan with parchment paper, leaving some overhang on the sides to make lifting the brownies out much easier later.
Phase 2: Blending the Base
Combine the sweet potato puree, almond butter, maple syrup, vanilla, baking soda, and salt in a food processor. Process on high until the mixture is glossy and completely smooth.
Phase 3: Adding the Chocolate
Stir in the cocoa powder by hand or use a few quick pulses. Stop as soon as the batter is a uniform, deep chocolate brown; over processing here can make the batter too airy.
Phase 4: The Final Fold
Use a spatula to fold in the chocolate chips. Transfer the batter into your prepared pan and smooth the top.
Phase 5: The Bake
Bake for 20–22 minutes. The brownies are done when the edges slightly pull away from the sides, even if the center still feels a bit soft.
Phase 6: The Critical Cool Down
Take them out of the oven and let them cool in the pan for at least 30 minutes. This allows the structure to set; cutting them too soon will leave them too gooey.
Chef's Note: For a more intense flavor, stir a pinch of espresso powder into the cocoa. It won't make them taste like coffee, but it will make the chocolate taste richer.
Fixing Common Brownie Issues
Most of the time, these are very forgiving. However, since we're not using flour, the moisture balance is key.
To Fix a Gooey Center
If your brownies feel underbaked even after cooling, pop them back in the oven for 5 minutes. Just be careful. These are meant to be dense, so don't bake them into dry bricks.
To Prevent a Grainy Texture
This usually happens if the almond butter wasn't blended well with the puree. Ensure you blend the base until it's totally smooth before adding the cocoa.
To Stop Them Sticking
If you didn't use parchment, try running a thin knife around the edges before lifting. But really, just use the paper next time.
| Problem | Root Cause | Solution |
|---|---|---|
| Too soft/mushy | Underbaked or cut too early | Bake 5 mins more or cool for 1 hour |
| Dry/crumbly | Overbaked | Reduce bake time by 2-3 mins |
| Bitter taste | Too much cocoa/Low syrup | Add a drizzle of maple syrup on top |
Keeping Brownies Fresh
These keep well when stored properly. Place them in an airtight glass container in the refrigerator for around 5 days. They often taste even better the following day as the flavors have time to blend.
For longer storage, they can be frozen for 3 months. Wrap each square in parchment paper before placing them in a freezer bag. To serve, simply thaw them for an hour or microwave for 10 seconds.
To reduce waste, don't throw away the sweet potato skins from roasting. I usually toss mine with a bit of salt and oil and roast them until they are crispy like chips, or I just add them to the compost.
Customizing Your Batch
Depending on who you're feeding, you can tweak this recipe easily. Here are a few ways to change things up.
For Vegan Sweet Potato Brownies
This recipe is already vegan as written, provided your chocolate chips are dairy-free. It's a great way to have a treat that everyone at the table can eat.
For Nut Free Sweet Potato Brownies
Swap the almond butter for sunflower seed butter or a soy based butter. The texture stays almost identical, but it's safe for nut free homes.
For a sugar free Sweet Potato Brownie
Replace the maple syrup with a monk fruit syrup or a thick sugar-free maple alternative. Note that the texture might be slightly less "tacky," but the richness remains.
For Low Calorie Sweet Potato Brownies
You can reduce the almond butter by 2 tablespoons and add a tablespoon of unsweetened applesauce. It lowers the fat content, though the brownies will be slightly softer.
If you're looking for something more traditional to serve alongside these, my Classic Cheesecake provides a creamy, tart contrast to the deep chocolate.
Decision Shortcut: Extra richness? → add 1 tbsp melted coconut oil More bite? → swap chips for chopped walnuts Less sweet? → reduce syrup by 1 tbsp
Best Ways to Serve
While delicious as they are, adding a few toppings can transform these into a more elegant dessert for your guests. A scoop of coconut whipped cream or some fresh raspberries provides a bright acidity that perfectly balances the richness.
I personally love them served warm alongside a chilled glass of almond milk. Since they are quite dense, a small piece is usually plenty to satisfy your craving.
And there you have it a foolproof way to prepare Sweet Potato Brownies. They're filling, easy to make, and a wonderful way to use seasonal autumn vegetables. Give them a try and share how they turned out!
Recipe FAQs
Is it true that sweet potato brownies are significantly healthier than traditional ones?
Actually, no. While they provide vitamins from the potato, they still contain sugar and fats from maple syrup and almond butter.
Tip: focus on the nutrient density rather than treating them as a low-calorie food.
What purpose does the sweet potato serve in this recipe?
It replaces eggs and butter to create a naturally moist, fudgy structure.
Tip: ensure the puree is at room temperature to prevent the almond butter from seizing.
How to achieve the best texture for these brownies?
Blend the puree, almond butter, maple syrup, vanilla, baking soda, and salt on high until the mixture is completely glossy.
Tip: fold in the chocolate chips by hand to avoid over processing them.
Do these brownies only require three ingredients?
That's a myth. This specific recipe uses eight ingredients to ensure the correct balance of flavor and structure.
Tip: if you enjoyed mastering the smooth consistency of this batter, see how that same blending principle helps create velvety homemade sheets.
Which method works best for preparing the potato puree?
Roast the potatoes whole until tender and blend the flesh until no lumps remain.
Tip: skin the potatoes after roasting for the smoothest possible result.
Sweet Potato Brownies