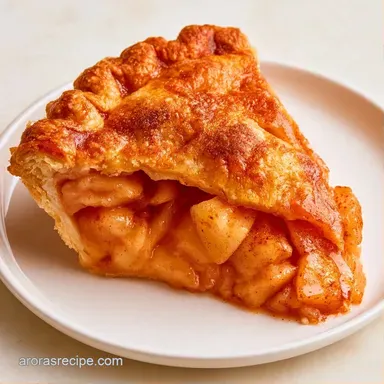
Easy Apple Pie with Fresh Apples
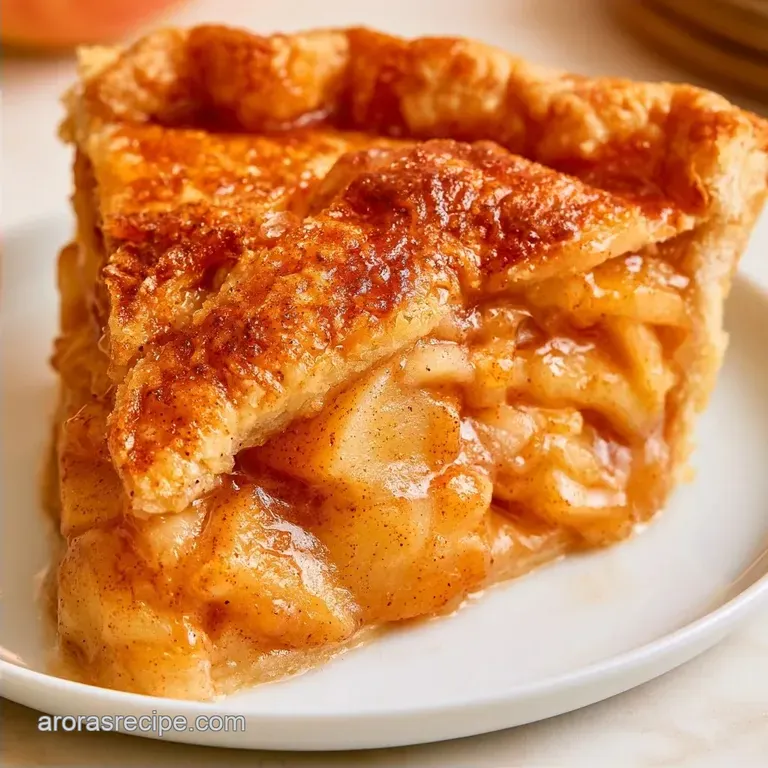
- Time: 30 min active + 2 hours cooling
- Flavor/Texture Hook: Mahogany colored, shattering crust with bubbling cinnamon fruit
- Perfect for: Holiday gatherings or beginner bakers wanting a win
- The Best Easy Apple Pie Recipe
- What Makes This Work
- The Essential Ingredients
- Equipment Needed
- Ingredients & Substitutes
- How to Bake It
- What Nobody Tells You
- Troubleshooting Guide
- Adjusting the Batch Size
- Debunking Pie Myths
- Keeping It Fresh
- Adding Your Own Twist
- What to Serve With It
- Recipe FAQs
- 📝 Recipe Card
The Best Easy Apple Pie Recipe
The smell of cinnamon and browned butter hits you the second you open the oven door. There's something about that sound, too, when you slide a knife through a crust and it actually cracks. It's the kind of aroma that makes the whole house feel warm, even if it's freezing outside.
I grew up in a home where baking was an all day event. My grandmother would spend hours kneading dough by hand, and the kitchen looked like a flour bomb went off. It was lovely, but honestly, most of us don't have five hours to spend on one dessert on a Tuesday night.
That's why I love this Easy Apple Pie. It cuts the labor in half without losing that homestyle heart. You get the same deep, spiced flavor and a crust that holds its own, but you aren't scrubbing flour out of every corner of your kitchen for three hours.
What Makes This Work
- The Apple Blend: Mixing tart Granny Smiths with sweet Honeycrisp prevents the pie from becoming a mushy mess. The Granny Smiths hold their shape while the Honeycrisps add the sweetness, similar to the balance in a Traditional Apple Cobbler.
- The Temp Drop: Starting at 425°F (220°C) shocks the crust into setting quickly. Dropping to 375°F (190°C) then lets the apples cook through without burning the edges.
- The Flour Toss: Coating the fruit in flour and cinnamon absorbs the excess juices. This is the trick to avoiding that dreaded layer of goo at the bottom.
The Essential Ingredients
| Ingredient | Role | If You Don't Have It |
|---|---|---|
| Granny Smith/Honeycrisp | Structure & Sweetness | Braeburn or Pink Lady (slightly softer) |
| ready-made Crust | Time saving base | Homemade flaky pastry (adds 1 hour prep) |
| Lemon Juice | Prevents browning & adds tang | Apple cider vinegar (more pungent) |
| Unsalted Butter | Adds richness to the top | Coconut oil (adds a coconut hint) |
Equipment Needed
No fancy gear is required here. A 9 inch deep dish pie plate is the only essential item. Using a shallow pan risks the filling spilling over and scorching on the oven rack. I rely on a large mixing bowl for the fruit and a pastry brush for the egg wash.
Finally, a wire rack is crucial for cooling to prevent steam from making the bottom crust soft.
Ingredients & Substitutes
- 6 cups peeled and sliced apples (mix of Granny Smith and Honeycrisp) The reason? Ideal blend of tartness and firmness
- Substitute: Golden Delicious (sweeter, but softer)
- 1/2 cup granulated sugar
- Substitute: Cane sugar (comparable sweetness)
- 1/4 cup light brown sugar, packed The reason? Provides a rich molasses flavor
- Substitute: Dark brown sugar (bolder taste)
- 1 tbsp ground cinnamon
- Substitute: Apple pie spice blend
- 2 tbsp all purpose flour
- Substitute: Cornstarch (use 1 tbsp instead)
- 1 tbsp lemon juice
- Substitute: Lime juice
- 1/4 tsp salt
- Substitute: Fine sea salt
- 2 tbsp unsalted butter, chilled and cubed
- Substitute: Salted butter (decrease the additional salt)
- 1 package (14.1 oz) store-bought refrigerated pie crusts The reason? Cuts out 45 minutes of prep
- Substitute: Shortcrust pastry
- 1 egg, whisked with 1 tbsp water
- Substitute: Heavy cream or milk (less glossy)
- 1 tbsp coarse sugar
- Substitute: Granulated sugar (less crunch)
How to Bake It
Phase 1: Preparing the Base
- Set your oven to 425°F (220°C). Note: This high temperature is key for setting the bottom crust.
- Lay one pastry sheet into a 9 inch deep dish pie pan, pressing it against the bottom and sides, then trim the overhang to roughly 1/2 inch.
Phase 2: Crafting the Easy Apple Pie Filling
- Cut the apples into consistent 1/4 inch thick wedges. Note: Keeping the slices uniform ensures they cook evenly.
- In a large mixing bowl, stir together the apple slices, lemon juice, granulated sugar, brown sugar, cinnamon, flour, and salt until the fruit is evenly coated and velvety.
- Fill the crust with the apple mixture, piling it slightly higher in the middle, then place the chilled butter cubes across the top.
Phase 3: The Final Assembly
- Lay the remaining pastry sheet over the top, trim the excess, and fold the top edge under the bottom one, pinching them together to seal.
- Poke 4-5 steam vents in the center, glaze the top with egg wash, and finish with a sprinkle of coarse sugar.
Phase 4: The Golden Bake
- Bake at 425°F (220°C) for 15 minutes until the crust starts to set.
- Drop the temperature to 375°F (190°C), shield the crust edges with foil, and bake for another 40-45 minutes until the filling bubbles and the crust turns a mahogany brown.
- Let the pie rest on a wire rack for at least 2 hours before slicing so the filling can set.
What Nobody Tells You
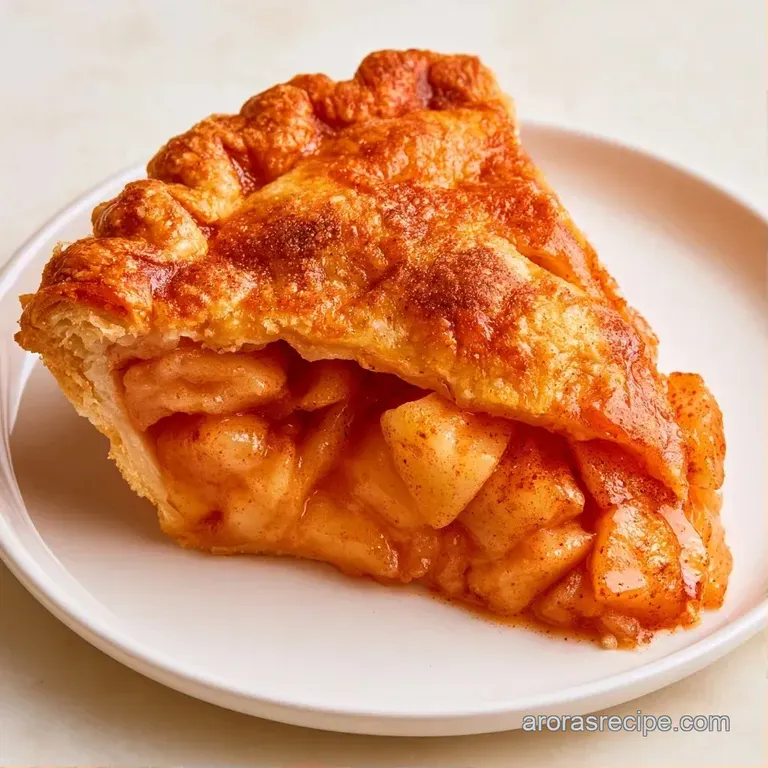
The biggest mistake I see people make with an Easy Apple Pie is slicing the apples too thin. If you go thinner than a quarter inch, the fruit practically dissolves into applesauce. You want a bit of a bite left in those wedges.
Another thing is the foil. If you don't cover the edges halfway through, they'll turn black before the center is even warm. It's a simple fix, but it makes the difference between a pie that looks homemade and one that looks professional.
Troubleshooting Guide
Fixing Soggy Bottoms
This usually happens if the oven temperature is too low or if the apples released too much liquid. To fix it, always stick to the 425°F start. If you're using very juicy apples, you can sprinkle a teaspoon of flour directly onto the bottom crust before adding the fruit.
Preventing Burnt Edges
If your edges are darkening too fast, check your foil placement. Wrap the foil around the rim of the pie plate, not just draped over it. This creates a shield that keeps the crust from overcooking while the fruit bubbles away.
Stopping Gappy Filling
Apples shrink as they cook. To avoid huge air pockets under the top crust, mound the filling in a dome shape in the middle of the pie. As the fruit settles, the dome collapses into a flat, full surface.
Adjusting the Batch Size
For an 8 inch pan, decrease the baking duration by roughly 20% and use 4 cups of apples rather than 6. You can simply trim the store-bought crust sheets to fit.
If you need to double the recipe, only increase the cinnamon and salt by 1.5x instead of doubling them. Excessive cinnamon may taste bitter after an hour of baking. To make sure the center is fully cooked, use two standard pie dishes instead of a single oversized one.
| Method | Effort | Result |
|---|---|---|
| Oven Only | Low | Traditional flaky crust, slow cooked fruit |
| Stovetop Filling | Medium | Bolder flavor, quicker baking time |
| ready-made Crust | Very Low | Uniform texture, saves 60 mins |
Debunking Pie Myths
Some claim that stove top pre-cooking of the filling is essential to avoid a soggy crust. However, this isn't the case when you employ the over high heat start method combined with the proper amount of flour. In fact, pre-cooking might make the apples too soft.
Many believe you should stick to a single apple variety. On the contrary, using just one type often results in a flat taste. Blending different acids and sugars is the secret to achieving a rich, complex flavor profile.
Keeping It Fresh
Store the pie in an airtight container and keep it refrigerated for a maximum of 4 days. This is the safest method if you aren't eating it all immediately.
To freeze, let the pie cool completely, cover it securely with aluminum foil and plastic film, and it will stay fresh for 3 months. To reheat, set the oven to 350°F (175°C) and warm a slice for 10-15 minutes until heated through.
Reduce waste by saving your apple skins. If you have a slow cooker, simmer them with sugar, cinnamon, and a bit of water to make a simple pancake syrup.
Adding Your Own Twist
For a sharper flavor, add a pinch of ground cloves or nutmeg to the cinnamon. If you want a more rustic look, try a crumble topping instead of the second pastry sheet. Just mix oats, brown sugar, and cold butter until crumbly.
For a diet friendly version, you can swap the granulated sugar for a monk fruit sweetener, though the crust will still be traditional. If you're looking for other fruit based desserts, you might enjoy a Traditional Apple Cobbler for a different texture.
What to Serve With It
Because this Easy Apple Pie is quite sugary, you'll want something to balance out the richness. Vanilla ice cream is the traditional accompaniment, but a dollop of unsweetened whipped cream with a pinch of lemon zest is even more refreshing.
When this dessert is included in a larger feast, try introducing a savory element. A few Homemade Pickles on a charcuterie board beforehand can help cleanse the palate.
Now you have all the essentials for a relaxed baking experience. Trust me once you stop worrying about the crust and begin prepping the apples, you'll find that an Easy Apple Pie is one of the most rewarding treats to make. Let's get to it!
Recipe FAQs
How to assemble this pie quickly?
Use refrigerated ready-made pie crusts to eliminate dough preparation.
Tip: Slice your apples into consistent 1/4 inch wedges for even baking.
What prevents a soggy bottom crust?
Baking at 425°F (220°C) for the first 15 minutes sets the base before reducing the temperature.
Tip: Ensure you toss the apples with the flour to absorb excess moisture.
Is it true you must pre-cook apples to avoid gaps?
No, this is a common misconception. Tossing sliced apples with sugar and flour helps them retain structure while creating a natural syrup.
Tip: Mound the filling higher in the center to prevent a dip after baking.
Which apples create the best flavor?
A mix of Granny Smith and Honeycrisp offers the ideal balance of tartness and sweetness.
Tip: If you enjoyed balancing fruit flavors here, see how the same logic applies to our peach cobbler.
Easy Apple Pie