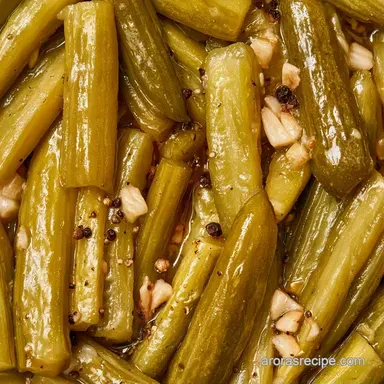
Crunchy Old Fashioned Peppercorn Dill Pickles
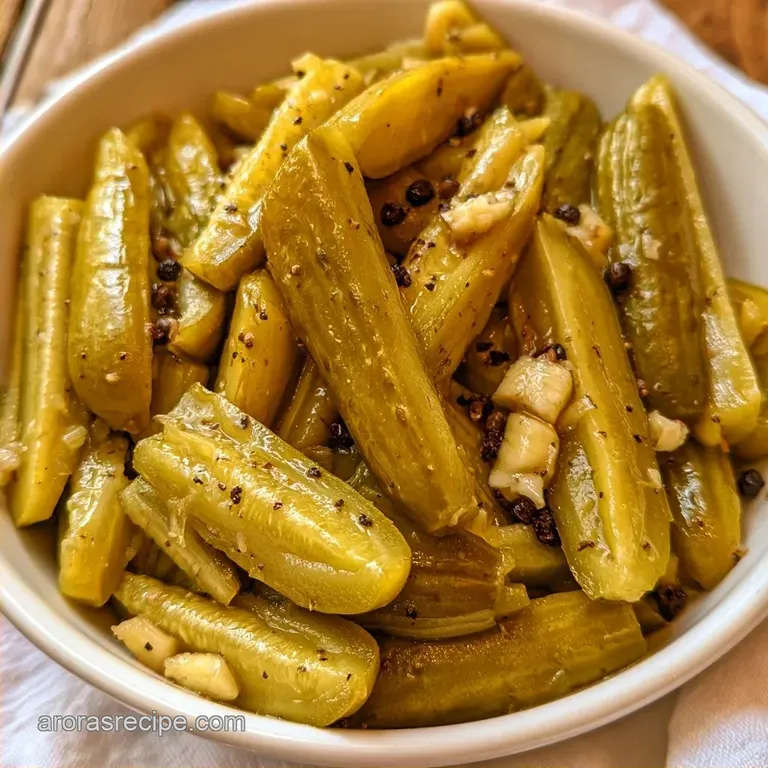
- Time: 60 min active + 51 hours chilling
- Flavor/Texture Hook: Sharp, briny snap with a warm peppercorn kick
- Perfect for: Deli style sandwiches, burger platters, or midnight snacking
That loud, echoing snap when you bite into a cold pickle is a sound I live for. I remember spending summers in Nashville, watching my aunt line up mason jars on the counter like little soldiers. She didn't use fancy gadgets, just a big stainless steel pot and a lot of fresh dill.
If a pickle didn't shatter when you bit it, she'd call it a "soggy failure" and start over.
The goal here is that classic, old school deli vibe. You want a brine that's sharp enough to wake you up, but a lingering warmth from the peppercorns. It's a simple process, but the order of operations matters if you want that professional crunch.
Most people just toss cucumbers in vinegar and hope for the best. We're doing things differently. By following a specific prep flow, these Peppercorn Dill Pickles turn out firm every single time. Trust me on this, the prep work is where the magic happens.
Why This Brine Works
The Blossom Trim: Cutting off the tip of the cucumber removes enzymes that naturally soften the vegetable. This keeps the walls of the pickle firm during the soak.
The Salt Pre Treatment: Salt pulls out internal water through osmosis. Since the cucumber is less "watery," it absorbs the brine more effectively and stays crisp.
| Prep Style | Time Investment | Crunch Level | Flavor Depth |
|---|---|---|---|
| Fresh Soak | 60 min active | Maximum Snap | Deep & Pungent |
| Shortcut | 15 min active | Softer | Mild & Sharp |
Essential Recipe Specs
The timeline for this project is longer than you might think. While the active work takes about an hour, the waiting is mandatory. If you try to eat these after four hours, you'll miss the depth of the peppercorns. Give them the full 48 hours in the fridge to let the flavors settle.
You'll be working with a fair amount of cucumbers, so clear off your counter. I like to use a large plastic bin for the salting phase because it makes rinsing much easier. Make sure your jars are scrubbed clean, as any residue can mess with the brine's clarity.
What You'll Need
For the best results, stick to Kirby cucumbers. They have thinner skins and a denser core than the long English ones you see in the supermarket. If you can't find Kirbys, look for any labeled "pickling" cucumbers.
| Ingredient | What It Does | Best Swap |
|---|---|---|
| Kirby Cucumbers | Provides the crunch | Persian Cucumbers (smaller, thinner) |
| Distilled White Vinegar | Provides acidity | Apple Cider Vinegar (milder, fruitier) |
| Whole Peppercorns | Adds warming heat | Mustard Seeds (tangier, less heat) |
| Fresh Dill | Gives that classic aroma | Dried Dill (use 1 tsp per sprig) |
The Full List:
- 5 lbs Kirby or pickling cucumbersWhy this? Dense cell structure prevents mushiness
- 3 tbsp coarse sea salt (for the soak)
- 10 cloves garlic, smashed
- 4 cups distilled white vinegar
- 4 cups filtered water
- 1/3 cup sea salt (for the brine)
- 2 tbsp whole black peppercornsWhy this? Whole grains provide slow release heat
- 1 tbsp dill seeds
- 1 tsp sugar
- 10 sprigs fresh dill
- 10 slices fresh lemon
Equipment Needed
You don't need a commercial setup to prepare Peppercorn Dill Pickles, though certain tools make the process easier. A stainless steel pot is essential since vinegar reacts with aluminum or cast iron, which can give your brine a metallic taste.
I use 10 pint sized mason jars. While you can use quart jars, the smaller pint size helps you pack the cucumbers more tightly to keep them from floating. A large mixing bowl for the salt soak and a sharp chef's knife are the only other necessities.
Step-by-step Instructions
Phase 1: Prepping the Produce
- Wash cucumbers. Slice off exactly 1/16th of an inch from the blossom end of each cucumber. Note: This stops the softening enzymes from working.
- Leave cucumbers whole or slice into spears.
- Toss cucumbers with 3 tbsp of sea salt in a large bowl. Let them sit for 2 hours until they look slightly wilted and release liquid, then rinse thoroughly with cold water.
Phase 2: Infusing the Brine
- Combine distilled white vinegar, filtered water, 1/3 cup sea salt, sugar, peppercorns, and dill seeds in a stainless steel pot.
- Bring the brine to a rolling boil over high heat.
- Reduce heat and simmer for 5 minutes until the peppercorns look plump and the smell is pungent.
Phase 3: Packing the Jars
- Place one smashed garlic clove and one sprig of fresh dill at the bottom of each of the 10 pint jars.
- Pack the cucumbers tightly into the jars. Note: Press them down firmly so they do not float.
Phase 4: The Pour and Set
- Tuck one lemon slice into the side of each jar.
- Pour the hot brine over the cucumbers, filling to the top.
- Seal jars and refrigerate for 48 hours until the centers are fully permeated with brine.
Troubleshooting Guide
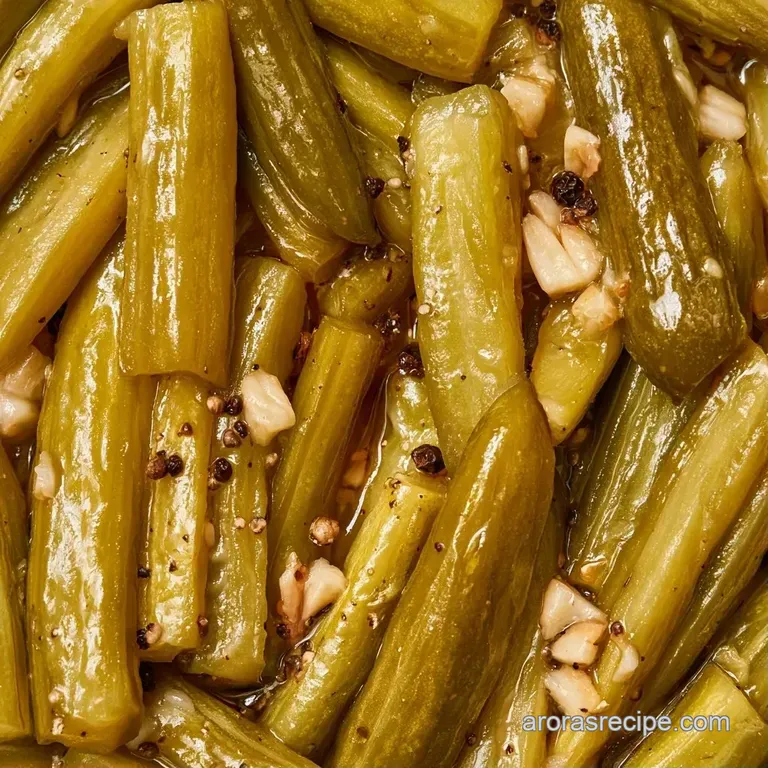
If your pickles didn't quite hit the mark, it usually comes down to the produce or the prep. One common issue is the "floaters." If the cucumbers float, they don't brine evenly, and the tops can stay bland. This is why packing them tightly is so important.
Another issue is the snap. If they feel soft, you might have skipped the blossom trim or used a cucumber variety with too much water. For a different style of quick prep, you can try these Pickles in 20 Minutes recipe, though they won't have the same long term crunch as the peppercorn version.
Fixing Soft Pickles
This usually happens when the blossom end is left intact or the cucumbers were too warm when the brine hit them. Next time, ensure you rinse the salted cucumbers in ice cold water before jarring.
Balancing Sharp Brine
If the vinegar taste is too aggressive, it's usually because the brine didn't simmer long enough to meld the sugar and salt. Let the jars sit for another 24 hours, as the flavors mellow over time.
| Problem | Fix |
|---|---|
| Mushy Texture | Trim blossom ends and use Kirby cucumbers |
| Floating Pickles | Pack jars more tightly; press down firmly |
| Too Sour | Increase chilling time to 72 hours |
Presentation Tips
Since these are fridge pickles, they look great served straight from the jar. But if you're putting them on a platter, I like to slice them into thick coins and toss them with a bit of fresh cracked pepper and a drizzle of olive oil. It makes them feel like a fancy appetizer rather than just a sandwich topping.
If you're serving them with a burger, try grilling the pickles for 60 seconds per side. The heat wakes up the peppercorns and gives the Peppercorn Dill Pickles a smoky edge that pairs perfectly with melted cheddar.
| Goal | What to change |
|---|---|
| More Heat | Add 1 tsp red pepper flakes to brine |
| Sweeter Taste | Increase sugar to 1 tbsp |
| Extra Garlic | Double the garlic to 20 cloves |
How to Store and Keep Fresh
Keep the jars in the coldest spot of your refrigerator, generally the back of the bottom shelf. They will remain crisp and colorful for about 4 to 6 weeks. Make sure the lids are sealed tight so the vinegar aroma doesn't fill the rest of the fridge.
Do not freeze these. Freezing damages the cucumbers' cell walls, leaving you with a soggy texture once thawed. Instead of discarding leftover brine, save it; it makes an excellent potato salad dressing or a tangy addition to a homemade vinaigrette.
For those looking into long term storage, here is a food safety tip: home canning is safest when using research backed recipes and precise processing times. Incorrect canning methods can lead to spoilage. If you plan to store these for several months, consult the USDA Complete Guide to Home Canning for the correct water bath durations.
Flavor Variations to Try
After you've mastered the standard Peppercorn Dill Pickles, feel free to experiment with the aromatics. I personally enjoy adding sliced fresh jalapeños to bring a spicy edge that pairs perfectly with the peppercorns.
For a more sophisticated flavor profile, try adding coriander seeds for a floral, citrusy touch that enhances the lemon slices.
To lower the sodium, decrease the salt in the brine by 20%, though keep in mind this will shorten their shelf life in the refrigerator. To make the most of your garden harvest, check out my for 4 Pint Jars recipe for more ideas on using fresh dill.
Chef's Note: Stir in a teaspoon of mustard seed for a savory, nutty complexity. It won't add any spice, but it gives the pickles a professional, high end New York deli quality.
Common Myths
Searing the brine "locks in" flavor. Actually, boiling the brine just ensures the salt and sugar are fully dissolved. The flavor infusion happens during the 48 hour cold soak, not during the boil.
Vinegar is the only thing that makes things pickly. While vinegar provides the acid, the salt soak is what creates the texture. Without the pre salt, you're just soaking a cucumber in acid, which often leads to a softer result.
You must use distilled water. Filtered water is usually fine. The only time you strictly need distilled is if your tap water is very "hard" (high mineral content), which can sometimes make the brine look cloudy.
Critical in Sodium
1150 mg 1150 mg of sodium per serving (50% 50% of daily value)
The American Heart Association recommends a daily limit of 2,300mg of sodium to maintain heart health.
Tips to Reduce Sodium
-
Reduce Brine Salt-30%
Significantly reduce the 1/3 cup of sea salt used in the brine; try cutting it by half or using a potassium based salt substitute.
-
Minimize Pre-Salt-25%
Decrease the 3 tbsp of coarse sea salt used for drawing out moisture and ensure you rinse the cucumbers thoroughly before pickling.
-
Increase Acid Profile-15%
Add extra fresh lemon slices or a small amount of additional vinegar to mimic the 'sharpness' of salt.
-
Enhance Natural Aromatics
Double the amount of fresh dill and black peppercorns to provide a more robust flavor profile without adding sodium.
Recipe FAQs
Is it true that trimming the blossom end doesn't actually affect the crunch?
No, this is a common misconception, as removing that small slice eliminates enzymes that cause cucumbers to soften.
Tip: Use a sharp knife to make a clean cut of exactly 1/16th of an inch.
How to make these pickles spicier?
Increase the quantity of whole black peppercorns added to the brine.
Tip: Let the jars sit for the full 48 hours to allow the heat to fully penetrate.
What do peppercorns add to the flavor profile?
They provide a sharp, warm heat that balances the strong acidity of the distilled white vinegar.
Tip: Keep the peppercorns whole to prevent the brine from becoming cloudy.
Can I substitute the dill seeds with something else?
Use mustard seeds instead for a more pungent and zesty taste.
Tip: If you prefer that profile, try our mustard seed version.
Peppercorn Dill Pickles